Craftsy Class, The Weekend Duffle
I think out of the many Craftsy Classes I have bought this is the first ‘making something’ class I have completed. I did Adjust the bust but I have yet to complete an article of clothing using the patterns.
The trainer, Betz White is very likeable and obviously knows what she is doing, the other thing that I like is that a couple of times the stitching hasn’t go quite the way she wanted it to, but they didn’t re shoot it, showing that even if you have made loads of bags it doesn’t always go according to plan.
In the spirit of full disclosure, to be honest even without adding in the price of the class it would have been cheaper to go out and buy a good quality Weekend bag, some of that was to do with my fabric choices, and if I hadn’t used two pieces of quilting fabric from my stash for the lining it would have more expensive, but mostly the fusible fleece and fusible interfacing bumped the price right up.
Here are my fabric choices I think it is called ‘Allegra’ blue/Lime Lorient Decor Voyage Linen Cotton furnishing fabric (some of the colours won’t photograph correctly) I also bought a linen/rayon blend for the accents but decided that the colour and the weight wasn’t right, (I’ll make a skirt out of that later) these were both bought from eBay. As I wanted to start quickly I walked down to Kayes Textiles to see if they had anything I wanted, I found a heavy cotton but not quite in the right shade, (Simon will be rolling his eyes at this) it was a green/blue colour instead of a Blue/Green, but a packet of blue jean dylon and a very quick dip in it, no more than about 5 mins and a trip to the washing machine it was exactly the colour I wanted.
I cut all the pieces out, it is a mixture of templates and measurements, this is all provided for in the class materials.
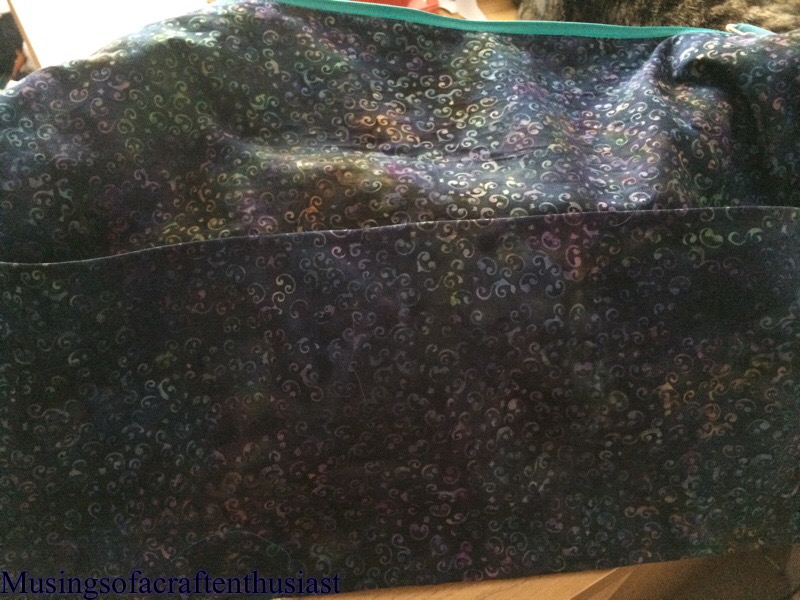
The body of the bag is interface with fusible fleece, which I didn’t know existed the lining is interface with a medium weight fusible cotton interfacing, towards the end the bag does tend to get a bit bulky.


 Betz takes you through creating the inside pockets, one of which is a zip up pocket the other is a row of three pockets, she mentions how you could customise these pockets by making thin pockets for paintbrushes and such like.

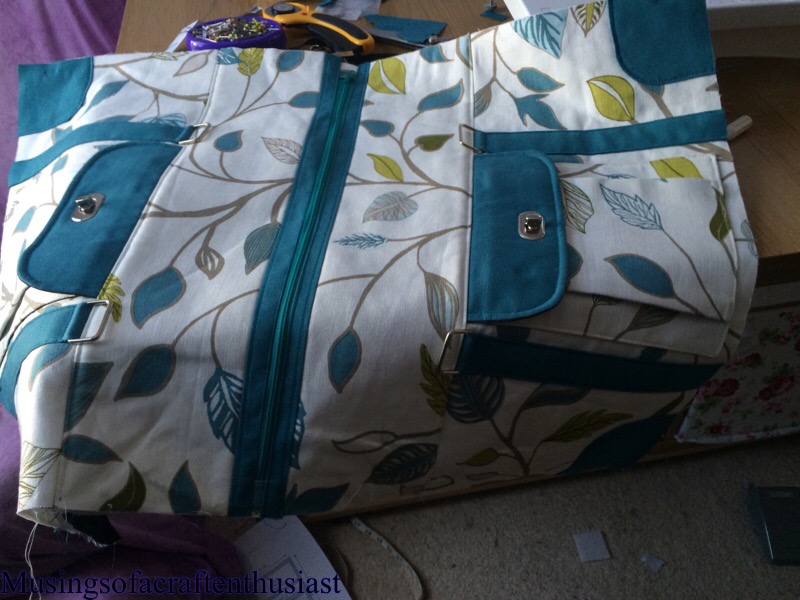
we then go through we then make the bellows pockets for the front and back of the bag and how to put the hardware on.
The next step is to put the accent fabric onto the front and sides of your fabric, and putting on the handle rings. (I bought all the hardware from eBay most of it arrived in a timely manner but one shop in Swansea took longer to to send out my stuff than it took for something to be sent and arrive from China)


The next step is to attach the zip facing and zipper tabs, then you start to assemble the bag. The zipper is sandwiched between the lining and bag front, then some top stitching, then do the same to the back pieces.
You then baste the end panels on, this is where my new sewing machine started to protest, it was not happy to stitch through bag fabric, fusible fleece and zipper tabs, the cotton kept breaking, in the end I went up into the loft and got down my old sewing machine which I knew could cope with this no problems (I stitched a leather handbag on it, it had no problem with three layers of leather this should be a doddle) It breezed through the basting, then it breezed though stitching it all together with the lining added.

Then we get to putting the base in, remembering to open the zip first, otherwise we will be very sad :-(.
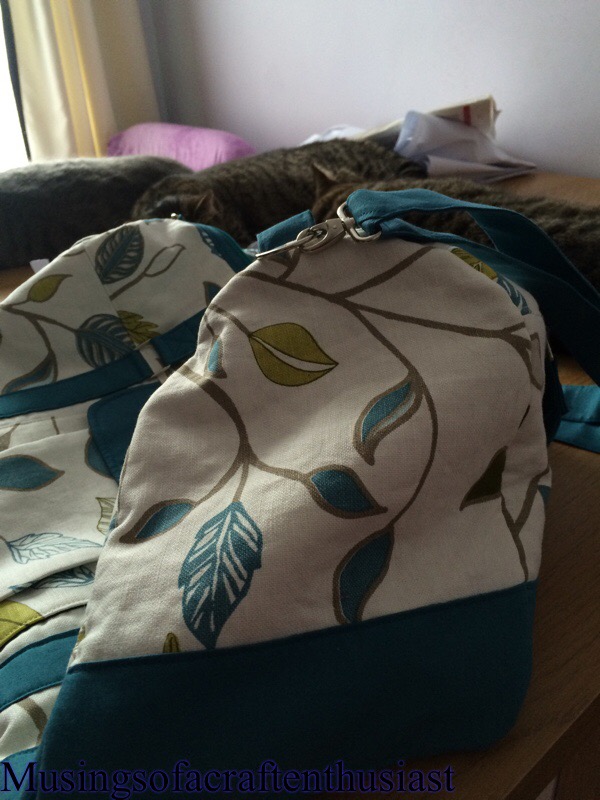
now that is left is to add the handle and the straps

 A lot of these classes seem to be common sense when you actually look at them, but because you have the class you get to put it together in the most convenient order and there are little tricks that take your bag from looking home made to something you can be very proud of.


Posted on 13/06/2015, in Craftsy and tagged Craftsy, Weekend Duffle. Bookmark the permalink. 4 Comments.


My eyes did indeed roll…
Your bag came out beautiful! I love the choice of colors you used, and maybe you could have purchased a ready-made one for less, but I bet it’s nowhere near as nice as yours, both in looks and quality. Craftsy classes are wonderful … and addictive. I think I have this class in my wishlist, so I’m happy to hear that you found it useful. 🙂
I totally recommend the course, even if you didn’t want to make a Weekend Duffle but other types of bags it does give you a couple of light bulb moments on the order of how to put it together.
It is a good looking bag and I’m very proud of it, but as with most things if you make it yourself there is always a couple of bits you think you could have done better, or stitched straighter.
As for Craftsy, I could probably spend a fortune on classes, every time they send me a Sale email I have to delete it quick, and try not to go on the website.
Tracy
Sorry if this is a double-post … just wanted to say your bag turned out beautiful. I love the colors, and even if you could buy a ready-made one for less, I bet yours is better made and more attractive. LOVE Craftsy classes; I think I have this one in my wishlist, so I’ll be sure to sign up next time there’s a sale. Bit of a Craftsy addict here, LOL!