Category Archives: Haslam dresscutting
Haslam Spring and Summer 21 fig 13 update
I am determined to get a blog post out tonight so here goes….
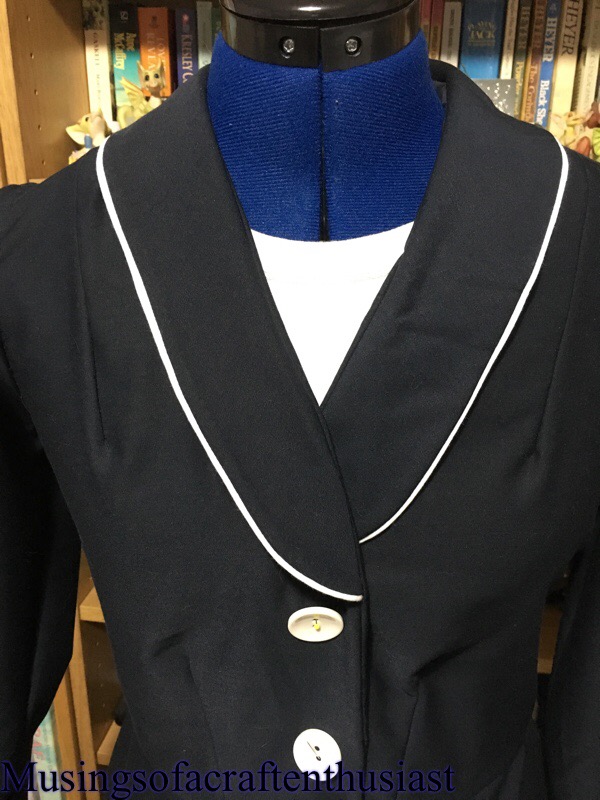
As I said in my previous post I had a problem with the sleeves and the collar, first off the the collar I misread the the instructions and it ended up about an inch and a quarter short, not too bad you say, and you would be right all it meant was that instead of folding over each other the met in the middle ( I thought I took a photo, obviously not) it was one of those things I knew would niggle at me so I changed it, at the same time I also decided that the dress was going to be too dark so I thought about piping.

Of course once you start with a little bit of piping you can’t just leave it at that I think that I am going to have to add cuffs to the sleeves with a bit of piping around the top of the cuff.

As you can see above I am going to use white buttons and probably make a white belt for it. when I put it on to show Simon (without the buttons he thought it looked like a Habit.
The problem I had with the sleeve head was that there was far too much fabric in it, considering that it was supposed to be a nice smooth sleeve insertion, there was about 2 inches too much fabric, so I shaved a sliver off the whole sleeve head. It seems to have almost fixed my problem and a good iron should sort it out.
The piping was a lot easier than I thought, I tried googling it to start off with and watched a lot of people make cushions on youtube, full disclosure it was ready made piping.
bye for now
Haslam Spring and summer 21 fig 13
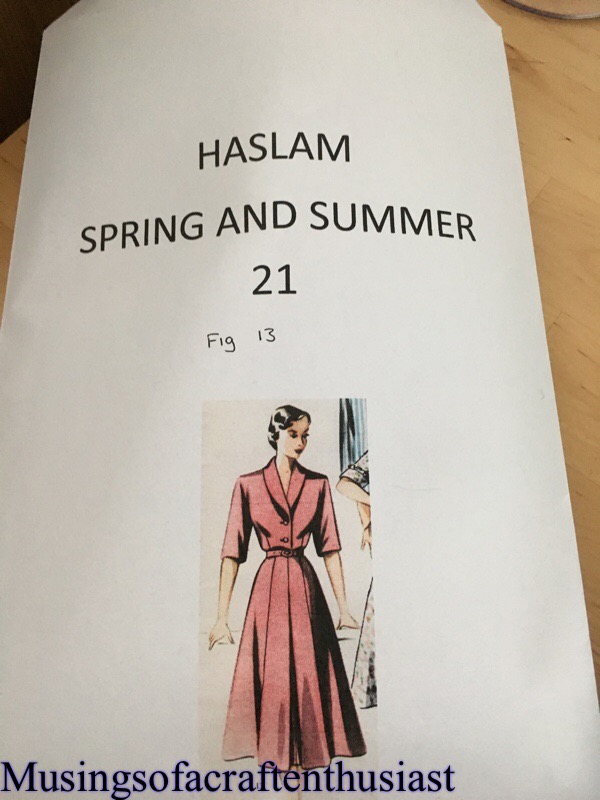
How do you like my pattern envelope? I know lots of imagination there !!
I decided that it would be easier to keep these patterns in an envelope and if I had a picture on the front it would be easier for me to keep track of what is what.
Now I have tried this dress before and it was a slight disaster, partly fabric, mainly I think I got the sizing wrong, unless the fabric stretched very badly.
I redid the foundation drafting and made a mock-up of the bodice, I then took an inch out of the under arm length.
once I was happy with the fit, I had another go at drafting the pattern
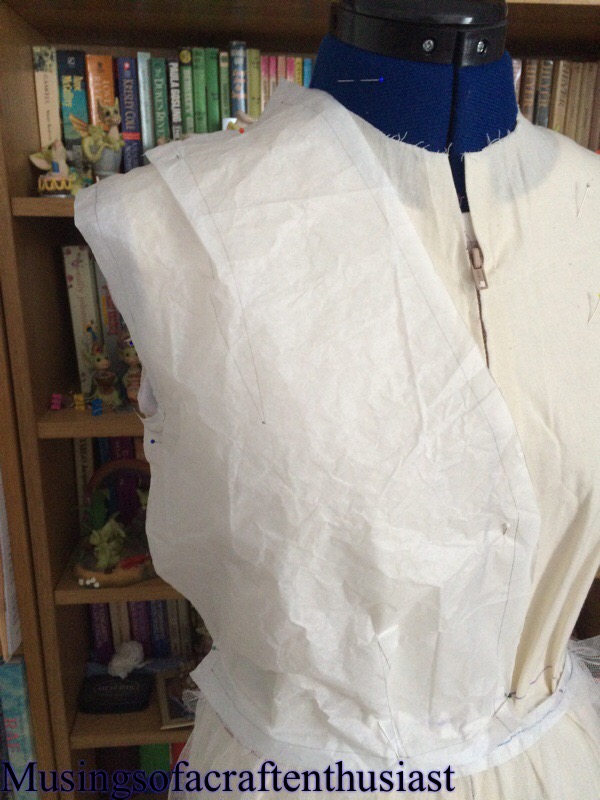
 As you can see below there is a funny curved dart in the shoulder seam
 I have never used so many pins for a dart before, usually I don’t bother.
 an here is the beautiful dart….
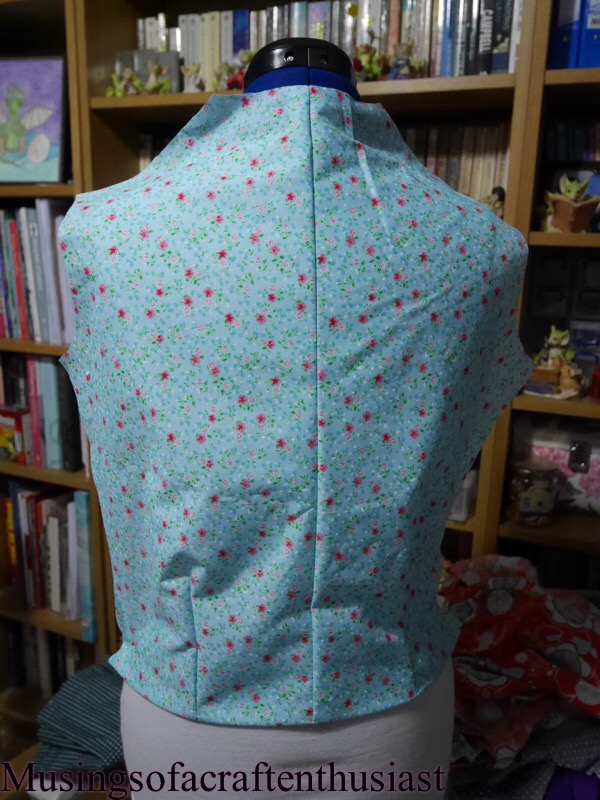
 photo of the back
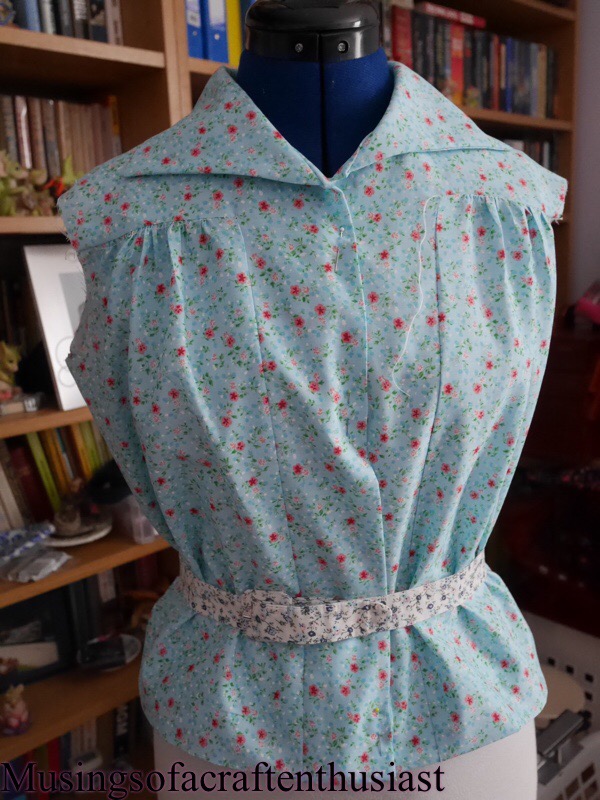
 Photo of the front
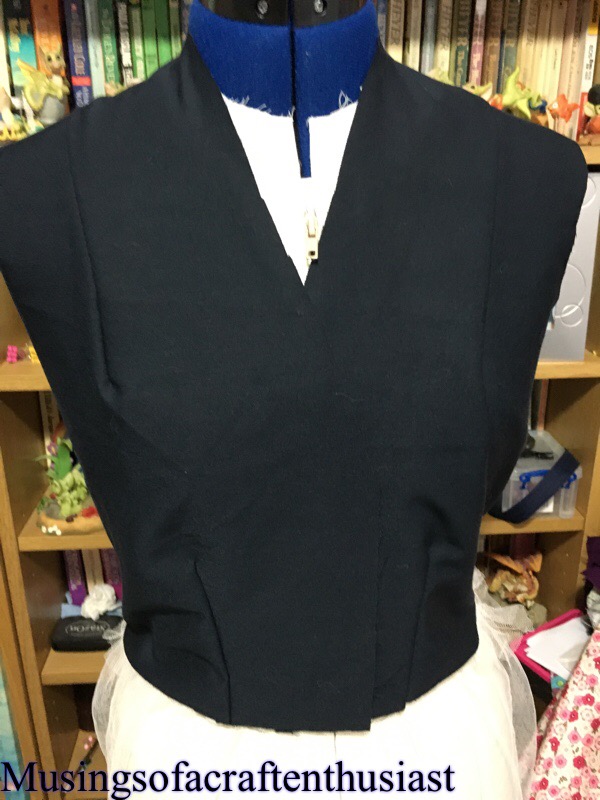 It is actually coming together really nicely, it has a skirt on but I don’t have a picture yet, there has been some complications with the sleeve and and collar but I’ll tell you about that another time….
Haslam Blouse pt3
I came across an interesting piece of information while reading my haslam book of dressmaking, no wonder the sleeve looked a bit weird and pully across the front, apparently you don’t line up the under arm seam with the under sleeve seam.

I must admit after I removed the sleeve and reinserted it as per the instructions (which was also in the front of the drafting leaflet) it actually sat a lot better.

The facings and the collar have been inserted, the blouse is looking very good, I’m still not certain that I would wear in this coloured fabric but the blouse is wearable and the correct size.
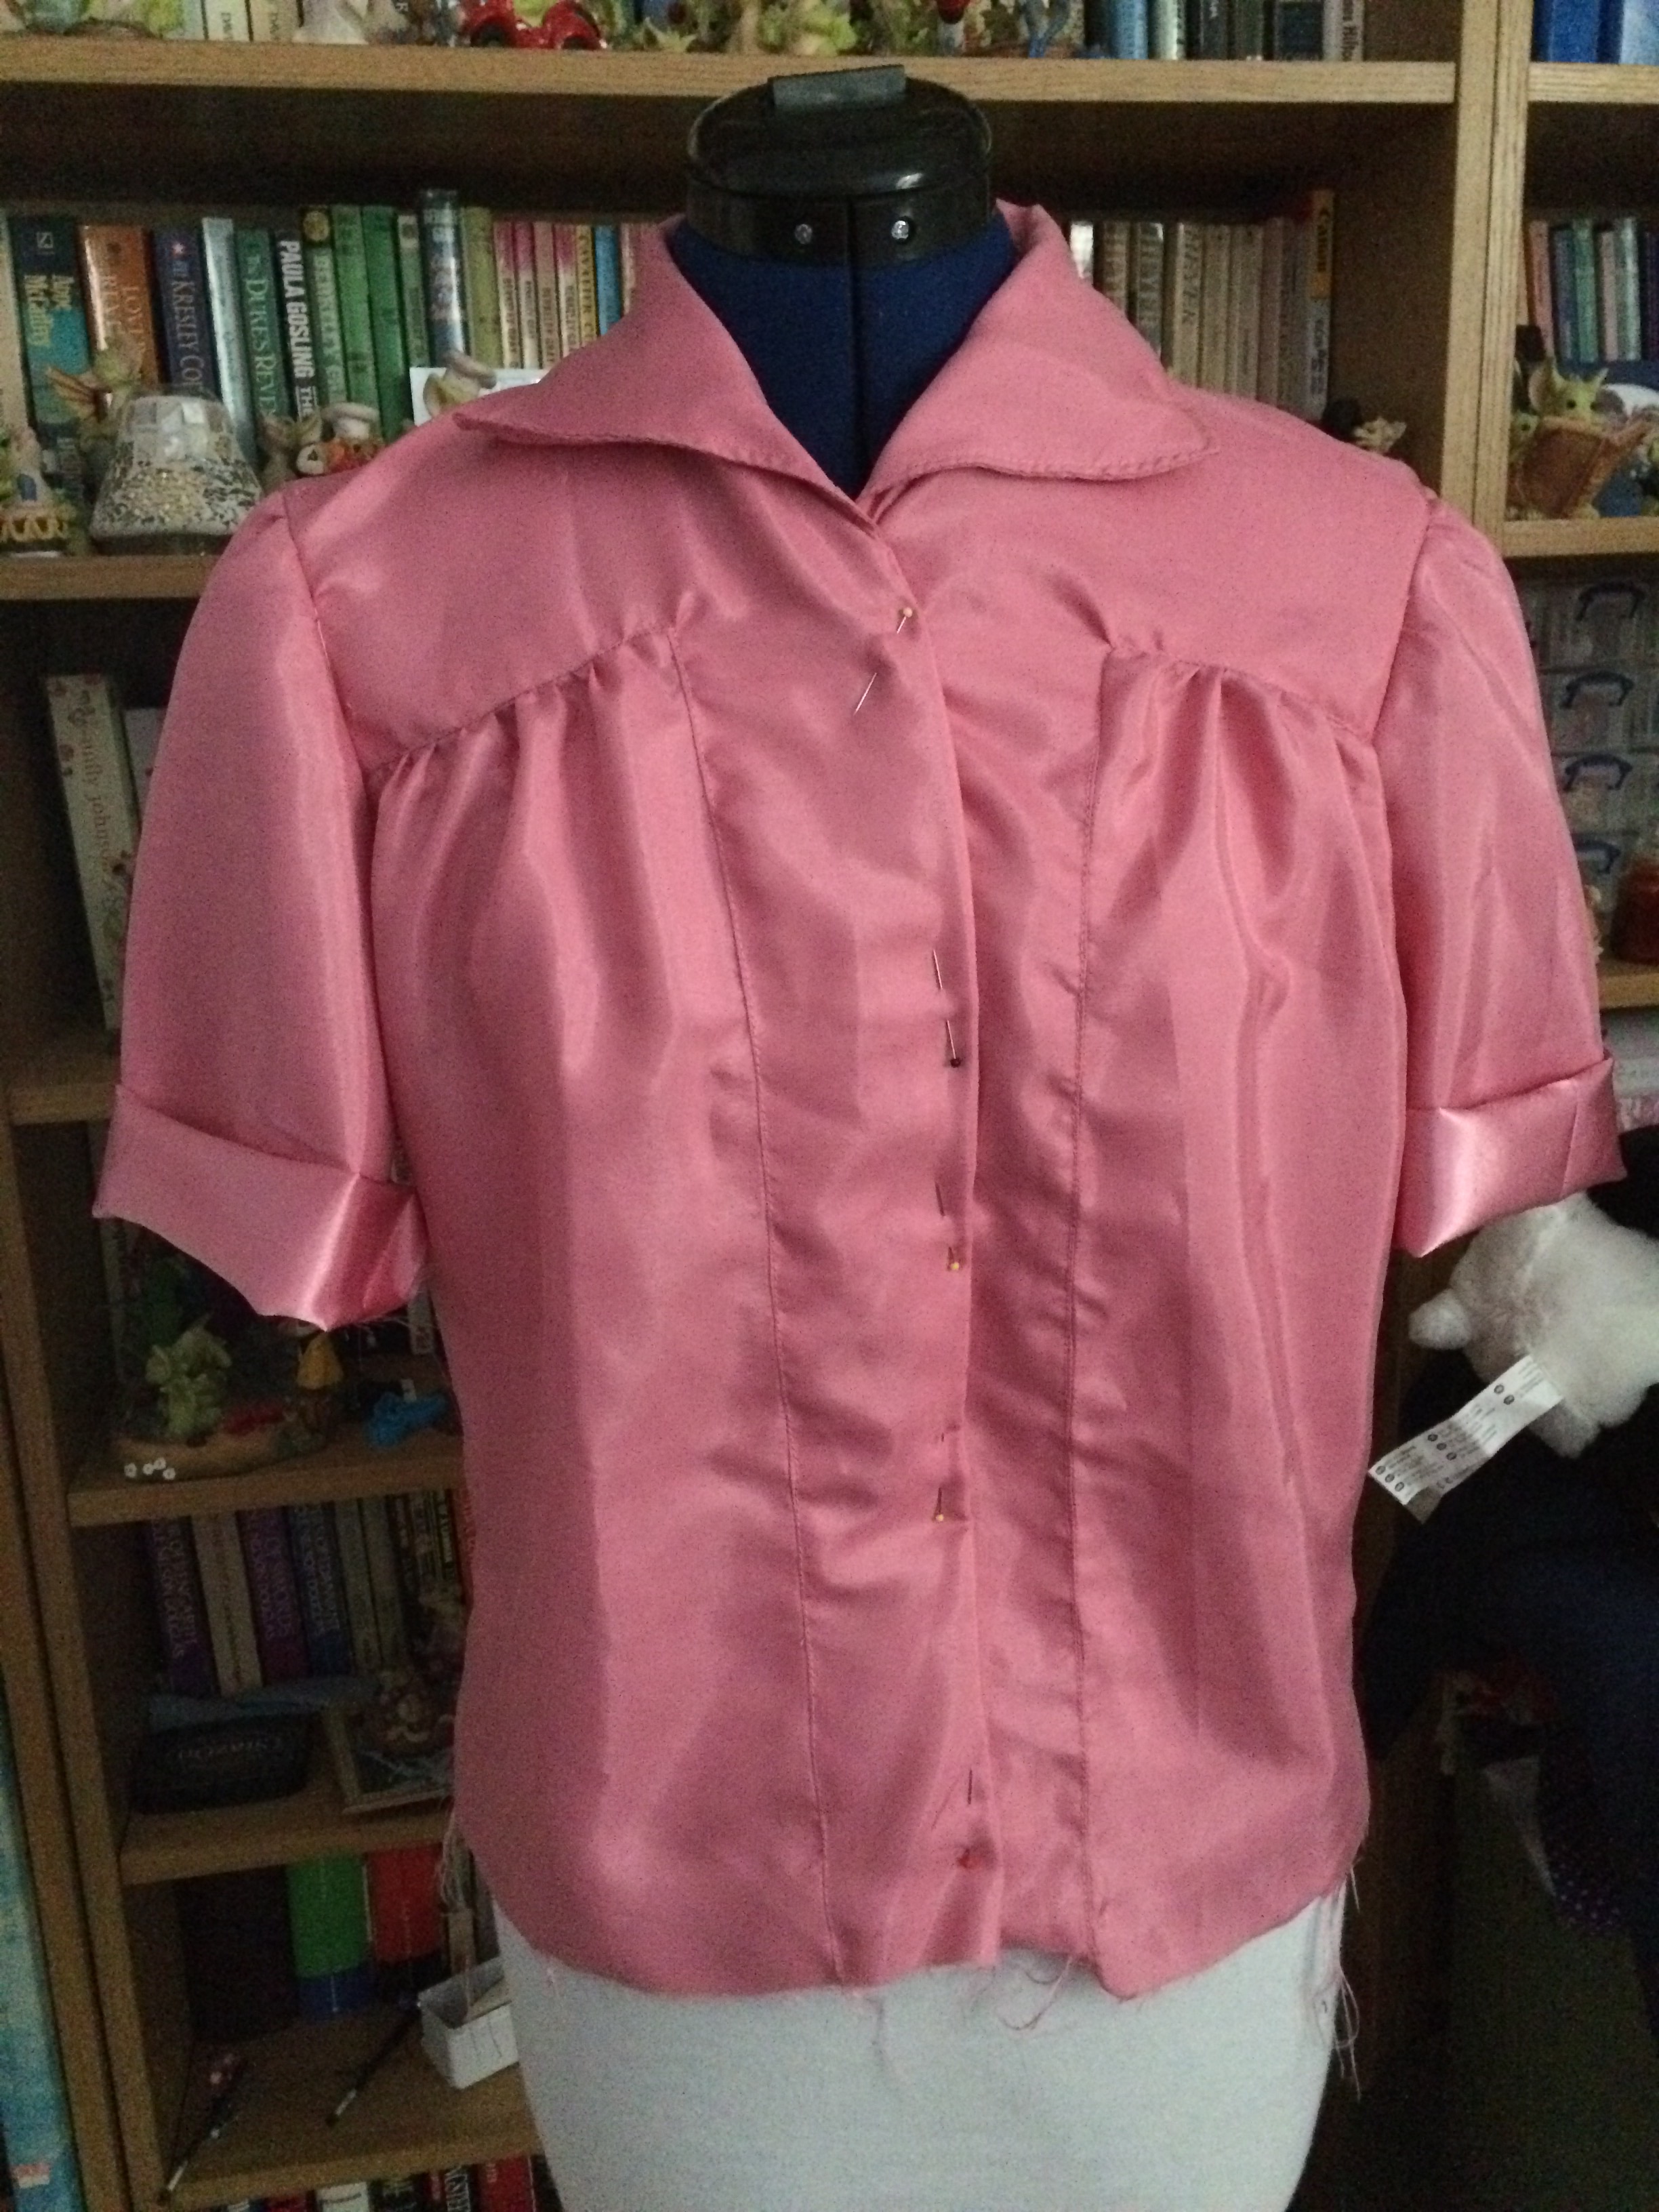


Of course at this point I’m wishing I hadn’t done a shoulderectomy on my dressmaking dummy as the blouse was a bit droopy, but I soon fixed that with a couple of bits of card stuffed under the t-shirt.
The Collar looks a little bit wonky but I’m not sure if it is just the way that I have attached it or if the picture is off slightly.
The next step is to find a nice lightweight fabric and make one that will be nice to wear to work.
Haslam System of Dresscutting Pt2
Ok, I have made my Blouse, it went together very easily, no funny, I’m not sure what that bit is doing….
There are a couple of problems, one of which is to do with measuring and two, the ladies of the 40s must have been a darned funny shape in the hip/stomach region.
Item one – either I mis-measured my shoulder or I didn’t quite understand what the foundation booklet wanted. I measured my shoulder at 4 1/2 inches it wasn’t wide enough, when I measured it a second time I carefully read the instructions ‘measure from the prominent bone in your neck to the point of your shoulder bone then take 2 1/2 inches away’ after a re-measure it turns out that maybe it should be 5 1/2 inches, this actually corrects half of the problems I had with the blouse.
Item two – The hem of the back of the blouse wasn’t wide enough. I was going on the assumption that the side seams of the blouse should fall level with my under arms. Wrong!!! If I held one side level with where you would expect a side seam the other side was at least an inch out, maybe a bit more. Also I had a lot of fabric in the front, when I say a lot, each front nearly went from one side seam to the other.
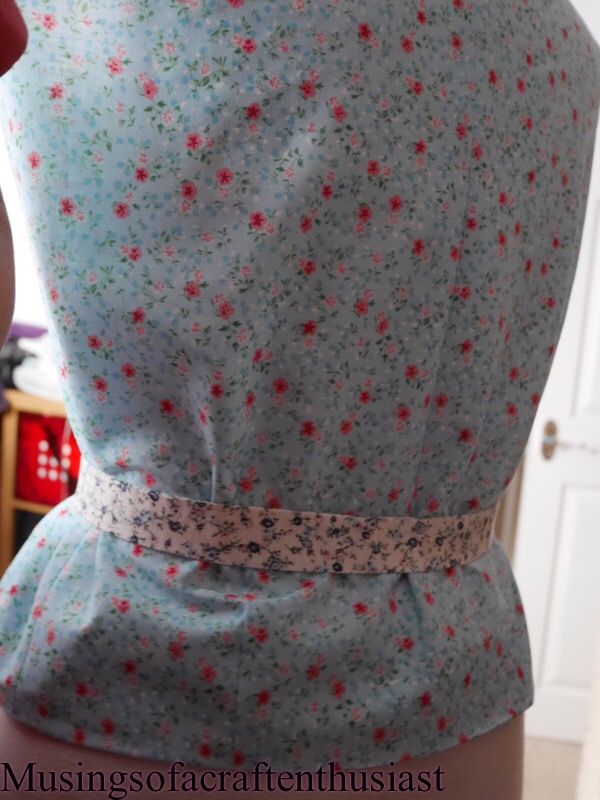
 Looking at the instructions you can see why this would happen, you take the hip measurement and quarter it, then you add an inch to the front, the back you deduct an inch.
On the bodice sloper craftsy class I have, you do something similar but only with 1/4 inch. May be I should have done this but I went the other way I measured my hips then I split the measurement up as my body split it up.
There was one other problem but that was connected to my fabric choice, I used a piece of poly cotton which was a bit stiff and I think the fabric should have a lot more drape to it. As it was the blouse looked very boxy and was quite uncomfortable across the back and sleeves, (this should be fixed by the nearly 3 inches added to the back piece across the shoulders).

 I have redrafted the pattern pieces and cut them out in some sort of pink shiny fabric, that I’m not sure why I bought it the colour is totally not what I would wear.
Tracy’s Adventures in HaslamLand
Before Christmas I bought the Haslam dressmaking system from pinkemilyrose on ebay. This is a drafting system slightly different to Lutterloh, with this one you start by drafting a pattern block, then you draft your dress, blouse or Jacket over the top. like Lutterloh you end up with a pattern drafted to your measurements.

These are the three peices of the Haslam System of Dresscutting.
These are the extra tools I needed.
I thought I would go through the process and hope at the end of our ‘journey’ I will have a finished piece of clothing that I can wear.
I have decided to try some thing simple first, a blouse, I have decided on this one

It looks simple enough to not cause me many problems putting together but with a couple of nice details.
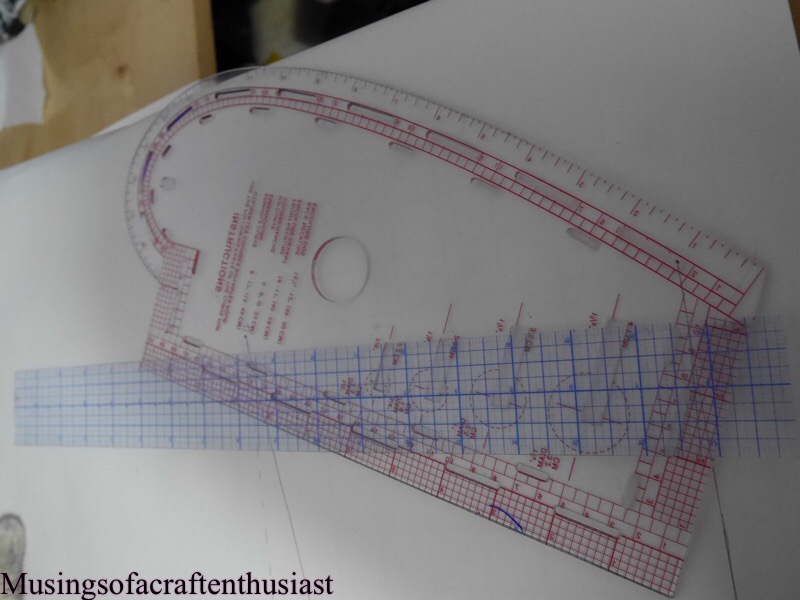
I started by drafting the front block, I used wallpaper lining paper to draft the block, and a pencil, I strongly advise using a pencil, the first time I attempted to do this, I used coloured pens for the different types of line and got my self into a right old mess. 🙂 this way if you make a mistake or get confused it is easy to erase it and start again.
you can just see the base block under the tissue paper I have layered over the top. After I finish the block I laid a sheet of the Burda tissue paper over the top so I can use the front block again and again.

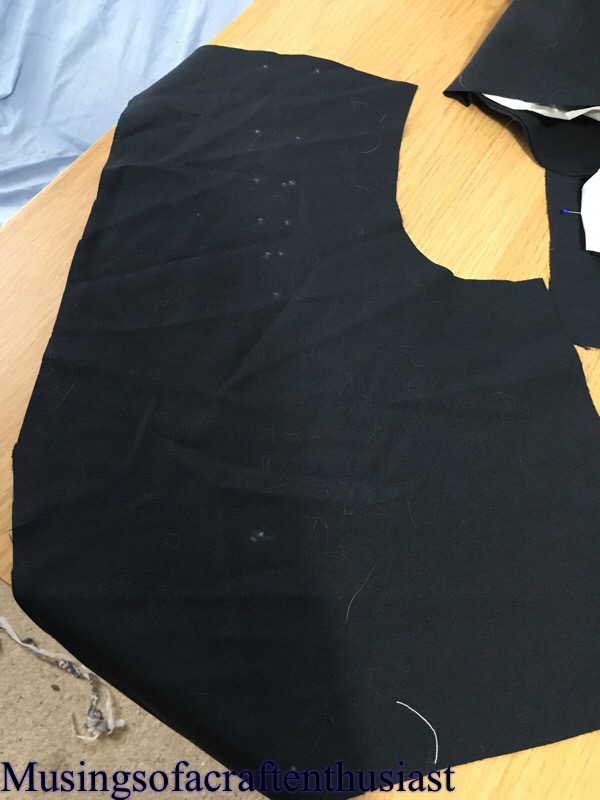
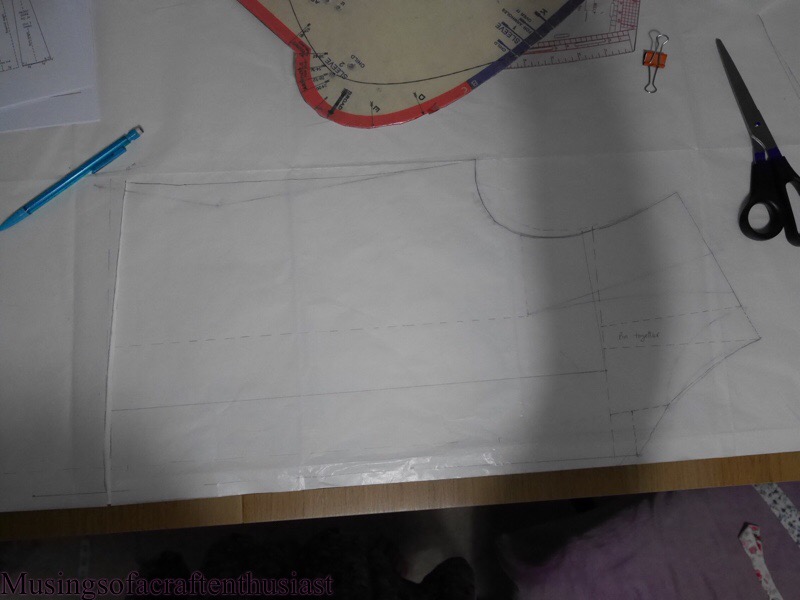
Here is the first pattern piece I created, it is part of the front.
 you can compare the collar pattern piece with the diagram in the photo above
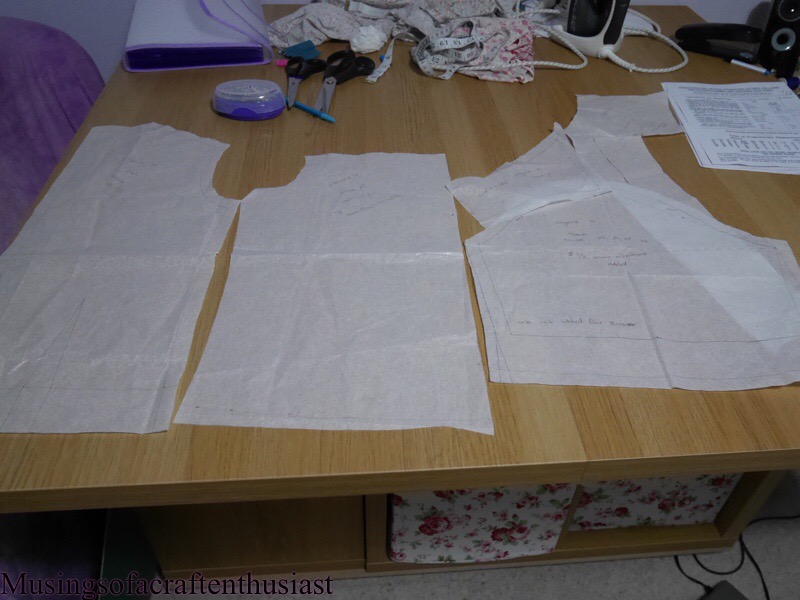
Here are my pattern pieces all cut out.
The next post will be on how it easy it was to be put together and the fit.


