Category Archives: dress making
Great British sewing bee
In a bid to get some sewing mojo back, I’ve just binge watched the great British sewing bee on youtube, I’ve come to the conclusion that Patrick and May were better judges, Esme Young is a poor judge because she goes into it with a lot of preconceived ideas, if she doesn’t agree with the style ideas she’ll mark them down, how many times did she say on the first alteration challenge if my students were doing this what would come out is what they are where they come from and all they are apparently they are all skirts. In my opinion, Esme looks like a dogs dinner for most of the season.
If you want to see hideous clothes just check out what Esme is wearing.

I would quite like to try the asymmetrical skirt I don’t have the dexterity at the moment for cutting out or sewing it. Or the figure to wear it.
Doris Dress -Sewoverit
Hi this is post number 2 the Doris Dress this seems to be a rather unappreciated dress in the Sewoverit range, when googling it not a lot came back not even from the Sewoverit website.
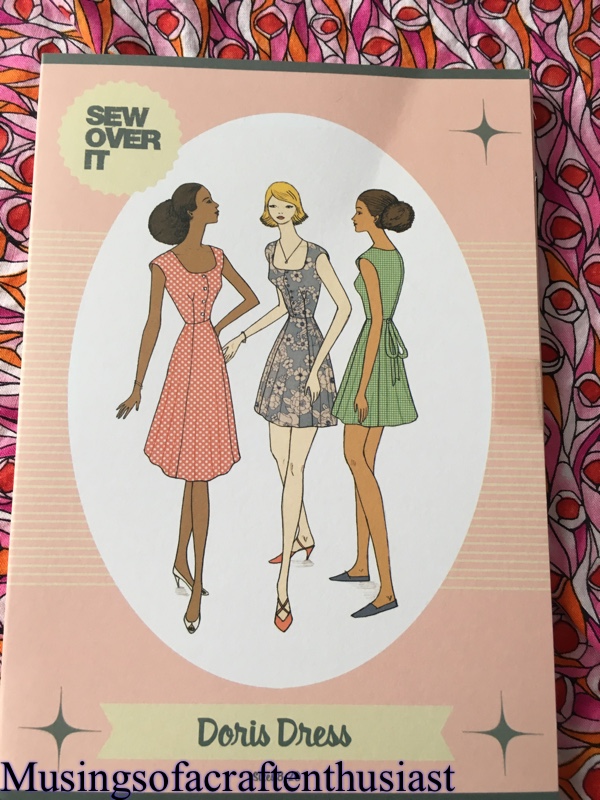
I picked this dress because it used back ties for shaping/sizing an because of the steroids I’m on I am a peculiar shape at the moment so I didn’t want any thing too fitted.

I knew exactly which fabric I wanted to use, I was very lucky in that it was still in my sewing room, unlike half of my fabric which still in the loft.
At the time of the original brain bleed, we were still waiting for the painting to be finished, so we could bring my crafting ‘stuff’ back into my room.
If I remember rightly I bought the fabric at one of the knitting and stitching shows I think it is polyester, it is black with purple flowers. I had started tracing the pattern between hospital stays, but unfortunately not only would it have been the wrong size, it had got catted which means that even though I folded it up and put it on a shelf the cats knocked it on the floor, so the dog could chew it up. 😦 in the end I just cut the pattern pieces out.


(From the Sewoverit website)
Doris Dress is semi-fitted with a flattering scooped neck bodice, bust pleats for delicate shaping and floaty grown-on sleeves. The waist can be left unfitted for warmer days, or cinched in at the back with the attached ties or fixed back belt.
The fluted panelled skirt has two length variations – short and cute above the knee, or an elegant below the knee option. The Doris Dress closes with a concealed zip in the side seam and has an optional buttonhole closure at the centre front. The bodice is finished with facings for a neat finish on the inside.
I installed it as a lapped zipper, to be honest I’ve never installed an invisible zipper that hasn’t broken at totally the wrong time, and it has had to be replaced, they might look really nice, but unreliable.
The main dress went together very easy, the instructions had you overlock the edges as you went along, I briefly toyed with french seams but my hands while fine for guiding fabric through the sewing machine, are too unsteady for trimming the seams. I had a problem with hemming the sleeves and hemming, the instructions were iron over the edge and stitch, because it was polyester it wouldn’t hold a crease.I had to do the hem twice, I finished the bottom edge by overlocking it then just folding over and stitching down.

Apart from the hem which is surprisingly long the dress was really easy to put together, as I mentioned above I had to do the hem twice, the first time I tried to do a small hem by eye, usually I would have had no problem with this, but with the shaky left hand it was uneven and bumpy. Even while I was stitching it I knew it was a mistake but still I kept going instead of just unpicking a small bit and going with the second choice which looks a lot better, and was easier.
Craftsy Class – Pattern Making for Knits the essential sloper
At the end of May Craftsy seemed to be desperate for me to spend my money with them, they sent me a ‘buy one class for £14.99’ so I obliged by picking this class.
It is a very well taught class by Judy Jackson, I wouldn’t have said that the blurb gives you a complete idea of the course, the first thing that you don’t realise is that Judy assumes that you have a body double, and brushes very briefly on what to do if you don’t have one, where as any other sloper course I have taken relies on measurements and drafting onto paper, this one is more of a draping class than a sloper course.
The course starts off by describing different types of stretch fabric and how to tell how much stretch it has. You cut two pieces of fabric and and pin one to your dress form, then working on one side of the dress form you pull the fabric tight across the shoulder and under the arm. After getting this to a state you are happy with you then mark it un pin it and duplicate to the other half.
Once you have the front peice you copy that to the back peice, apparently the front and back should be close to the same size. You pin these together on your dress from and take some more markings duplicate it on the other side of the back peice. Once you have your front and back pattern peice you stitch them together and try them on your dummy and see if there are any other tweaks needed.
Once you have your pattern this is when the class comes into it’s own, it shows you how to take your sloper and create tops and dresses, the class also shows you how to take a woven pattern and turn it into a pattern for stretch fabric. At the moment I do only have one photo
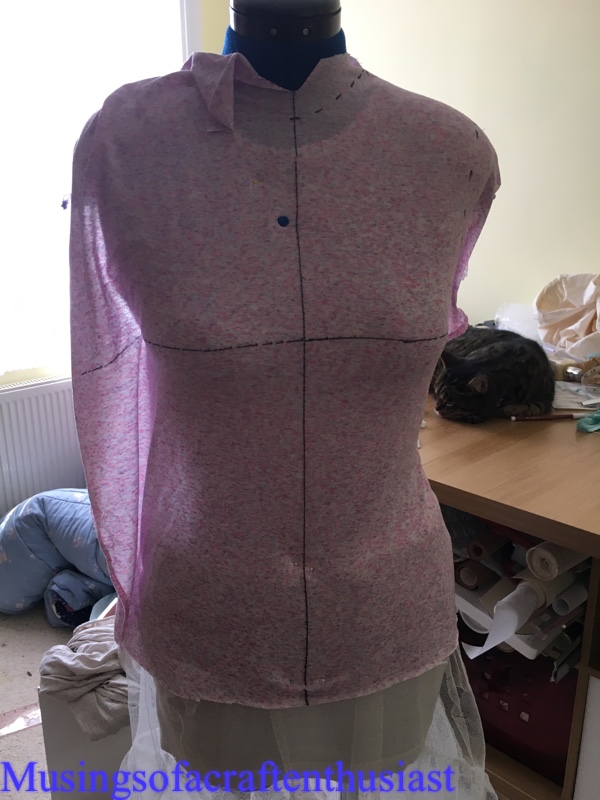
Here you can see the shapeing for the front, the resulting sloper needed a lot of pulling in for the waist.
It has given me lots of ideas for future projects and I can’t wait to actually get home start trying it out.
Overall for £14.99 the class was brilliant and I hope to get a lot of use out of it.
Update post – Rhapsody blouse and Lutterloh dress.
I have taken a couple of photos of me wearing the love notions Rhapsody blouse and the Lutterloh dress.
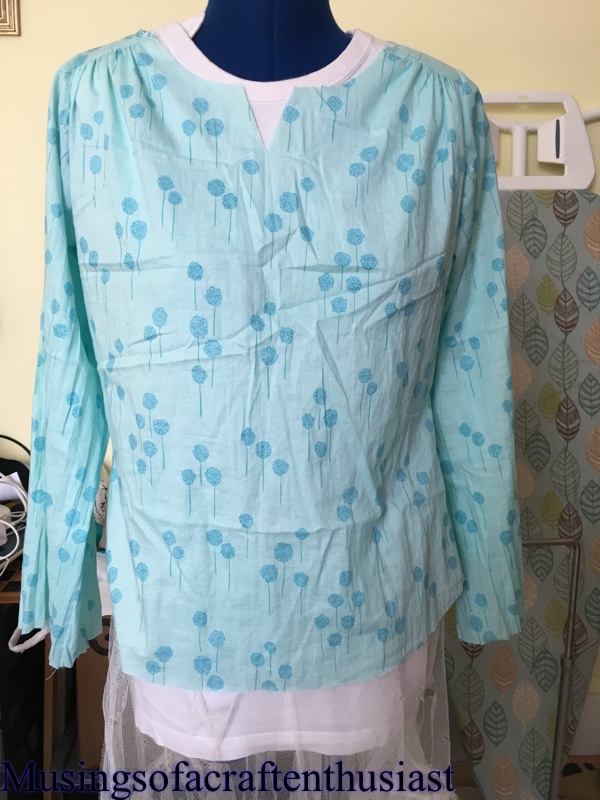
First up is the Rhapsody Blouse, I have given it a good iron, basically I ran it under the tap and then ironed it wet, the fabric is a nightmare to get the creases out.
I difinitely should have made the next size up, you can see in the slightly blurry photo underneath this that the shoulder seam is quite away from my shoulder. This will be fixed by going up a size.
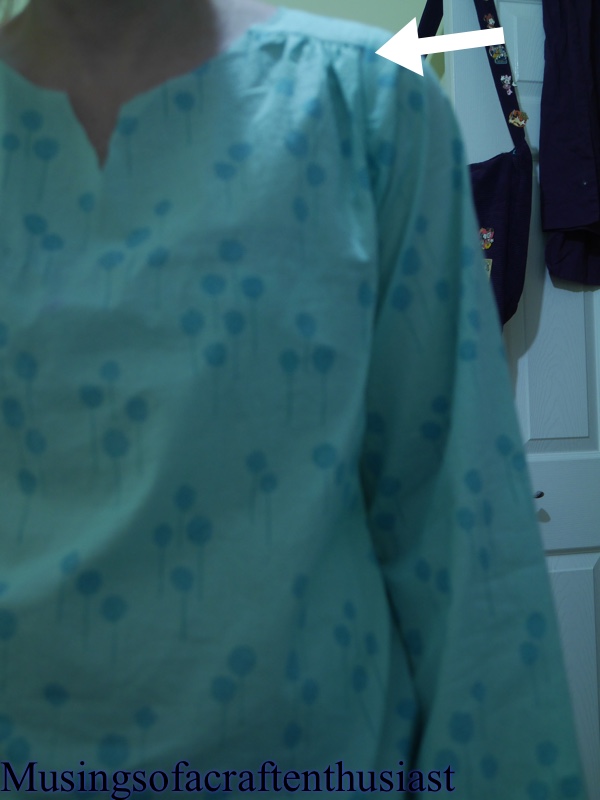
The rest of the fit doesn’t look too bad but I’m wondering if the whole garment might benefit from the extra fabric.
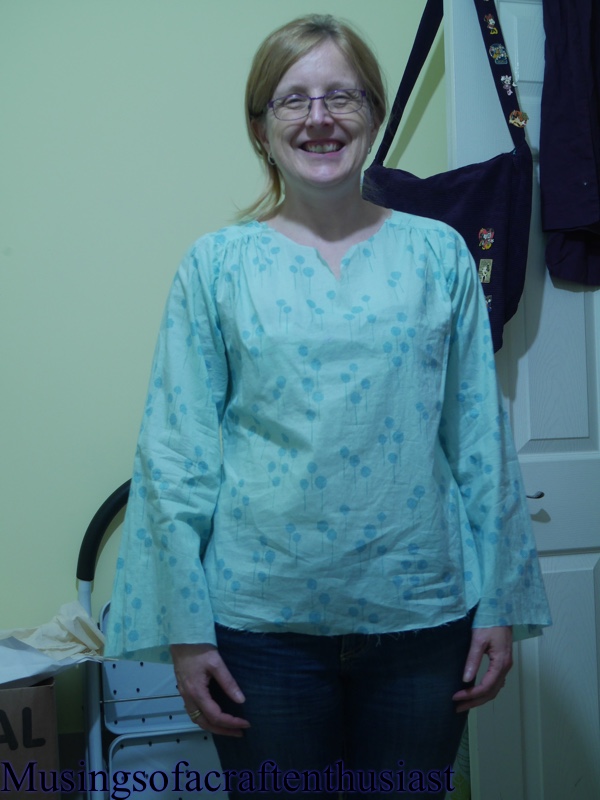

I’m still not keen on the sleeves, the next one I try will probably be the 3/4 sleeve with flared cuff.
Second, the Lutterloh Dress
It does appear to have a slight issue with sliding back, I know that there is a way to fix this, I just have to remember where I saw it.

The gathers at the bust line need to be more even and also look like they should be gathered in a slightly different place, as I said in the previous post the front is cut far too low. I also think that the top line of the skirt piece needs a bit of smoothing out as well.
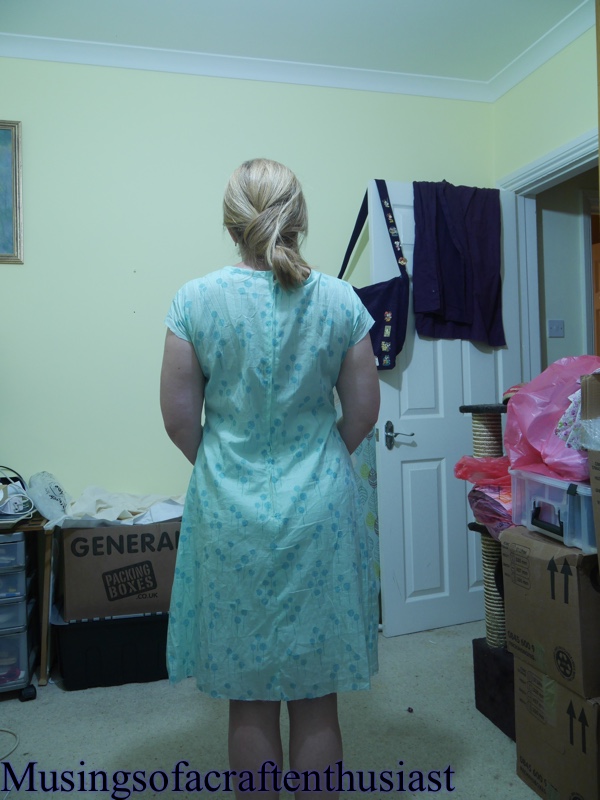
I think that the drag lines are caused by the dress sliding backwards but maybe it could do with a small sway back adjustment.
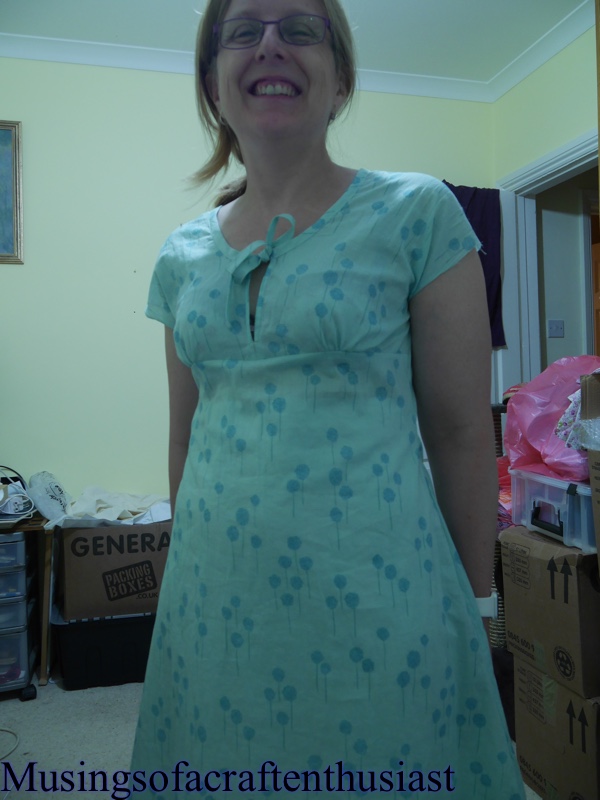
The dress doesn’t look too bad in this side view, it does highlight the gathers need to be moved

The arrow is pointing at where the point where I didn’t transition the top into the skirt portion correctly, which means it doesn’t drape properly.
hopefully more soon….
Love Notions – Rhapsody Blouse
I have had a couple of failures the last month or so, you will have seen the Lutterloh dress and this one which is the Rhapsody Blouse from LoveNotions, I had high hopes of this pattern, I have a similar top and I was hoping to reproduce it.
https://www.lovenotions.com/product/rhapsody-blouse-xs-xxxl, it has 8 sleeve types, I’m very impressed with the website, the pattern pages also have lots of pictures of how it looks made up, I am quite sure that my issue is more to do with fabric choices rather than a problem with the pattern.
I loved the look of the top right up until I attached the sleeves and then it was uck I don’t like you at all.


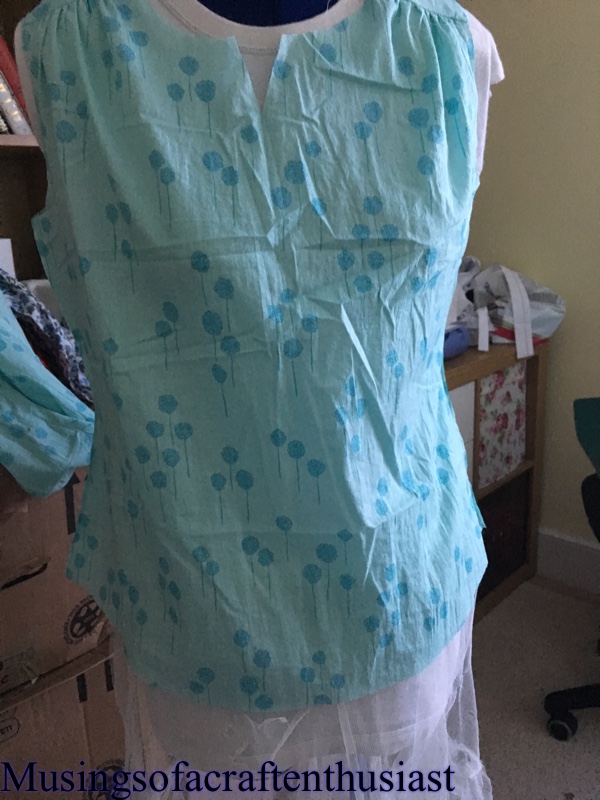
I am going to give it a good iron before making any decisions on it, I could just take the sleeves off and have it sleeveless or I could just replace them with the ‘cap’ sleeve as the arm hole is slightly bigger for the sleeved version than the no sleeved version.
It has French seams and gathers at the shoulder and a tuck at the back, last time I tried it on I realised that I probably should have made the larger size it doesn’t quite fit on the shoulders, but I am happy enough with the rest of it.
I will be making another attempt at this probably with softer fabric with more drape….
Plaintain for Liz
There still hasn’t been very much sewing done since my last post, with most of my fabric boxed up and the house still in a bit of an upheaval and will continue to be for the next 2 – 3 months crafting is looking bleak.
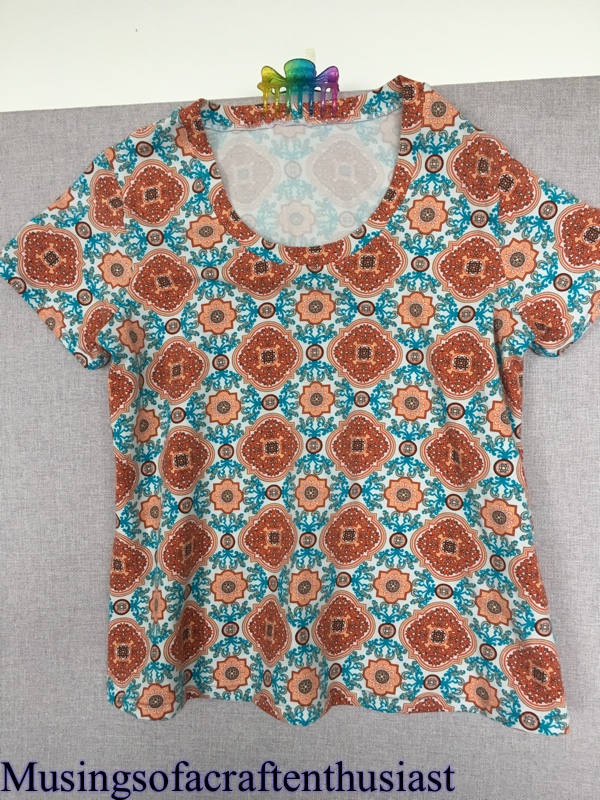
I do however have two makes to show you the first is a Plantain (no not another one I hear you say) this one is for Liz, as I had already corrected the pattern for her build, I had told her to get some T-Shirt fabric and I would make her a couple more.
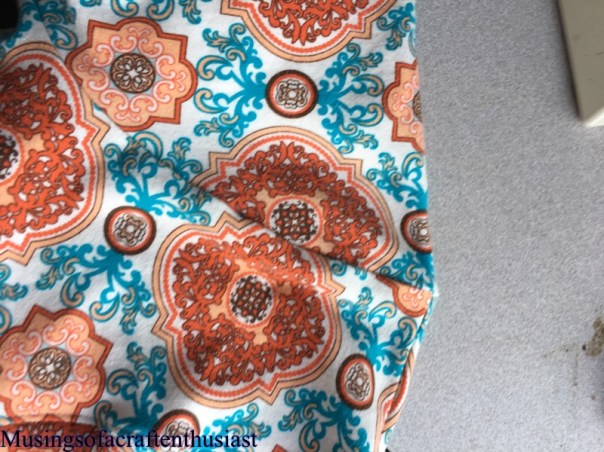
Liz bought her fabric from Kaye’s Textiles, it is a good quality Robert Kaufman print the only thing I’m assuming neither of us factored in, I know I didn’t until I laid it out to cut it, was the pattern.
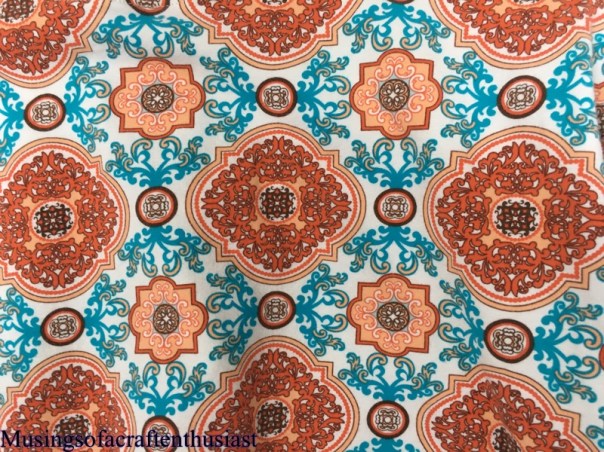
Booby nightmare, obviously the pattern needed to be centred but once centred do I try and get the pattern to not go across the bust line, or do I hope for the best, bearing in mind Liz wasn’t there to check the placement.
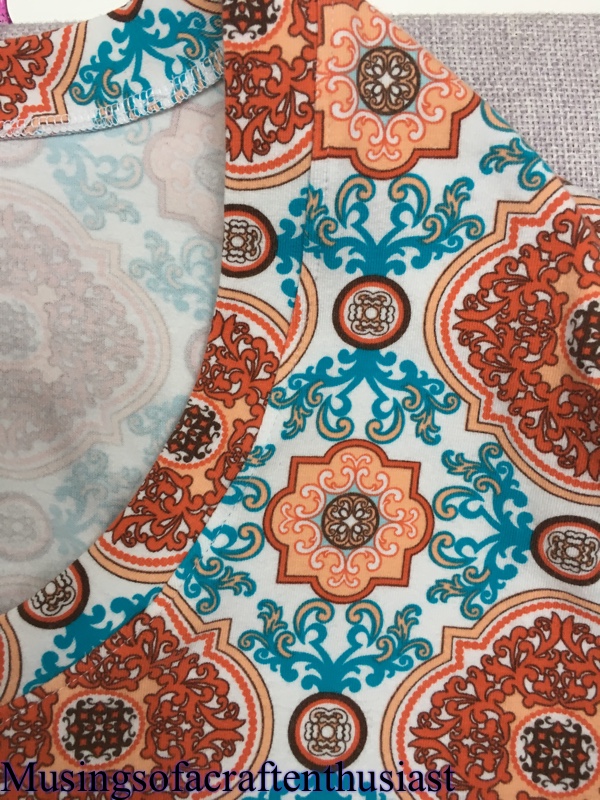
I hoped for the best, I haven’t seen it on yet but I am pleased with the finish, the fabric is a bit heavier than I have used for a Plantain previously so I hope it hangs alright.
I decided to have the lighter colour go down the middle and using the FBA point I worked out where best to place the pattern hopefully the bust point should go straight through the top of the repeat and avoid the small circles.
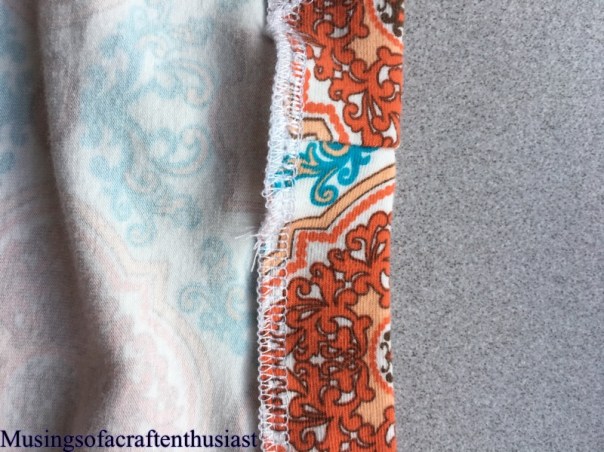
It was constructed using the Overlocker and finished off with my sewing machine twin needle and walking foot.
Deer and Doe – 5 plaintains
This is a quick post to tell you about the three Plaintains I made just before coming away.
They took about 3 hours from cutting out to finishing, I did most of the work on my overlocker which speeds up construction immensely.


 The first two were fabric from Olympia the third from eBay.
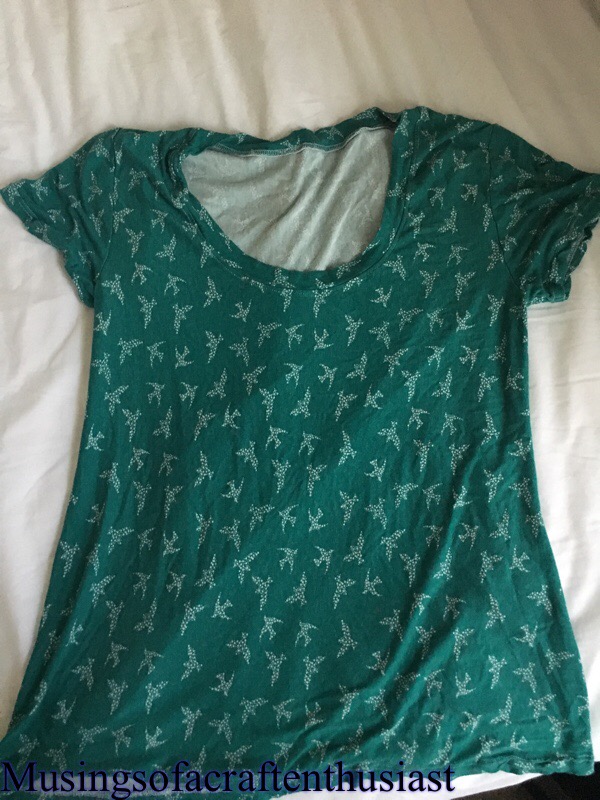
As I promised here are another two
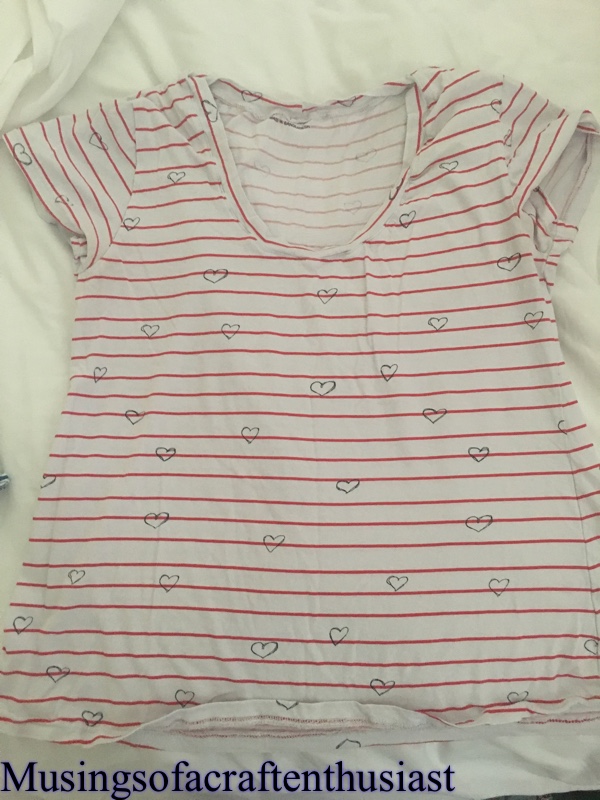
 The top fabric is from Primark, I bought two of the largest size T-Shirts and cut them up, the design isn’t printed on grain, so I had to make the decision of did I want it on grain or the lines straight, I went for the lines, It doesn’t hang quite right but that is better than looking at it with wonky lines 🙂 Bottom fabric is from eBay.
I overlocked the shoulders, inserted the neckband as per the instructions, I might go back to doing it the other way. Inserted the sleeves, pins are my friends for this on the overlocker as there is a very good chance of holes if the fabic isn’t totally level. Then up the sideseams and under arms. Over to the sewing machine for the twin needle hems and one row of stitching to hold the neck band in place.
Back soon….
sewoverit vintage shirt dress

Hello, here is number three in my list for February, the Sew over it Vintage Shirt Dress, the pattern is lovely and very easy to put together, however I was sort of led astray by the gumph in the little booklet and should have gone with my initial thoughts to do a size smaller.
The pattern does give you the finished sizes for bust waist and hips, it also says that the dress had less ease than the big four patterns, looking at them I should have gone with the smaller size, however I am very conscious of ‘design’ ease.
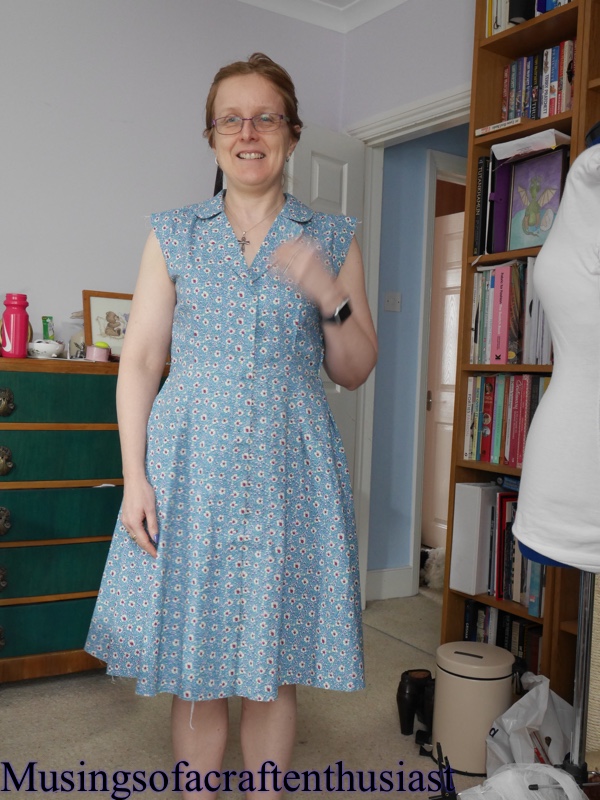
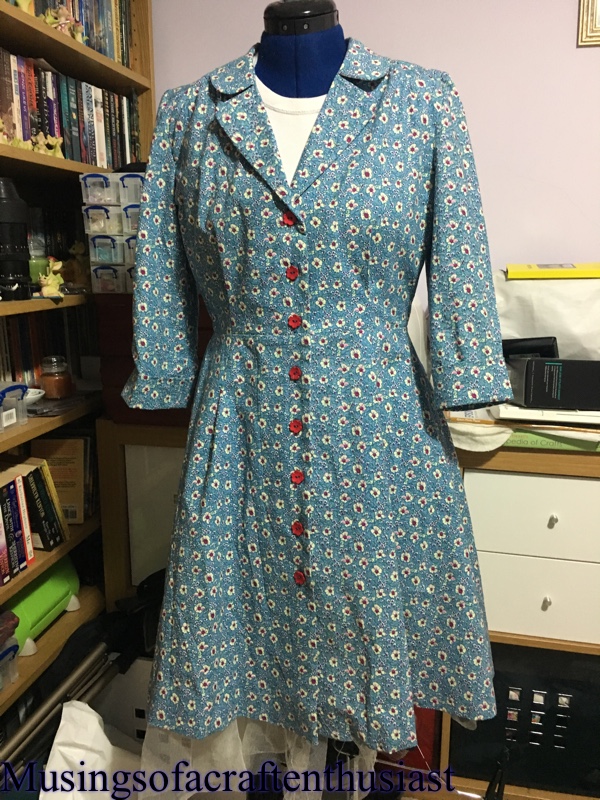
As you can see I changed my mind about the fabric, and you can also see it is a little bit shapeless and that is with taking a extra inch out of the waist.
luckily though before I did my usual 1inch out of the bodice I checked the internet, and discovered that the top piece was quite short anyway, after measuring it I came to the conclusion that it didn’t need to be any shorter.
The instruction booklet was very straight forward and the set in sleeves were some the the easiest I’ve installed. One of the changes I should have made though is a full bicep adjustment, although I can get the dress on I can’t move my arm. The two choices I have is to either make it no/short sleeves or see how much I can get back from the seam.
If I make it again I will make the smaller size do a SBA and widen the sleeves. I’m not sure if the fabric is just a little stiff for this pattern as it makes me think of a coat dress rather than a shirt dress.
At the moment I am toying with taking it apart and making the smaller size. I don’t think that I’ll wear it as is.
next up challenge for March
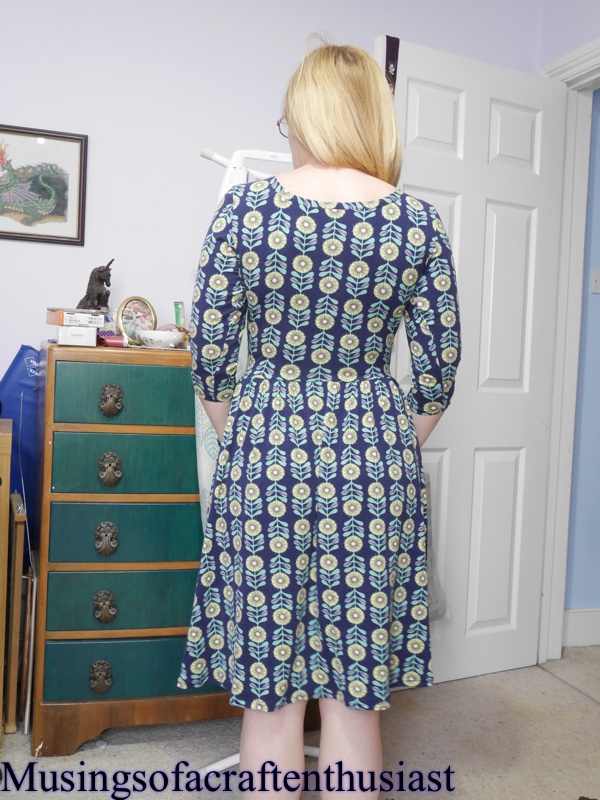
Moneta Dress Mk2
I managed to get in a second Moneta dress this month, this fabric has been in my stash a little while, I think is an eBay buy, it is a slightly heavier t-shirt fabric.
I made this moneta a size smaller on the top, removed 3/4 inch from the length of the top and graded out to the same waist measurement, with the skirt staying the same size.
I feel that this is a better fit.
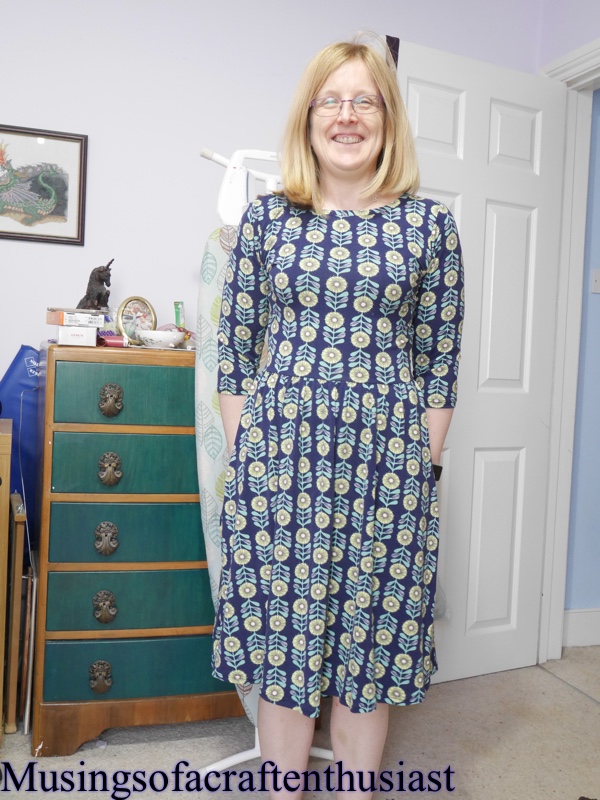

I lengthened the sleeve again by 2 1/5 inches but used a binding for the neck, I assume because it is a heavier fabric than the last one it was easier to tell the back from the front, while putting it together I had stitched a small square of fabric to both back pieces.
bye for now.
Project 1-part one, January

This is my inspiration photo
As I said in my previous post I started cutting out the top of another pattern before deciding this fabric was totally wrong
The first thing that I needed to do was to work out if I had enough fabric left over to make the skirt. I suspected, looking at the picture that was a 3/4 circle skirt, it didn’t look full enough to be a full circle, after spending 5 minutes looking for my skirt pattern, then looking at the instructions in the sewmanydresses book I decided that I couldn’t be bothered with creating a 3/4 circle pattern.
I folded my fabric in half and pinned it still, I took my water soluble pen attached it to a piece of string held it in one corner of the fabric and made two 1/4 circles on the folded fabric with the pen on the other end, then just cut 1/4 off each piece, which was handy because I used those bits for facings.
I decided that I could use the basic bodice from the sewmanydresses book, it did give instructions on how to make a button down bodice, unfortunately I didn’t have the fabric to use the all-in-one method so had to cut a separate button tab.
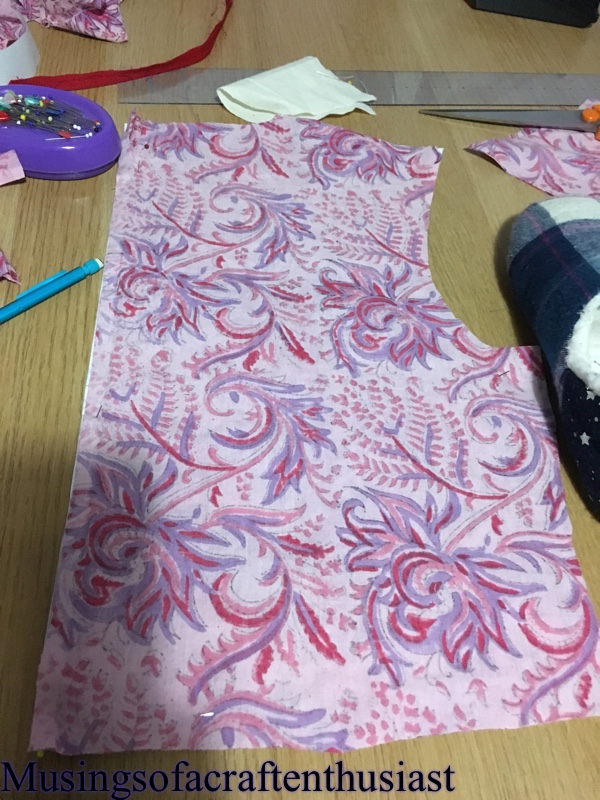
I had a couple of problems due to the fact I had already cut out the bodice pieces for the other outfit and so would have to use these to create the top of my dress. The main problem was that the fabric wasn’t quite wide enough, using a 3/8 inch seam allowance on the front I managed to move my under arm problem into the seem allowance.
I did add an extra bit to this fabric before cutting out, I straight stitched then zigzagged an extra bit, the last place you need a weak stress point is under the arm.

there was also a tiny problem with the back of the neck but I decided to just make the back neckline lower.
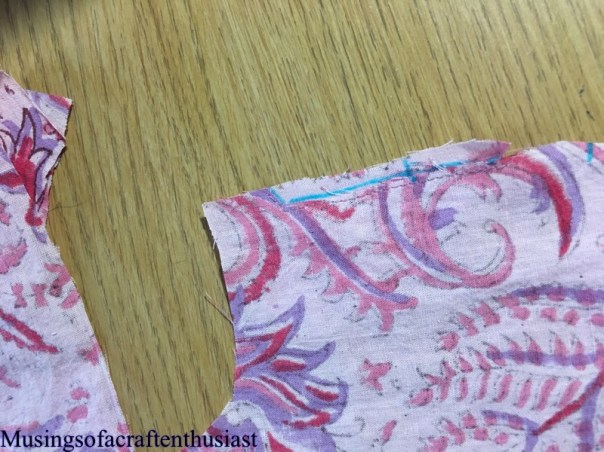
If you look closely at the next picture you can just see where I am going to cut the neckline to. There is a faint blue line on the left side of the photo.

I am quite pleased with it so far, I have decided on 22mm white buttons, which I need to get and I think I am going to try bias binding on the hem and armholes.
More soon…..


