Craftsy – Sewing with knits: 5 Wardrobe Essentials
Hello, in preparation for the Davie Dress, I decided to take a Craftsy class on knits, I narrowed it down to two and I decided on the Sewing with knits: 5 Wardrobe essentials, the two main reasons I picked this one is on reading the reviews the other class didn’t have any demonstrations and the second reason is that that this class actually came with some patterns.
I will admit Meg McElwee does go on a bit to start off with and does say umm a lot, however once you actually get into the actual course material she is very good, so if you have started the class and feel that you can’t put up with the umming and the things you don’t want to know about, just skip straight to either lessons two or three, I jumped straight to the scoop neck Tee, but did have to go back and listen to Hoodie as a couple of times Meg said that she had covered that construction detail in the Hoodie class.
I had a large piece of T-Shirt fabric that I bought last year waiting for Simon to tell me which of his T-Shirts he wanted me to copy which he never got around to (he says I never mentioned it to him). So after printing off the T-shirt pattern and sticking it together I checked the size copied it off and cut out my fabric. Although Meg does say that you could use an Overlocker(serger) for this she exclusively uses a sewing machine.
We go through the lessons step by step, the first bit is putting the the clear elastic/ shoulder seams using a three stitch zigzag, I wasn’t convinced by this watching the video and in practice my fears were correct, the seam looked loose and not very professional, It could just be that my stitch wasn’t close enough together and I need a pit of practice.
The other seams and the neck were put together using a plain zig zag Megs was set at one wide and two long, my Singer sewing machine wouldn’t let me go any lower than 2 for the width , but it did have a preset for stretch fabrics, which sort of looks like a lighting bolt which worked brilliantly.

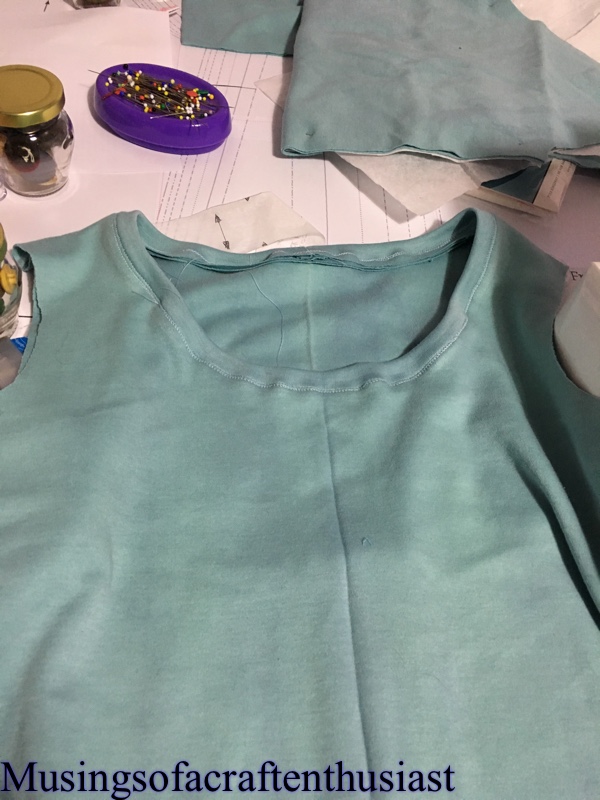
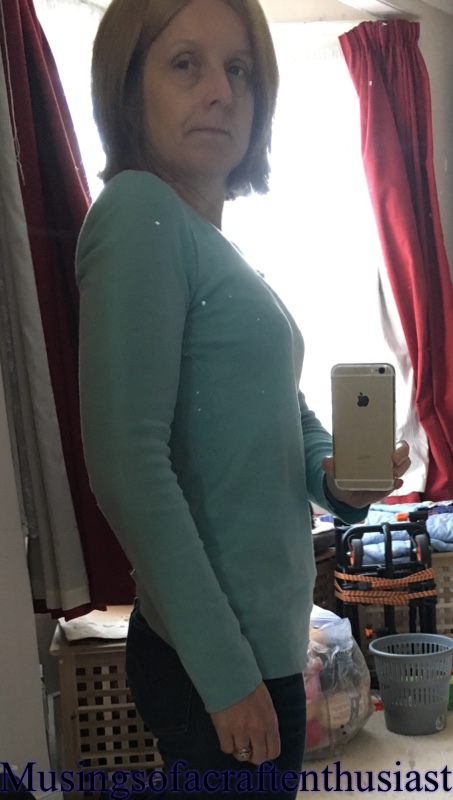
Meg showed us how to put on the binding for the neck and put two rows of stitching to hold it down, the sleeves are put in flat and then the side seams and underarms, two rows of stitching are used for the cuff we then use a twin needle for the hem. Full disclosure I put the t-shirt on after sewing the side seams and underarm and decided it was too big, so I haven’t done the finishing off, but I have worn it a lot round the house for slobbing about in and it is very comfortable. When I make the next one it will be in a smaller size.
This is the first time that I have used the walking foot that came with the machine, once I got it fitted it worked really well, I had no puckering on the fabric or unsightly stretching.


I bought this class in the sale so the patterns made this a great bargain, but I would recommend this class even though I skipped most of the first two lessons.
Posted on 08/01/2016, in CBT, Craftsy and tagged Craftsy, stretch fabric. Bookmark the permalink. Leave a comment.


Leave a comment
Comments 0