Blog Archives
Vogue 9379
I had started making this dress before ‘the event’ I’d changed my mind about which dress I was going to make for the 1st august wedding, I’d run out of time for the pattern I felt that there could be some fitting issues so I decided to go with this dress instead.

It was all cut out and I’d even put a test muslin together checking the install of the under arm gussset and whether or not I would need to do a Small Bust Adjustment, which I did need to do, the underarm gusset went in faultlessly, which either means that it goes in a lot easier if the fabric is quite stiff, or I didn’t put the marks in the correct position after doing the SBA.


I had put the two back and two front skirt peices together and started attaching the pockets, it was while attaching the third pocket piece that I had realised something was wrong.
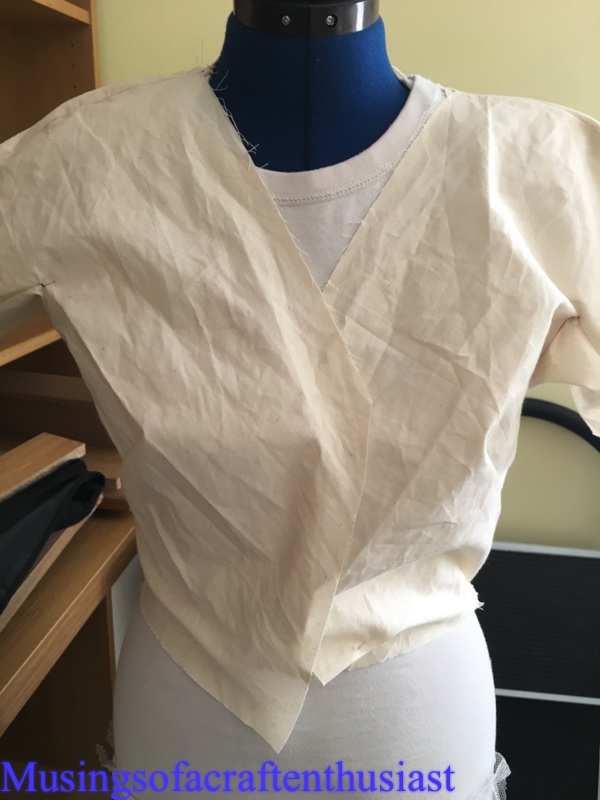
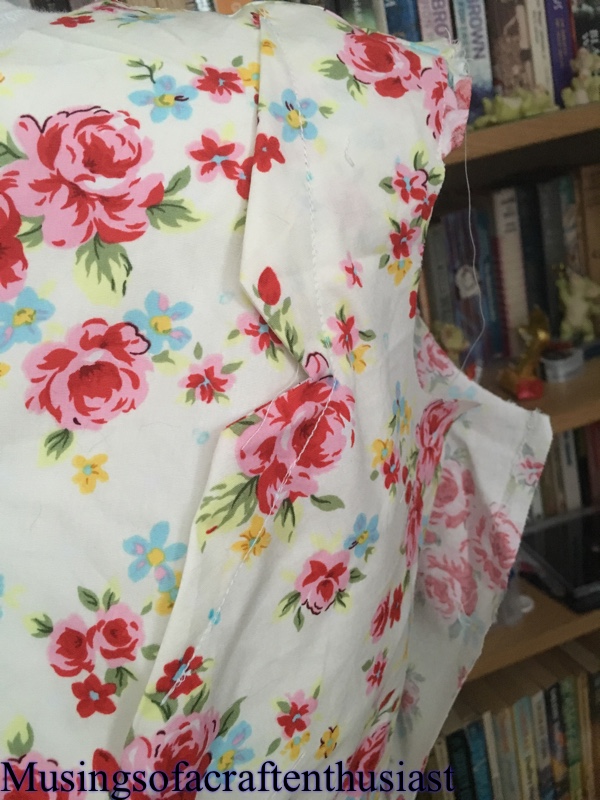
Now out of the hospital I have attempted to complete the dress, here is the front the shoulder seams are pinned the under arm gusset is installed.

You can see the slight pucker in the corner that means it won’t lay properly

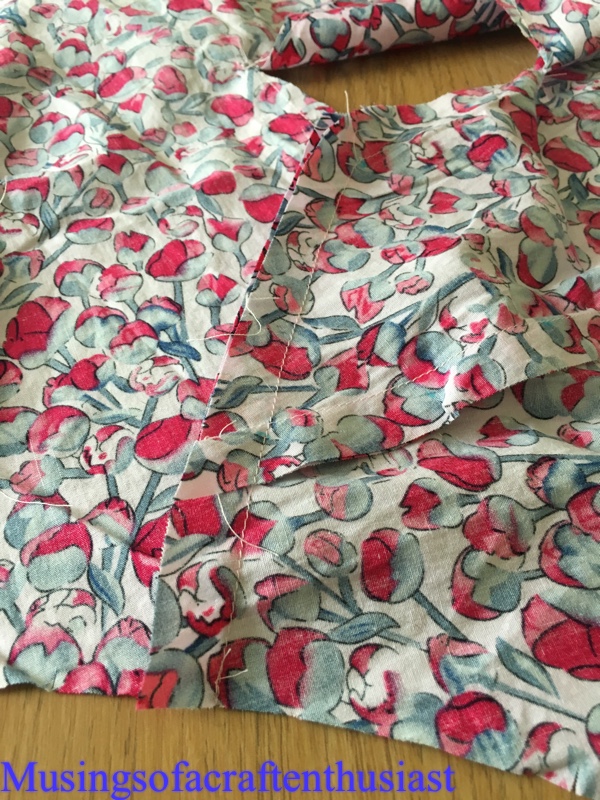
The side seam point has gone in perfectly

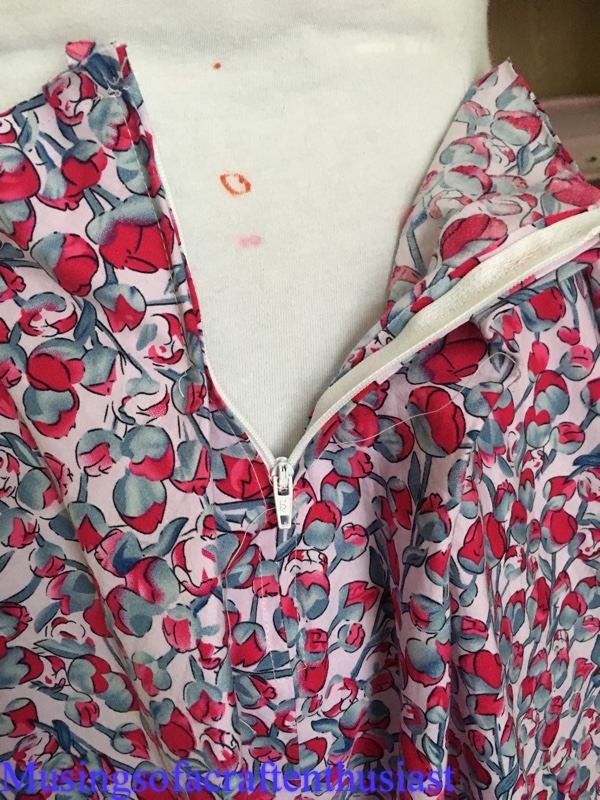
This is the basting of the pleat over the zip

zip installed wth basteing


With the gathers on the skirt. Because I need to unpick at least half of the gusset I’m going to put this dress to one side now until I feel better able to manipulate the fabric into the correct position, as you can see from the photos above the gusset went in perfectly on the muslin.
I am going to look for something easier to do as my first make after coming out of hospital.
February Projects
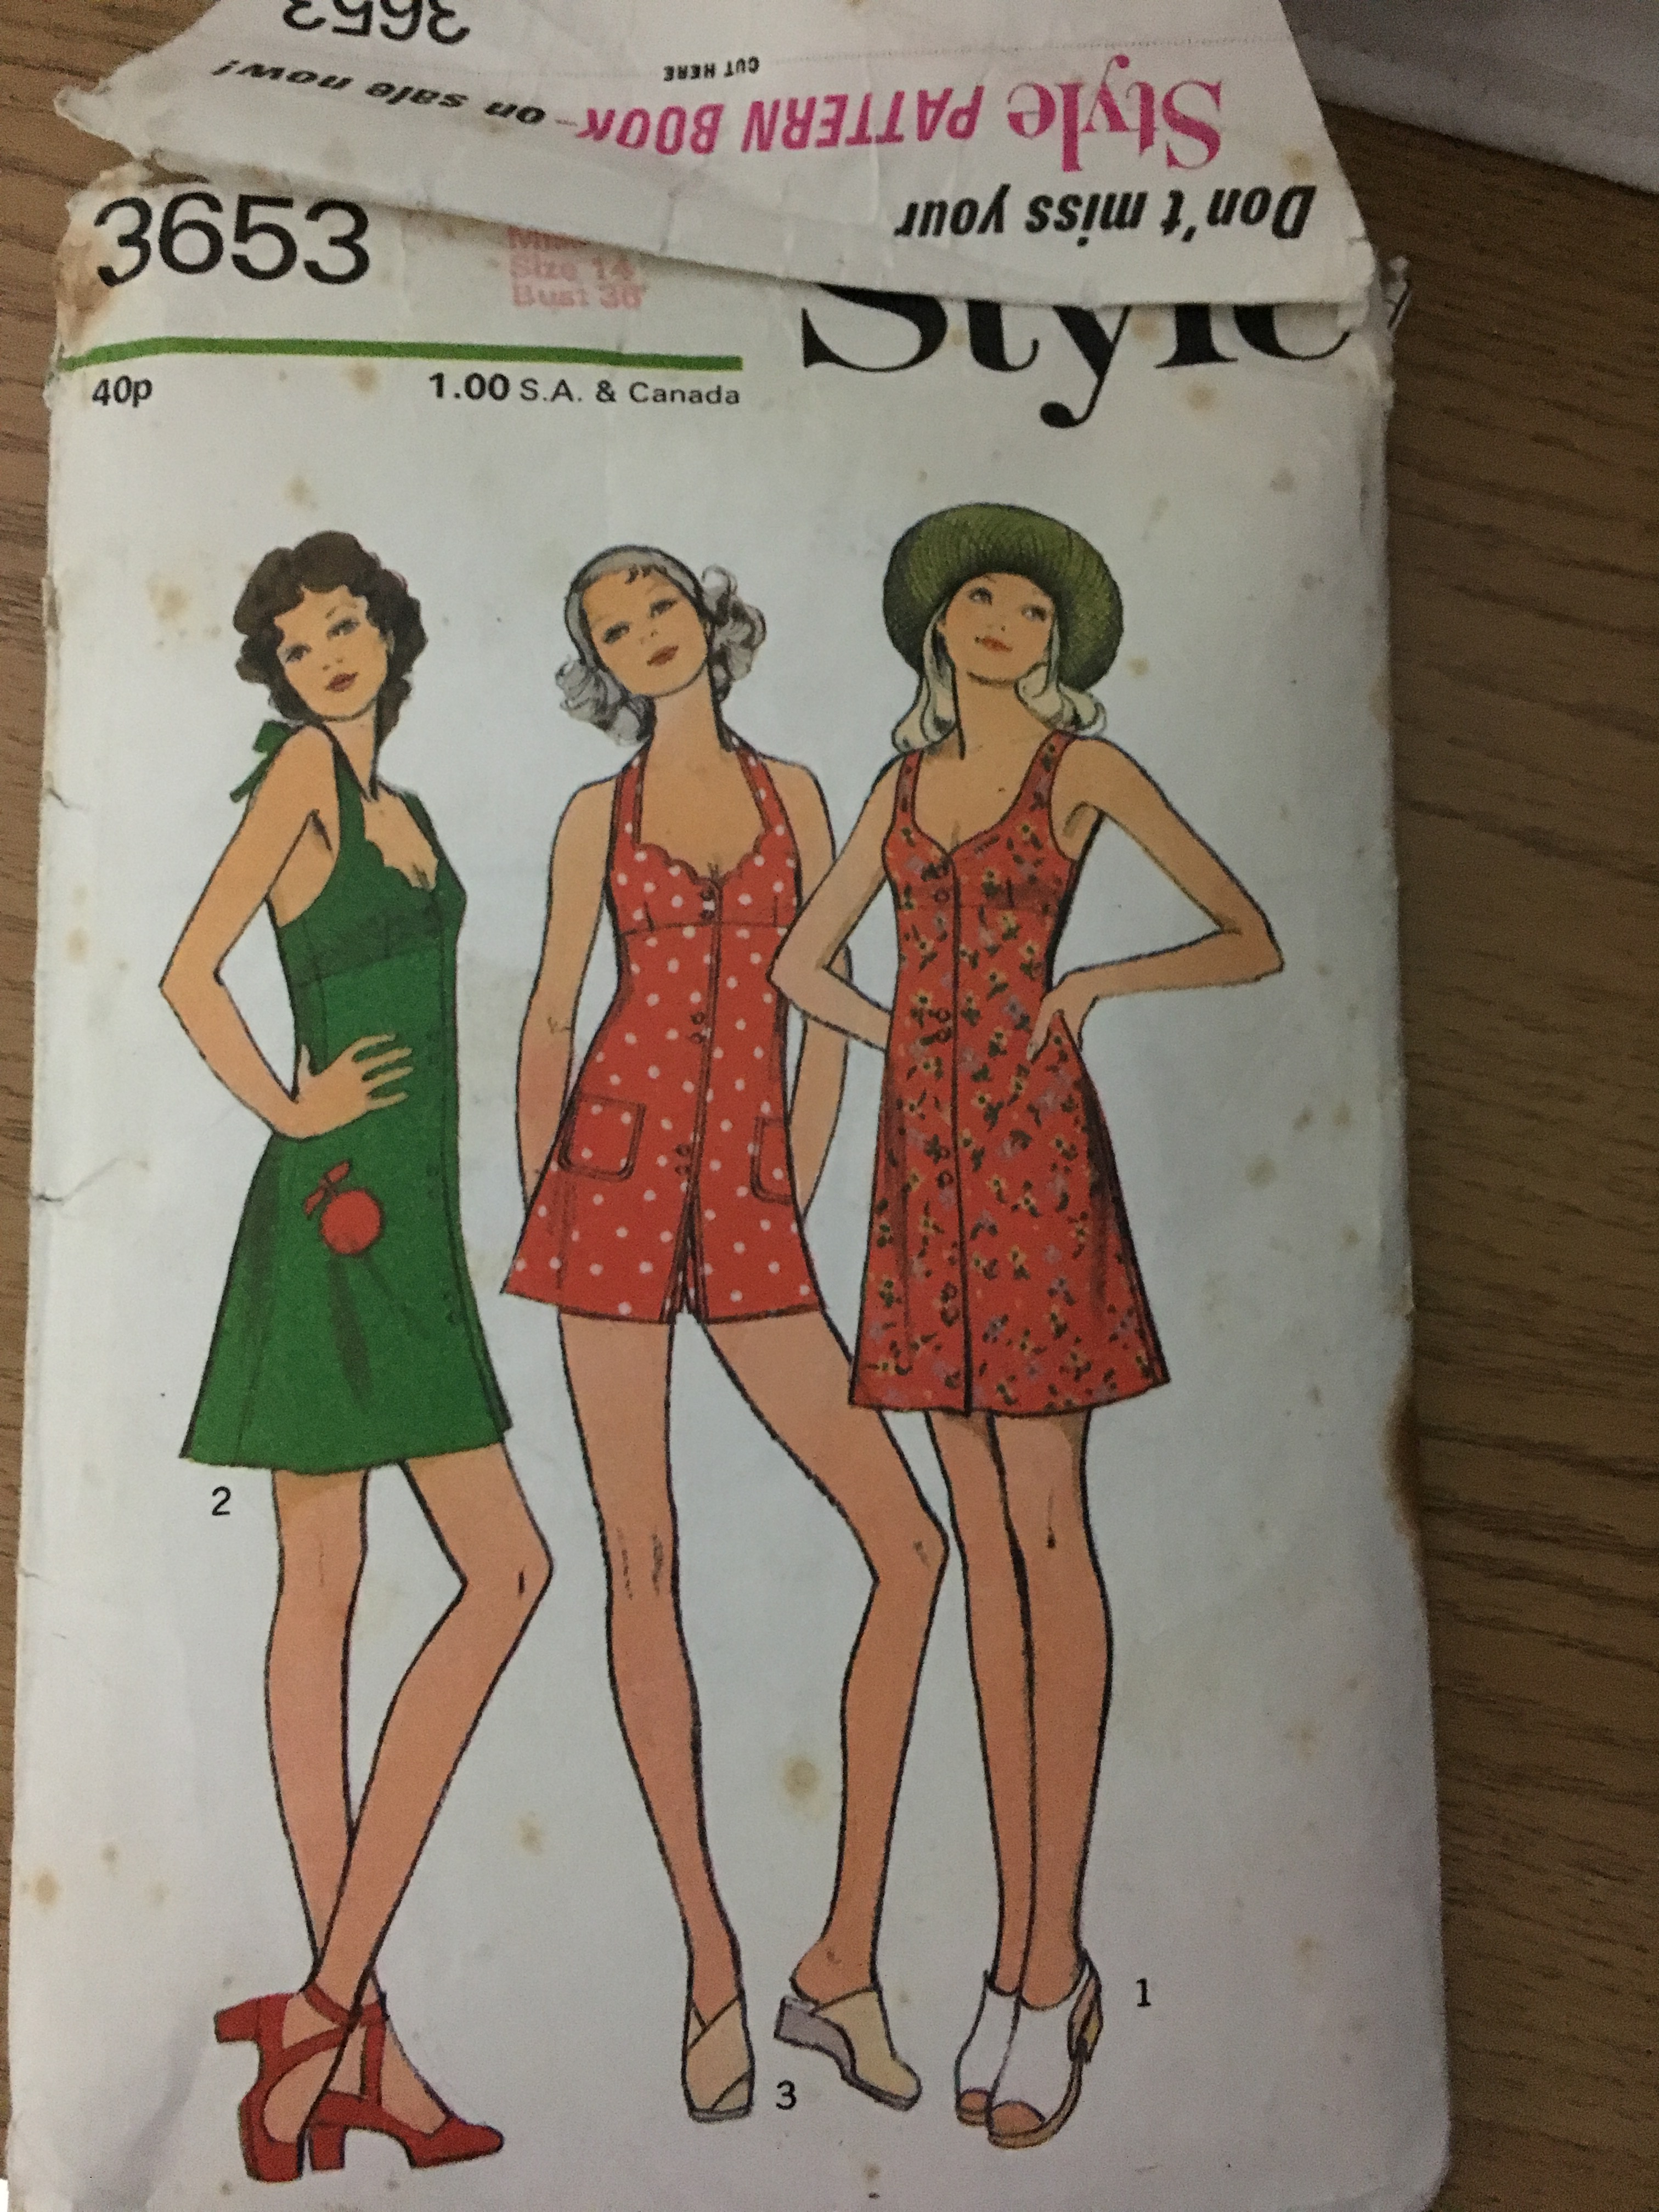
We have another bonus project coming up, I changed the fabric I decided on for the sewoverit shirt dress, after cutting it out I had enough left over to cut view 3 shorts and a halter neck top.
I did make a test version on the shorts which fitted perfectly. The shorts though straightforward has no waistband, it has grosgrain ribbon instead, this was as fiddly as putting the elastic in the moneta dress.
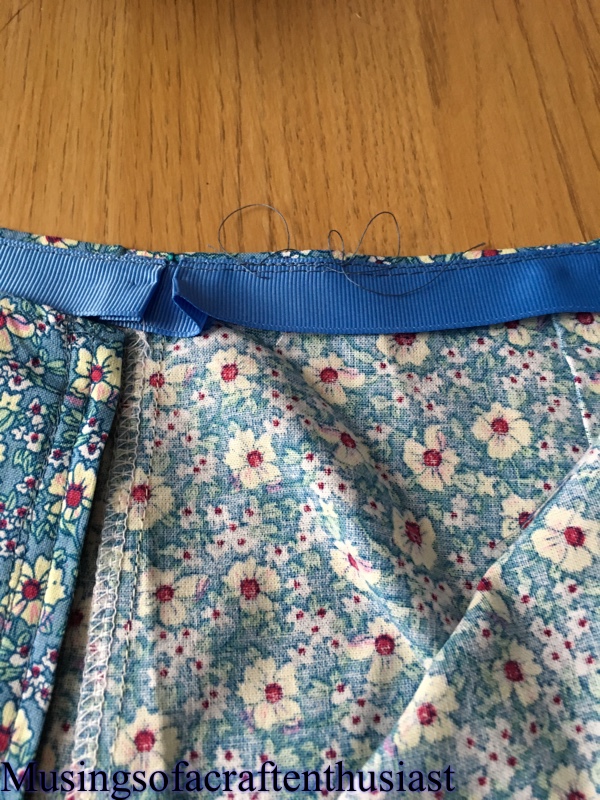
Those little folds at the seams were very hard to keep in place as you stitched them down then you fold them over and stitch in place, you then tack them to the seam allowance I’m assuming it is to give a better fit as it will expand over the hips.
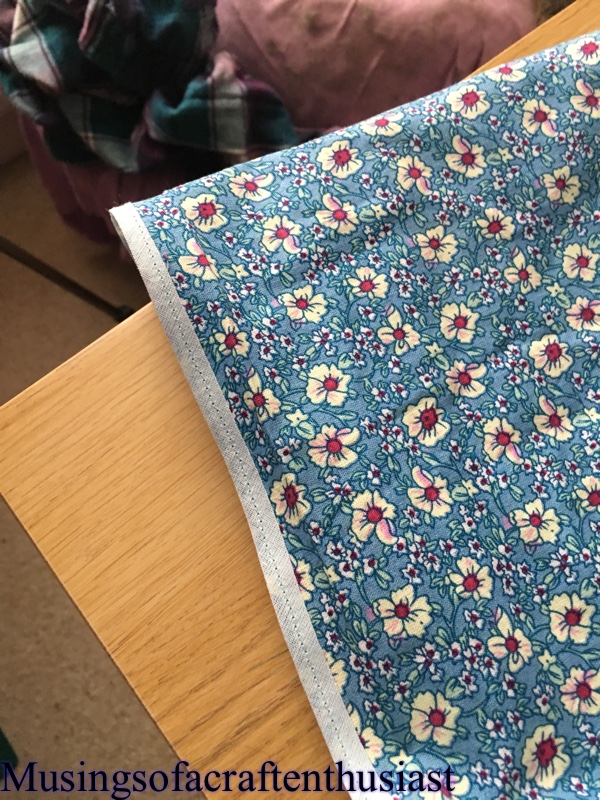 I used bias binding on the hems as instructed by the pattern which does give a nice clean finish as you can in the photo above I used my overlocker on the seams.


I removed 1/2 inch from the side seams and shifted the strap over slightly, once the top had been put together I had to remove a further 1/2 inch if I make this again I will have to reduce across the top pattern.

 Here is a picture of the outfit with buttons
 More soon
This post is brought to you by sewing disasters such as……
A) not pre washing your fabric
B) making a shoddy job of up-sizing a top pattern
I will confess I have some what lost my sewjo this year, after finishing The Dress For Liz, which I had a deadline for I’ve sort of been at a loss, so I have decided to fix a couple of sewing disasters. You might remember this border print dress after I finished it I washed it, apparently I hadn’t washed it before cutting it out doh…to be honest back then I didn’t always pre wash, I’d never had a problem until this dress.
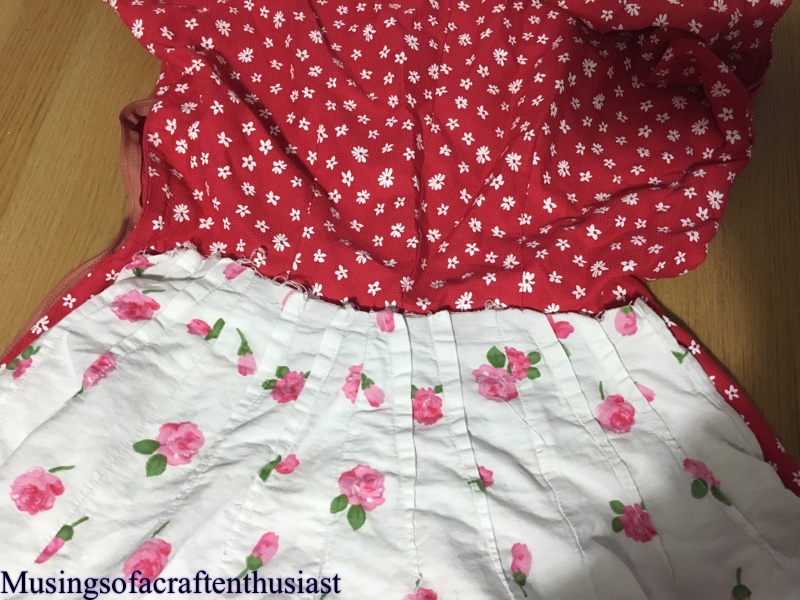
After taking it apart and giving it a good iron I compared the pattern pieces and discovered that each skirt piece (8 in all) have lost 5/8 th of an inch that was a lot of shrinkage, no wonder it no longer fitted

 So I have re-cut the skirt luckily I had already decided that I didn’t like the way a the hem looked and I was planning on shortening the skirt anyway, which was just as well as to get the width from the skirt pieces I needed to cut off about 2 inches from the top of them.

Luckily I had enough fabric left over from the original fabric to totally re-cut the bodice, which I have done, I also make the adjustment that I would usually make by taking 3/4 inch out of the bodice.
So far I have but all the darts back in, 2 in each skirt piece and three in the front bodice, unfortunately it is a bit hot at the moment for ironing, but this is England so I’ll just give it a couple of days 🙂
The other dress this one I made a bit of a hash of it, it was too big but because of the cut-out I couldn’t just re-cut the bodice from the original, I had to buy another half metre of fabric.
Out of the new fabric I have cut the front bodice and half of the facings, I’ve used the original back peice and cut that smaller and have cut the front neck facing from fabric left over from the original fabric.
So far I have overlocked the original skirt pieces, done the darts in the bodice and again waiting for the weather to break.
UPDATE
Didn’t manage to get this posted before the weather broke, as I said this is England.
I now have all the pintucks done in the border print dress, and the 8 skirt panels have all been overlocked.
On the other dress I have the bodice put together, it is now waiting for the facings to be put on.
bye for now
Kimono Sleeves
I’m not sure about kimono sleeves, they are easy to stitch together but I always seem to have far too much fabric under my arm. The question is though, is it because I don’t have enough bust to take up some of the loose fabric? or less likely the fabric I am using is just not drapey enough.
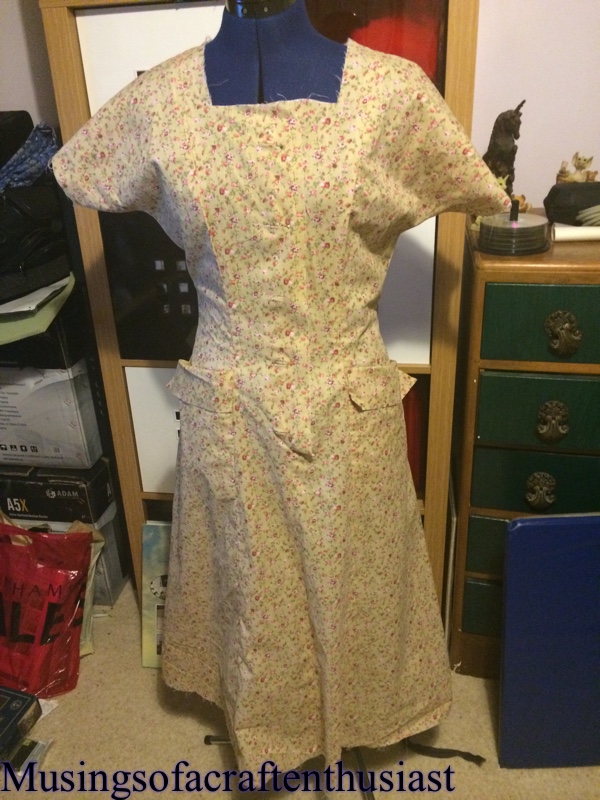
For instance the dress I’m working on at the moment it’s a New York pattern no. 1478 it looks great on the envelope.

I even like 90% of it stitched up, the fabric is hideous it didn’t look that colour when I bought it but that’s the problem with buying on ebay, the other two pieces of fabric I bought at the same time were great. Back to the dress, the fit isn’t bad, I probably need to take about half an inch out of the length on the bodice, but that’s why I used the ugly fabric, but and this is a big but, if I were to go out in a strong wind in it I would probably take off with the amount of loose fabric under my arms
This isn’t a problem with just this dress, out of the five different dress patterns made with kimono sleeves only one of them didn’t have to have 2 inches out of the side seams on either side. I don’t know if this is a common problem, I haven’t been able to find anyone else complaining, maybe I should just get some extra padded bras to wear under these dresses or extra drapey fabric or I’ll just keep taking them in under the arm.
I am going to have to set up a better photo studio as the light in here is terrible.
Despite the fabric, I do like this dress, I like the pockets which don’t lay totally flat, I like the pocket flaps and I like the shape, I’m very proud of my first attempt at bound button holes, and thanks to Gertie’s guide to better sewing I now know what I’m supposed to do to the facing behind the button holes.
Tracy


