Project 3, January
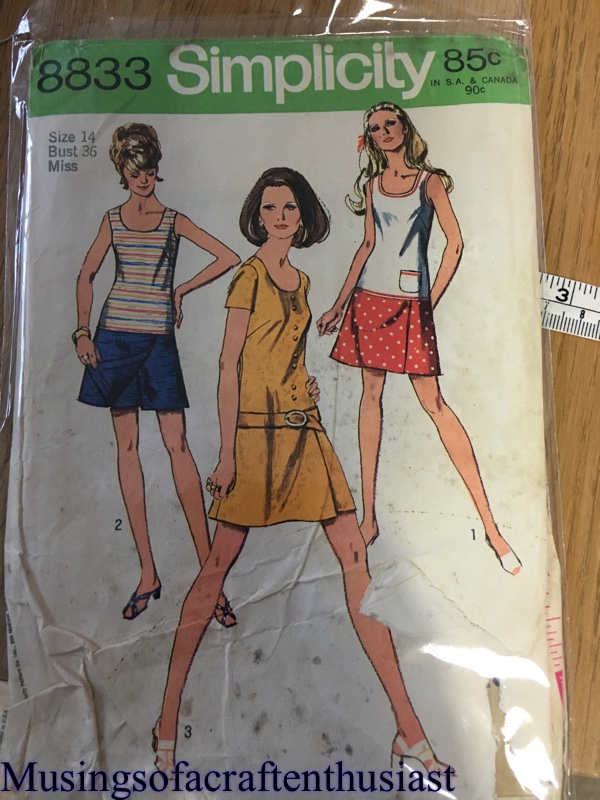
Here is project 3 for this month, once I had shrunk the pattern, it is actually a very quick make.
To shrink the pattern I traced it off on to x and dot paper, I used to use the burda tracing paper but I find it just a bit too flimsy for this type of thing. I shortenend it by 3/4 inch first then cut it into five strips, each strip I overlapped 1/8 inch and stuck it back together, I had been using pritt stick, but I managed to pick up write on able scotch tape before christmas so I used that, it is quite a lot easier. The next thing I did was a SBA of 1/2 inch.
I checked the measurements before laying it out and decided that I needed to put the two inches removed from the top back at the hip it’s a pity I didn’t realise this earlier as it would have meant I didn’t have to change the bottom half.
The fabric is a beautiful purple with a white ‘flower’ design, I layed the pattern pieces out and drew on the extra 1/4 inch to the outside seam cutting out immediately, the last thing I wanted to do was forget what I had decided.


I actually put the dress together as per the instructions which meant hand stitching all the hems, the main problem with that is the ‘skirt’ pieces need to be hemmed before they are attached to the shorts.


basically you put the top half together with the darts, facing and zip, for some reason at this point you don’t touch the sleeves, then you put the front shorts together and add the skirt overlay then repeat for the back, then finish making up the short and attach to the top half, once it is all cut out, even with the hand stitching it only takes about 3 hours to put together.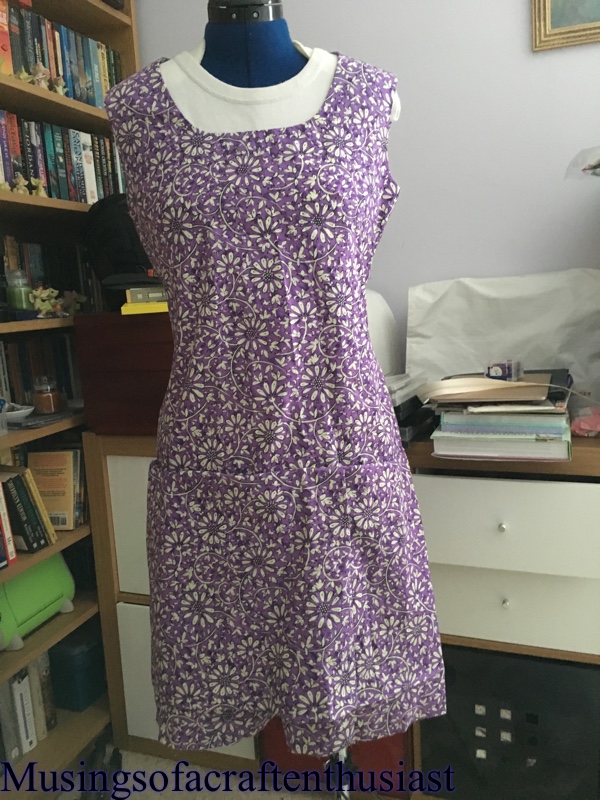
more soon…..
Posted on 30/01/2017, in 1970, simplicity 8833, vintage dress making and tagged #vintagedress. Bookmark the permalink. Leave a comment.


Leave a comment
Comments 0