Blog Archives
Project 1 – Part 2 Finished
I have my first finished Dress of the year and my first Dress for Florida, yes unfortunately you can expect two weeks solid of posting about Florida again.
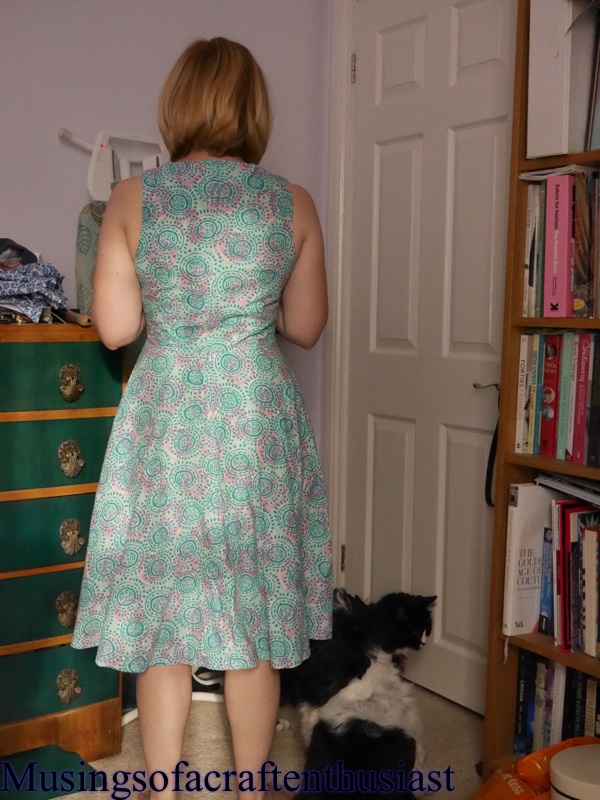
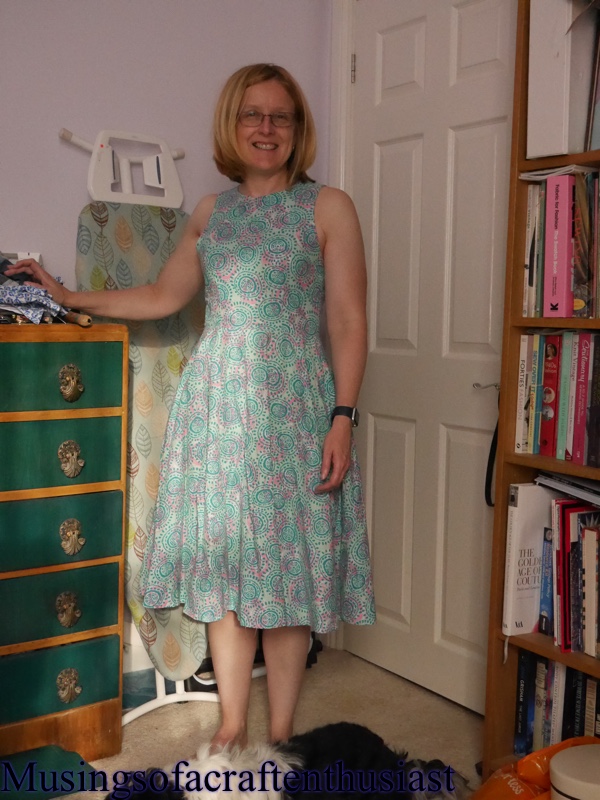
I am very pleased how this dress has turned out, the bodice fits perfectly, the white buttons add just enough interest to the front to stop it being too boring.
I used self made bias binding for the arm holes and skirt hem, as i had been a bit tight for length I didn’t want to use too much on the hem.
One of the arm holes doesn’t lay quite right under the arm, but I have already had the binding off once and it doesn’t look much better. I’m wondering if I cut it slightly wrong as I freehanded taking off 5/8 of an inch. If you look closely at the inspiration dress I think that the binding is on the outside.


Project 2 new bra doesn’t really warrant it’s own post, it has come together really nice it is still slightly too tight across the right cup but it looks a lot better.
Project 1-part one, January

This is my inspiration photo
As I said in my previous post I started cutting out the top of another pattern before deciding this fabric was totally wrong
The first thing that I needed to do was to work out if I had enough fabric left over to make the skirt. I suspected, looking at the picture that was a 3/4 circle skirt, it didn’t look full enough to be a full circle, after spending 5 minutes looking for my skirt pattern, then looking at the instructions in the sewmanydresses book I decided that I couldn’t be bothered with creating a 3/4 circle pattern.
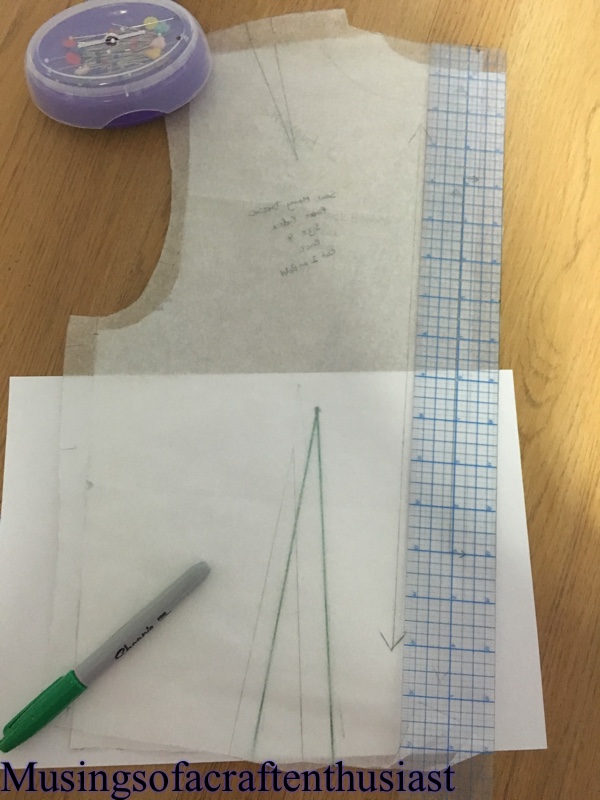
I folded my fabric in half and pinned it still, I took my water soluble pen attached it to a piece of string held it in one corner of the fabric and made two 1/4 circles on the folded fabric with the pen on the other end, then just cut 1/4 off each piece, which was handy because I used those bits for facings.
I decided that I could use the basic bodice from the sewmanydresses book, it did give instructions on how to make a button down bodice, unfortunately I didn’t have the fabric to use the all-in-one method so had to cut a separate button tab.
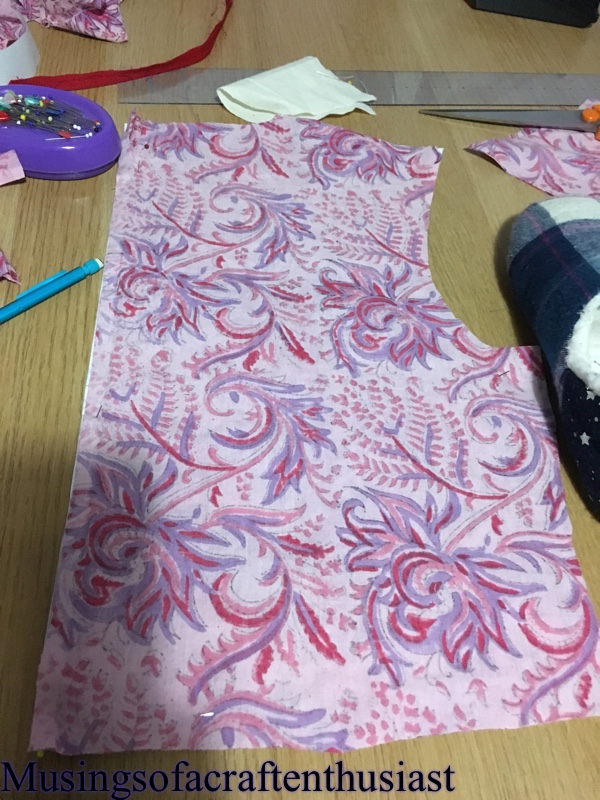
I had a couple of problems due to the fact I had already cut out the bodice pieces for the other outfit and so would have to use these to create the top of my dress. The main problem was that the fabric wasn’t quite wide enough, using a 3/8 inch seam allowance on the front I managed to move my under arm problem into the seem allowance.
I did add an extra bit to this fabric before cutting out, I straight stitched then zigzagged an extra bit, the last place you need a weak stress point is under the arm.

there was also a tiny problem with the back of the neck but I decided to just make the back neckline lower.
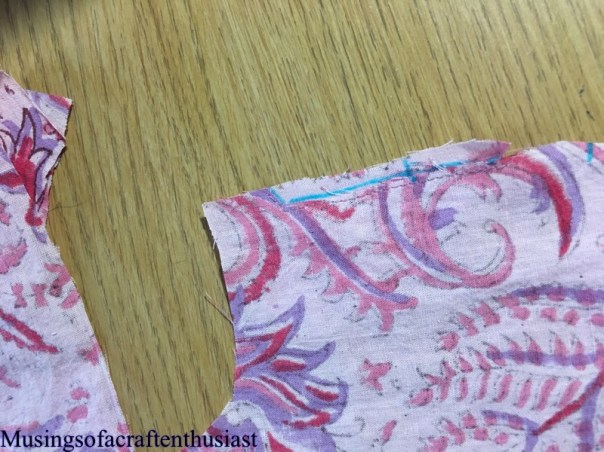
If you look closely at the next picture you can just see where I am going to cut the neckline to. There is a faint blue line on the left side of the photo.

I am quite pleased with it so far, I have decided on 22mm white buttons, which I need to get and I think I am going to try bias binding on the hem and armholes.
More soon…..
Tanya Whelan – sew many dresses
Just a quick post to show you the equivalent dress from Tanya Whelan’s dress book so you can compare it with the one from Gertie’s Ultimate Dress book
Here are the two back peices Tanya’s one is on top it has an extra shoulder dart, which Gertie’s didn’t it is also drafted without the seam allowance which is why it is over slightly. After wearing both dresses I think that the arm holes and back neck fit better on Gertie’s but the rest is better on Tanya’s.
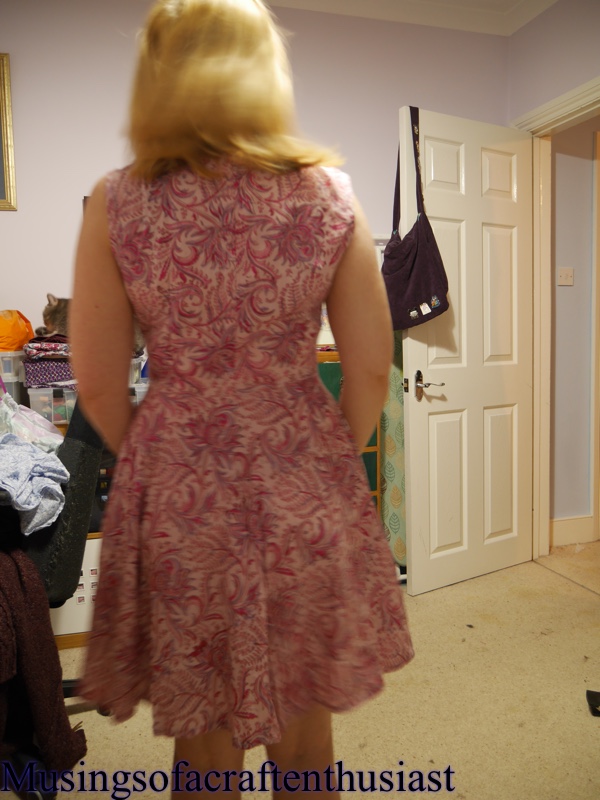
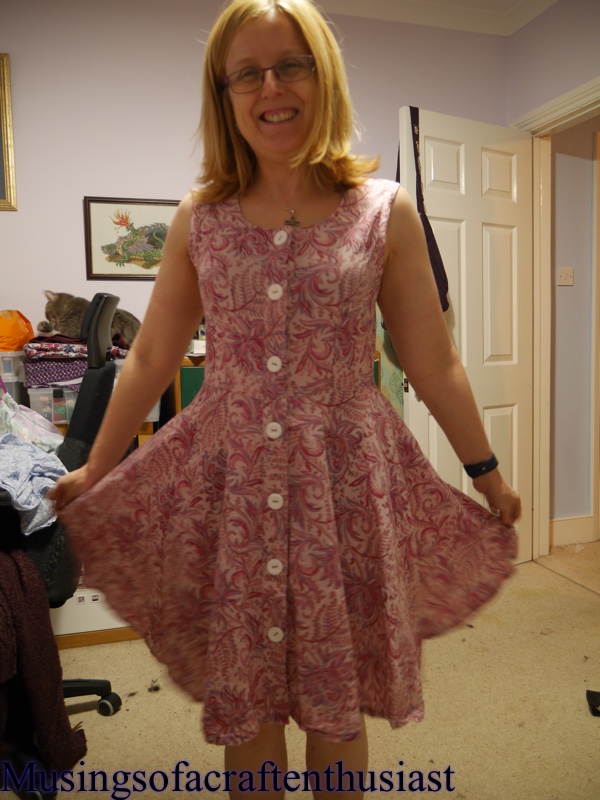
Here are the dress pictures, I bought the fabric from Olympia earlier in the year, it was a lot heavier than I thought it would be.