Blog Archives
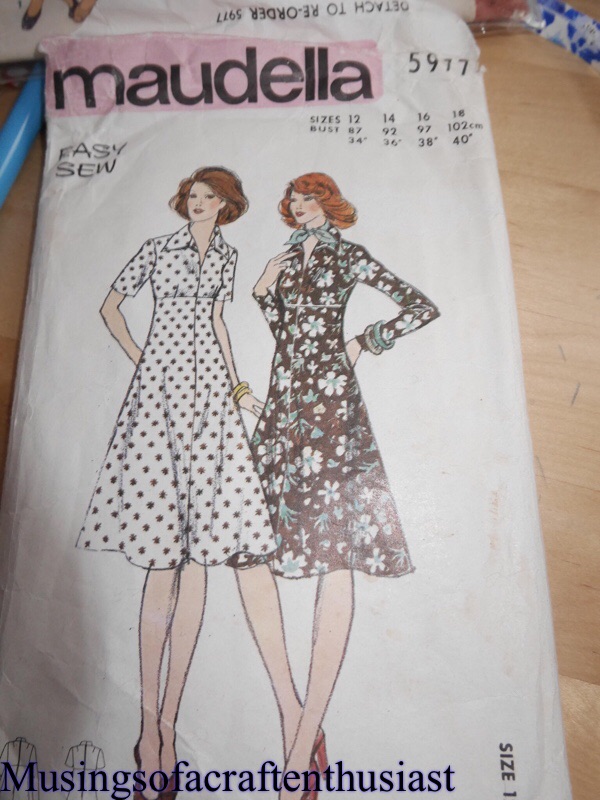
Haslam Spring and Summer 21 fig 13 update
I am determined to get a blog post out tonight so here goes….
As I said in my previous post I had a problem with the sleeves and the collar, first off the the collar I misread the the instructions and it ended up about an inch and a quarter short, not too bad you say, and you would be right all it meant was that instead of folding over each other the met in the middle ( I thought I took a photo, obviously not) it was one of those things I knew would niggle at me so I changed it, at the same time I also decided that the dress was going to be too dark so I thought about piping.

Of course once you start with a little bit of piping you can’t just leave it at that I think that I am going to have to add cuffs to the sleeves with a bit of piping around the top of the cuff.

As you can see above I am going to use white buttons and probably make a white belt for it. when I put it on to show Simon (without the buttons he thought it looked like a Habit.
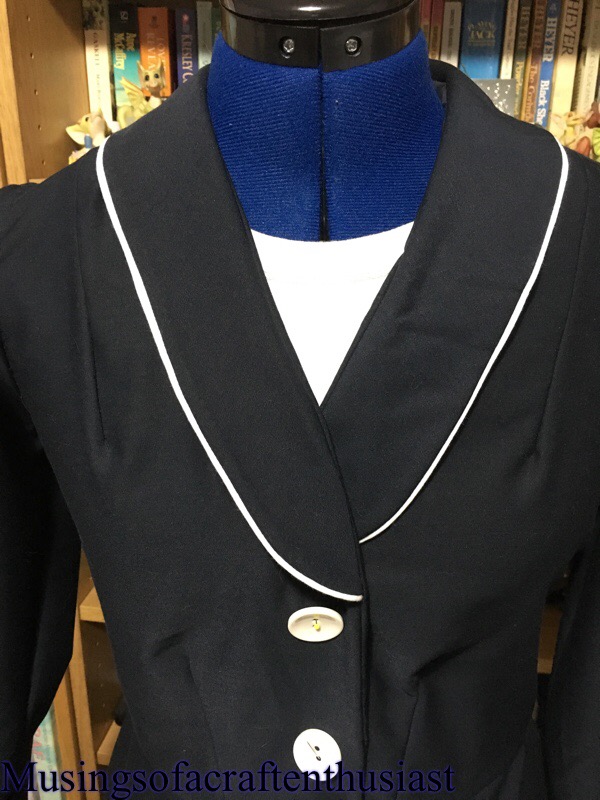
The problem I had with the sleeve head was that there was far too much fabric in it, considering that it was supposed to be a nice smooth sleeve insertion, there was about 2 inches too much fabric, so I shaved a sliver off the whole sleeve head. It seems to have almost fixed my problem and a good iron should sort it out.
The piping was a lot easier than I thought, I tried googling it to start off with and watched a lot of people make cushions on youtube, full disclosure it was ready made piping.
bye for now
The Walkaway Dress.
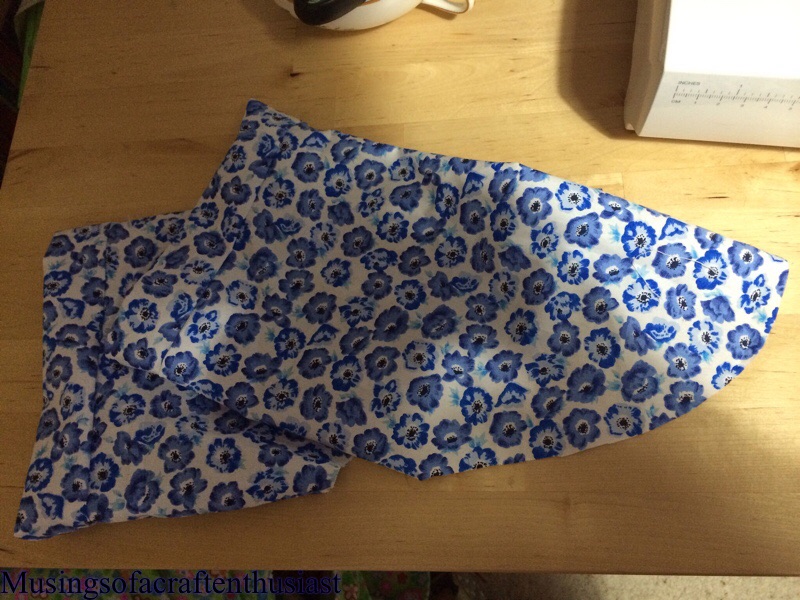
THe Walkaway dress, well we started it we put the three peices together then we put the bias binding on.
I can honestly say this was the most boring thing I have ever made, the other thing I would like to say is if Butterick sold so many of these patterns in the 50s where are they? I can’t help feeling that 1950s sewer had as much trouble with them as 2015 sewers and a lot of them went straight in the bin.
I did learn a couple of things, I made my own bias binding for the first time, the print I used in the end was too busy for a shop bought binding, the binding looks great. I bought a bias foot for attaching it I found that it didn’t make it easier or harder to attach the binding, Denise found it a lot easier not to use the bias foot at all.

I read up a lot on the internet before starting this dress, I was particularly worried about Denise’s chest so we cut her upper chest size to start off with and graded out for the bust, it is still a little bit gapey around the sides but fits her shoulders, it is unfortunate that she has lost a few inches from around her waist since we cut it out so it is a bit big in that area we decided to just fold over the excess fabric.

The other thing I am assuming is that the 1950s pattern did not tell you to hang the dress for 24 hours before hemming, that would have completely put paid to the ‘start at breakfast, out for lunch’ slogan.
Dress update
Hi, you might remember the Butterick 7556 and Butterick 7240
I managed to get out in garden this weekend and take a few photos, I gave you the dressmakers dummy photos but here are some full length photos.
Butterick 7556


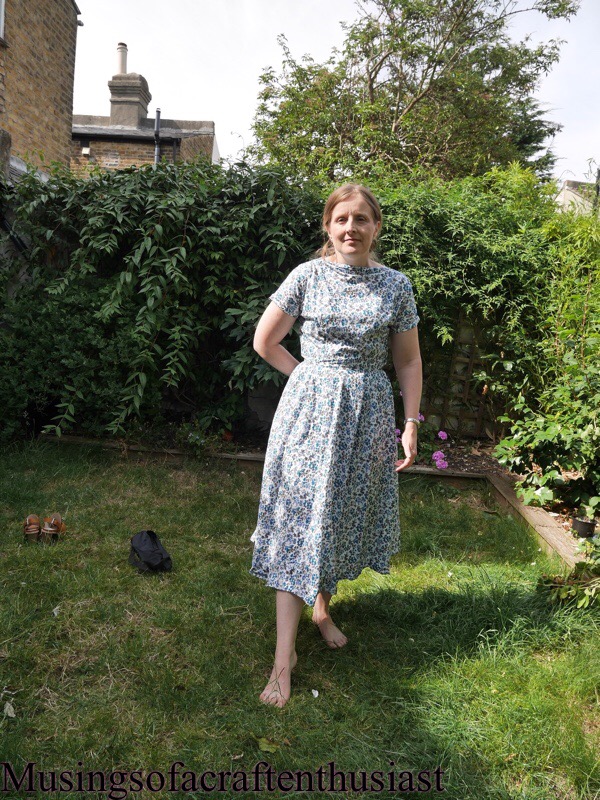
The first two pictures look alright, the last two, I’m not sure if I’m standing but it looks like I have no waist.
Butterick 7240

 here is a good look at the hip detail
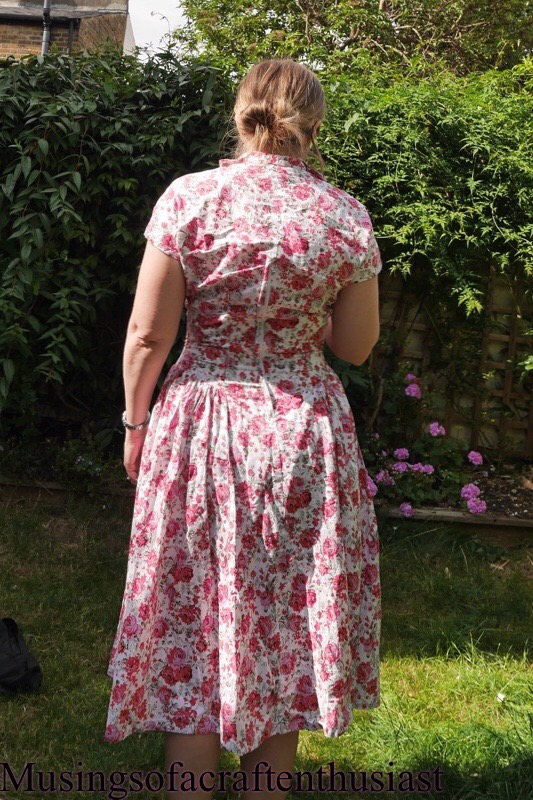 The dress could have done with an iron but I didn’t want to miss the moment, the tripod does make a great deal of difference to the photos but I do have to try and get rid of the total look of concentration on my face while trying to use my iphone to remotely operate the camera.
on a roll
I’m on a roll this weekend, after having the surgery on my shoulder and sorting the house out to be painted, I’ve been finding it difficult to get back into my dress making, but this weekend:-
I have finished a 70s dress apart from the hem, and managed to do some more on two other dresses.
here is the 70s dress
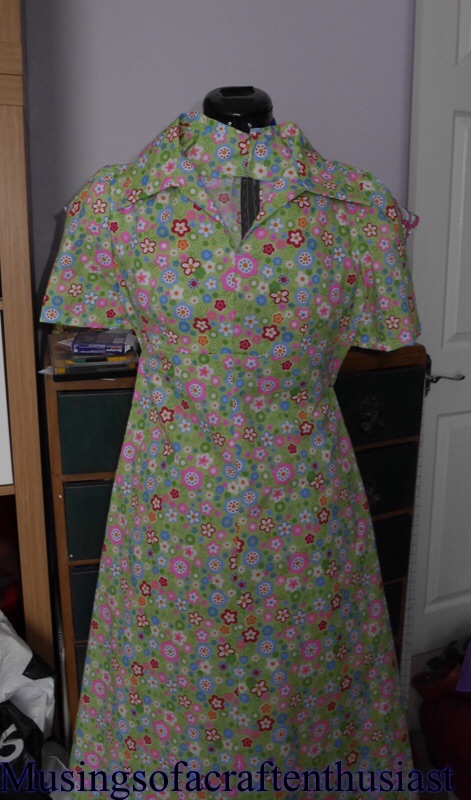
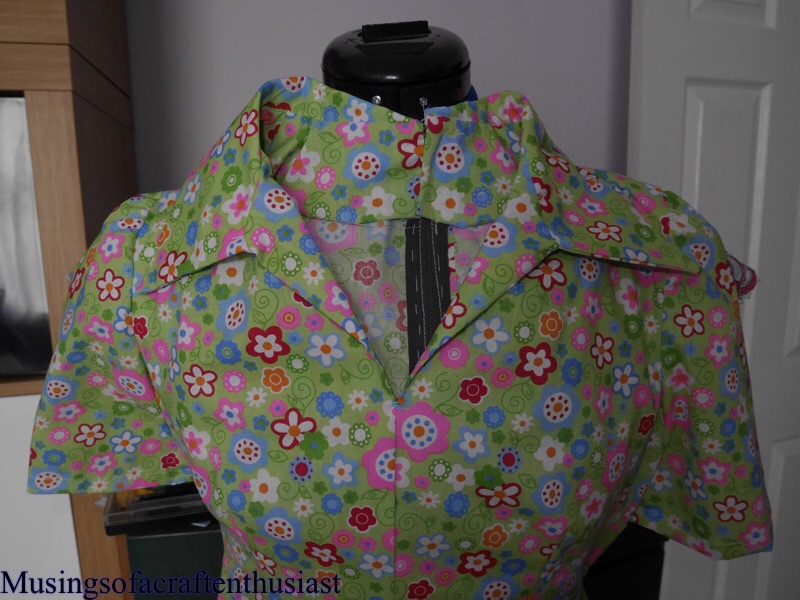
here is a close up of the collar, I bought the fabric at Kayes Textiles during the week, it is a £2.50 poly/cotton, it is a bit stiff but it gives the dress some body, hopefully if it is sunny during the week I’ll take some photos of me wearing it.
I also finished the bound button holes on this dress and restitched the bodice to the skirt

This dress I put the collar on the dress ironed on the interfacing and attached the cuffs to the sleeves