Blog Archives
Butterick 7781 part 1
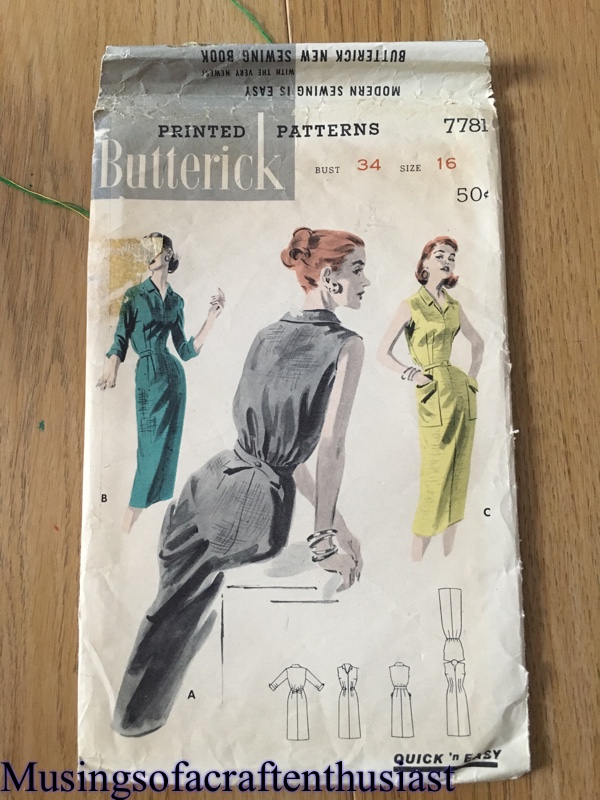
It is surprising what experience will do for you. One of the first patterns I bought was this one Butterick 7781, the first time I made it was a disaster, the test fabric which was a seersucker probably didn’t help, it was exactly my measurements so I did no alterations, this was the result.


At this point I screwed it up in a ball and left it in a drawer.
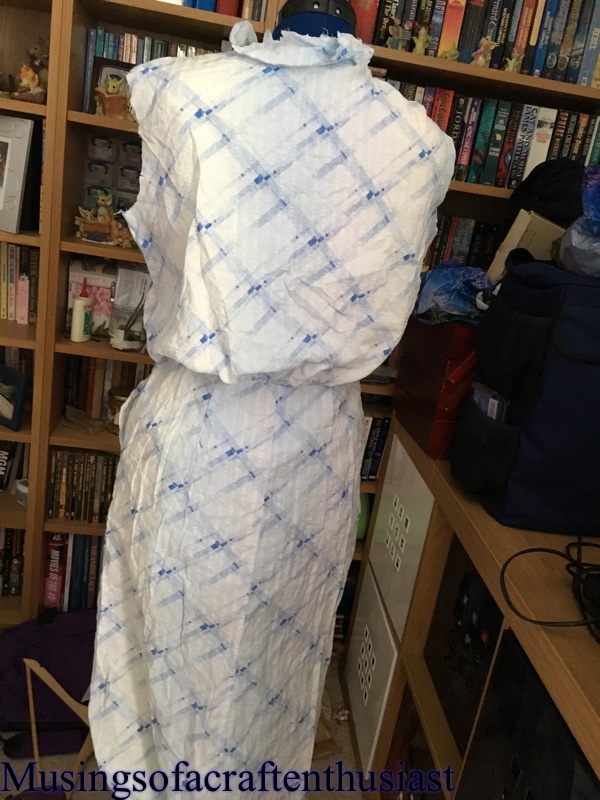
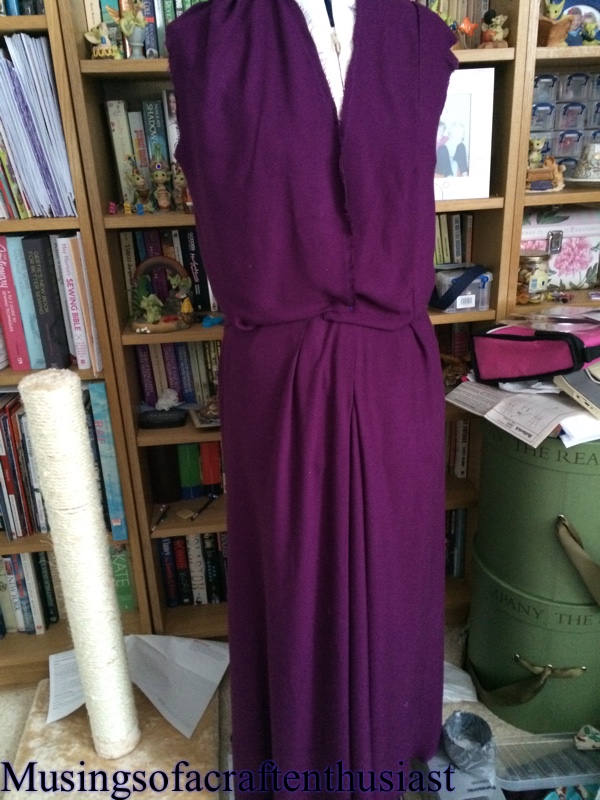
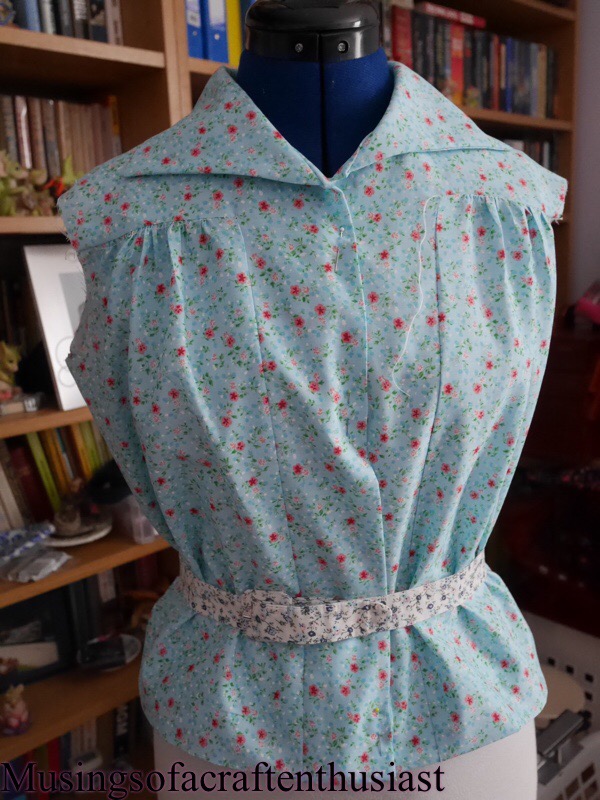
Fast forward 30 months and i decided to have a second attempt, I made a couple of changes one of which was to shorten the bodice 1 inch and the skirt 2 inches as per my proportional dress pattern. What I didn’t do was a 1/2 in small bust adjustment, I still haven’t worked out how to do this satisfactorily for a full length front piece.
This is what the new version looks like so far.
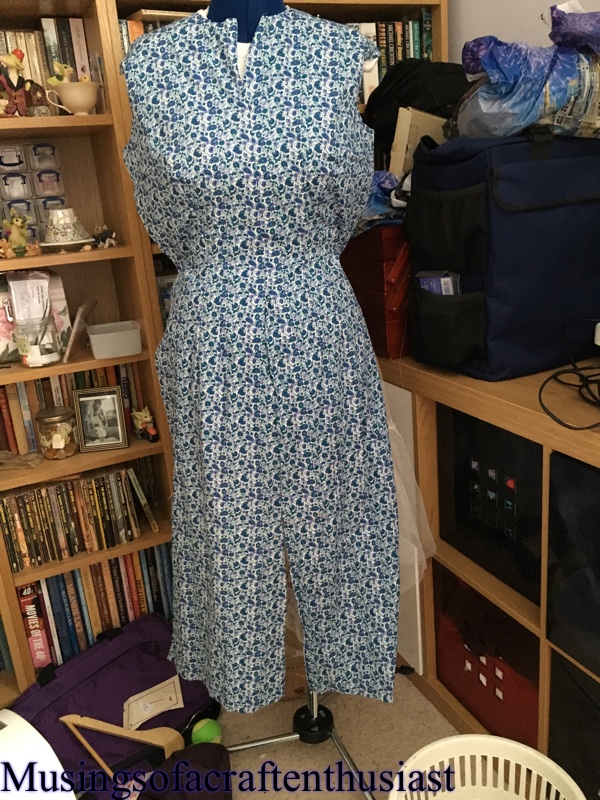

Because of the inch I took out of the bodice, it isn’t as baggy as the first version which just hung off me, It was still too big across the front so I also removed half an inch from the front seam, tapering down to nothing at the waist line.


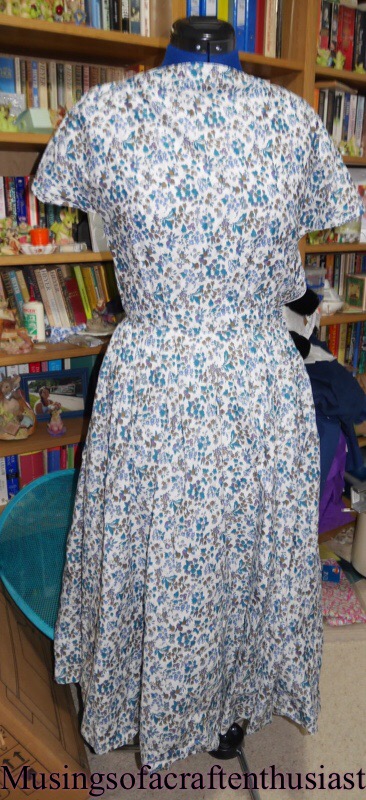
If we get any sun while I’m not at work, I’ll try and take some pictures outside, I also have two more dresses basically finished, one you have already finished and one other.
Bye for now
McCalls sewing
Hi, this week my friend handed me a sewing book, McCalls Sewing in colour copyrighted 1963, it is quite a large book, it also gives you a lot of handy hints and tips.

Considering that it is 50 odd years old, it isn’t in that bad condition, apart from the cover the pages are very good with very little foxing.
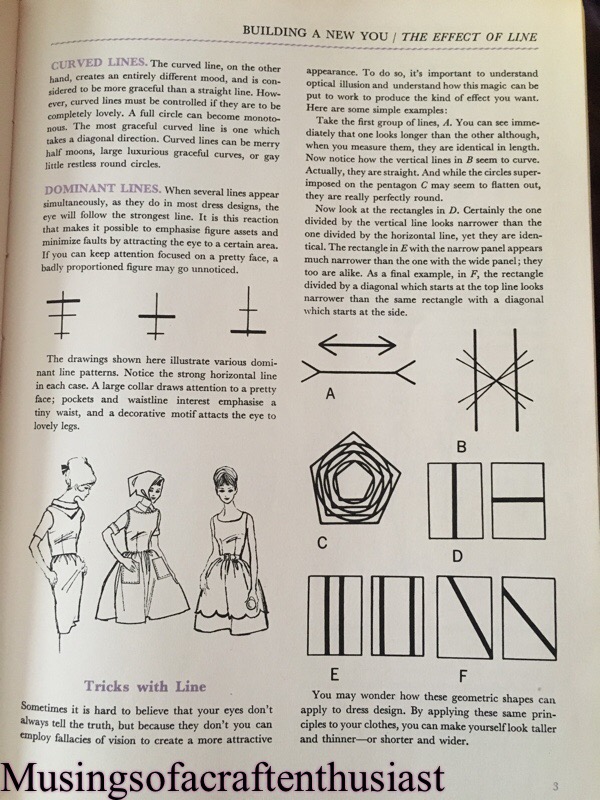
It starts off with handy suggestions on making you look taller and or thinner.

And obviously there is the tips for outfit as you what you are planning to do.
It then goes on to explain how to make some alterations like slopping shoulders and wide hips


As well as all these hints it tells you how to make several collars.

There are also the how to darn a hole and buttons holes by hand


This book is quite interesting, and covers quite a lot of information, I feel that it would be very helpful on making some of my 1960 patterns.
Butterick 2535
Last year I picked up this pattern

I am going to make view C using the short option.

It seems as if even in the 60s/70s I was short…..
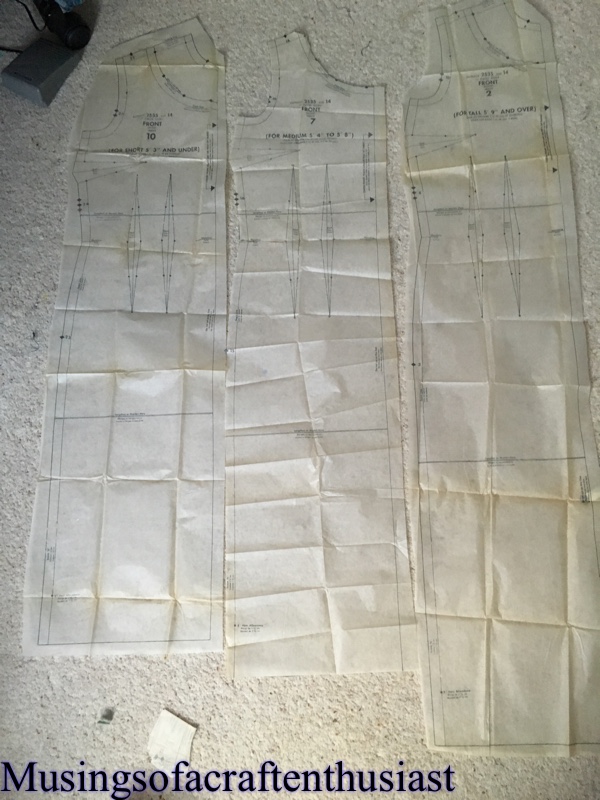
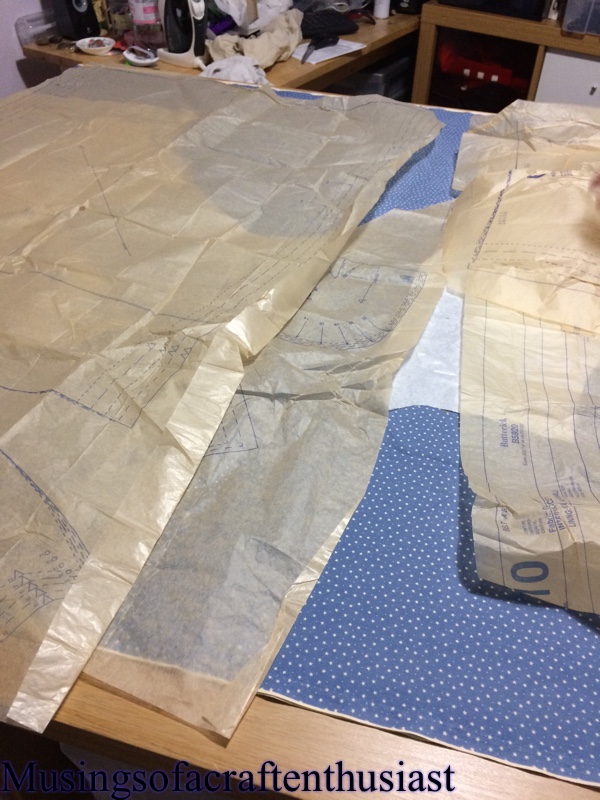
As you can see looking at these three pieces, there is a greater length difference between medium and tall to medium and short.
The difference in medium and short is 1 inch on the bodice and 2 inches on the skirt. Once I have put this dress together (with no alterations ) if it fits I will finally know how much I should take out of the bodice, but more importantly how much to take out of the skirt to make it closer to the length the designer envisioned.
The dress went together very easily the eight waist darts brought the waist in nicely (unsurprisingly)
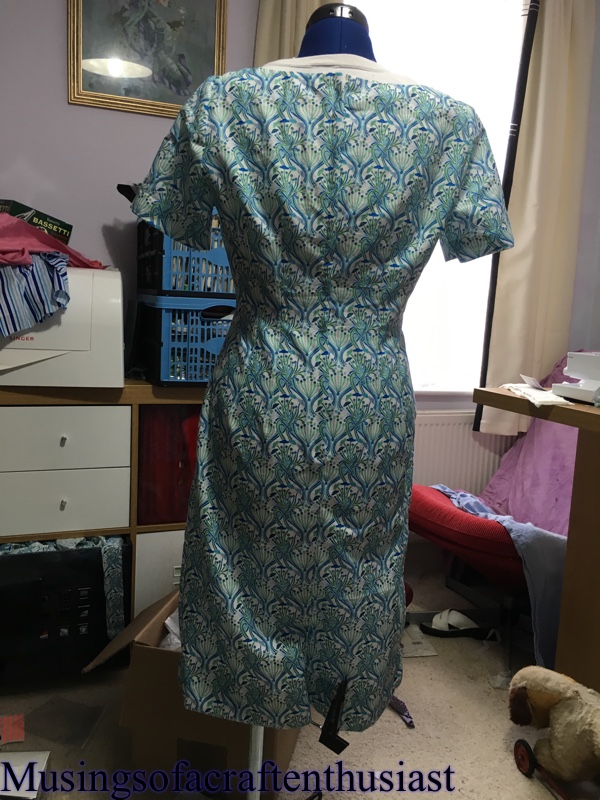
then the shoulder and side seams and the kick pleat at the back, I tried the basting option on my sewing machine for the first time, I won’t be using that again. Usually I just make the stitch length as long as it will go. Basically with my sewing machine you put on the darning foot and pick the basting stitch which puts one stitch in at a time and is a blinking nuisance. I could have basted by hand faster and the stitch would have stayed in long enough to be useful.
I am very pleased with fit of the dress, I should have done a small bust adjustment and if I make this dress again I will probably do that.

I am very proud of the overall finish, I have over-locked the seams and the edge of the facings, as advised by the pattern I have used seam binding on the hem and the sleeves.


Butterick 5920
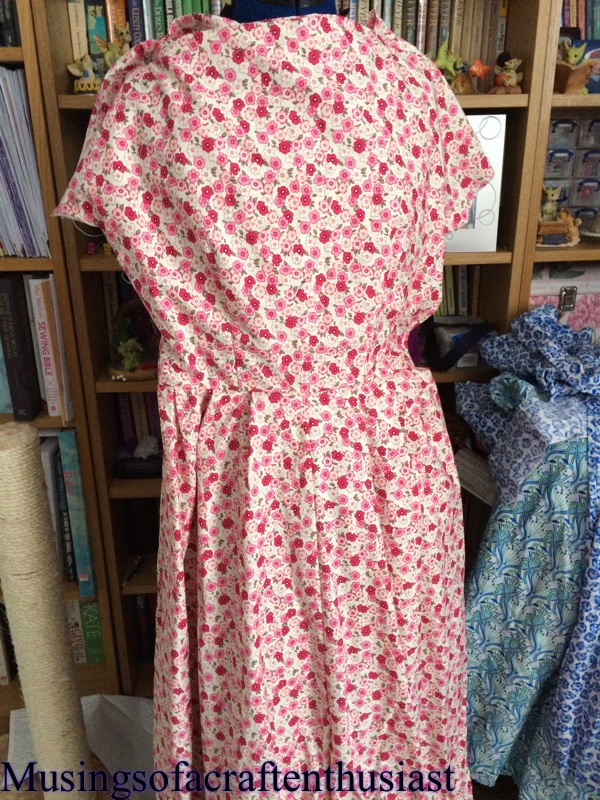
Denise and I have decided on our next sewing project, Butterick 5920, it is a Retro Butterick pattern apparently from 1951.

we have spent the last couple of weeks on fitting the top half of Denise’s dress, which we have managed to do quite satisfactorily (well we hope anyway)

we have had a look round on the web at other peoples versions of the dress mainly because we weren’t convinced about the boob pockets, as Denise pointed out what would you keep in them and I’m not sure that you would be able to keep them as flat as shown on the front of the packet.
so we have decided to put them on the skirt instead as per this post
http://mode-de-lis.blogspot.co.uk/2014/07/1950s-bbq-dress.html
last week we go all the pattern pieces cut out, Denise is using a lovely Blue Cotton with white stars and dots, bought locally at Kayes Textiles.

I am using a Paisley print bought at Olympia knitting and stitching show last year

should have an update on this later in the week.
UFOs
well, I don’t know what happened to September, but it is now a month since my last post, oops…..
Hi I don’t know how everybody sorts out their off cuts, but I have a bad tendency to ball up what ever scraps of fabric I have left, whether it is big enough to to make something else with or not. This last weekend I decided to go through the off cuts and just throw them away, yes there is the ‘dream’ of creating a beautiful quilt with them, but who am I kidding, I’ve made two double bed sized quilts, both of which took me a year to make and a four foot by four foot that is still waiting for me to finish quilting it four or five years after I put it together.
I had about two bin bags full of fabric I’d been keeping, even the stuff I didn’t like and the woolen skirt material that you couldn’t even use for a quilt even if you wanted to make a quilt which at the moment I don’t.
Anyway to get back to the actual point of this post, have you ever come across projects you have started and then completely forgotten about them and can’t remember why you didn’t finish them in the first place
I have a rather nice little blouse, I’d forgotten all it needed was the facings stitched down and the buttons put on it, of course when I started stitch the facing on one of the sleeves I found out the reason it wasn’t finished is that I had cut through the facing and really need ed to take it off and replace it. (Let’s hope I haven’t just thrown all the leftover fabric away)

I have also found a dress that also just needs all its hand stitching done, facings, hem and buttons, I think at the time I made it I wasn’t happy about how the shoulder was sitting but now it doesn’t look as bad as I thought.

I think there is a pattern forming because there are another two dresses that need hemming and their facing stitched in, I really need to go straight for the hand stitching as soon as possible.

There is another dress but that isn’t just hand stitching and looking at it, it will need taking apart and redoing, it is one of the first Haslam patterns I tried, the fabric is too drapey for it and I think the underarm measurement is too long, as when I attached it to my dummy there must have been two inches extra fabric and I am sure this is wrong.
I’m not sure how to finish this post so I’ll leave you with au revoir……
Haslam Blouse pt3
I came across an interesting piece of information while reading my haslam book of dressmaking, no wonder the sleeve looked a bit weird and pully across the front, apparently you don’t line up the under arm seam with the under sleeve seam.

I must admit after I removed the sleeve and reinserted it as per the instructions (which was also in the front of the drafting leaflet) it actually sat a lot better.

The facings and the collar have been inserted, the blouse is looking very good, I’m still not certain that I would wear in this coloured fabric but the blouse is wearable and the correct size.


Of course at this point I’m wishing I hadn’t done a shoulderectomy on my dressmaking dummy as the blouse was a bit droopy, but I soon fixed that with a couple of bits of card stuffed under the t-shirt.
The Collar looks a little bit wonky but I’m not sure if it is just the way that I have attached it or if the picture is off slightly.
The next step is to find a nice lightweight fabric and make one that will be nice to wear to work.
Haslam System of Dresscutting Pt2
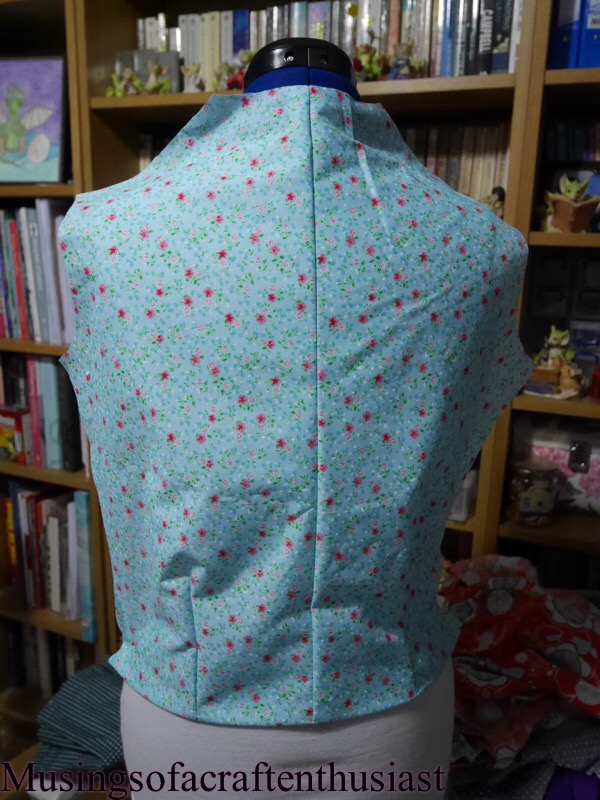
Ok, I have made my Blouse, it went together very easily, no funny, I’m not sure what that bit is doing….
There are a couple of problems, one of which is to do with measuring and two, the ladies of the 40s must have been a darned funny shape in the hip/stomach region.
Item one – either I mis-measured my shoulder or I didn’t quite understand what the foundation booklet wanted. I measured my shoulder at 4 1/2 inches it wasn’t wide enough, when I measured it a second time I carefully read the instructions ‘measure from the prominent bone in your neck to the point of your shoulder bone then take 2 1/2 inches away’ after a re-measure it turns out that maybe it should be 5 1/2 inches, this actually corrects half of the problems I had with the blouse.
Item two – The hem of the back of the blouse wasn’t wide enough. I was going on the assumption that the side seams of the blouse should fall level with my under arms. Wrong!!! If I held one side level with where you would expect a side seam the other side was at least an inch out, maybe a bit more. Also I had a lot of fabric in the front, when I say a lot, each front nearly went from one side seam to the other.
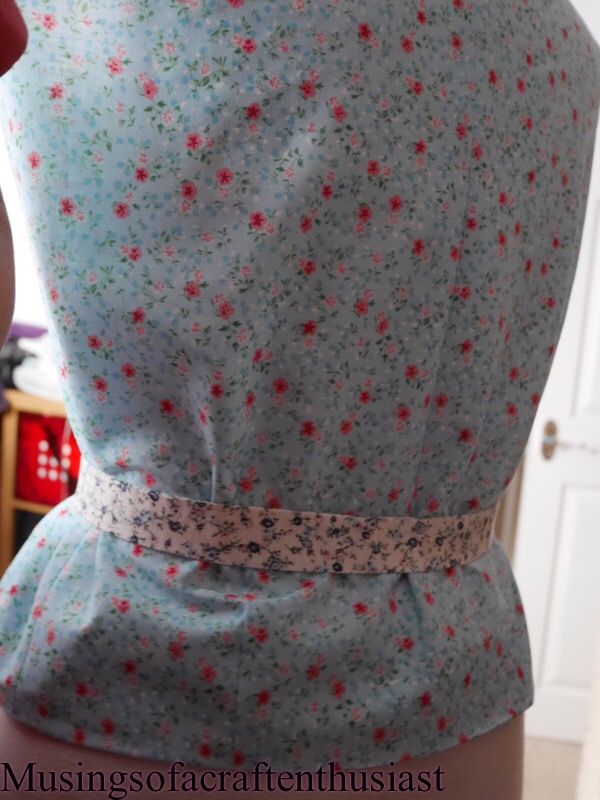
 Looking at the instructions you can see why this would happen, you take the hip measurement and quarter it, then you add an inch to the front, the back you deduct an inch.
On the bodice sloper craftsy class I have, you do something similar but only with 1/4 inch. May be I should have done this but I went the other way I measured my hips then I split the measurement up as my body split it up.
There was one other problem but that was connected to my fabric choice, I used a piece of poly cotton which was a bit stiff and I think the fabric should have a lot more drape to it. As it was the blouse looked very boxy and was quite uncomfortable across the back and sleeves, (this should be fixed by the nearly 3 inches added to the back piece across the shoulders).

 I have redrafted the pattern pieces and cut them out in some sort of pink shiny fabric, that I’m not sure why I bought it the colour is totally not what I would wear.
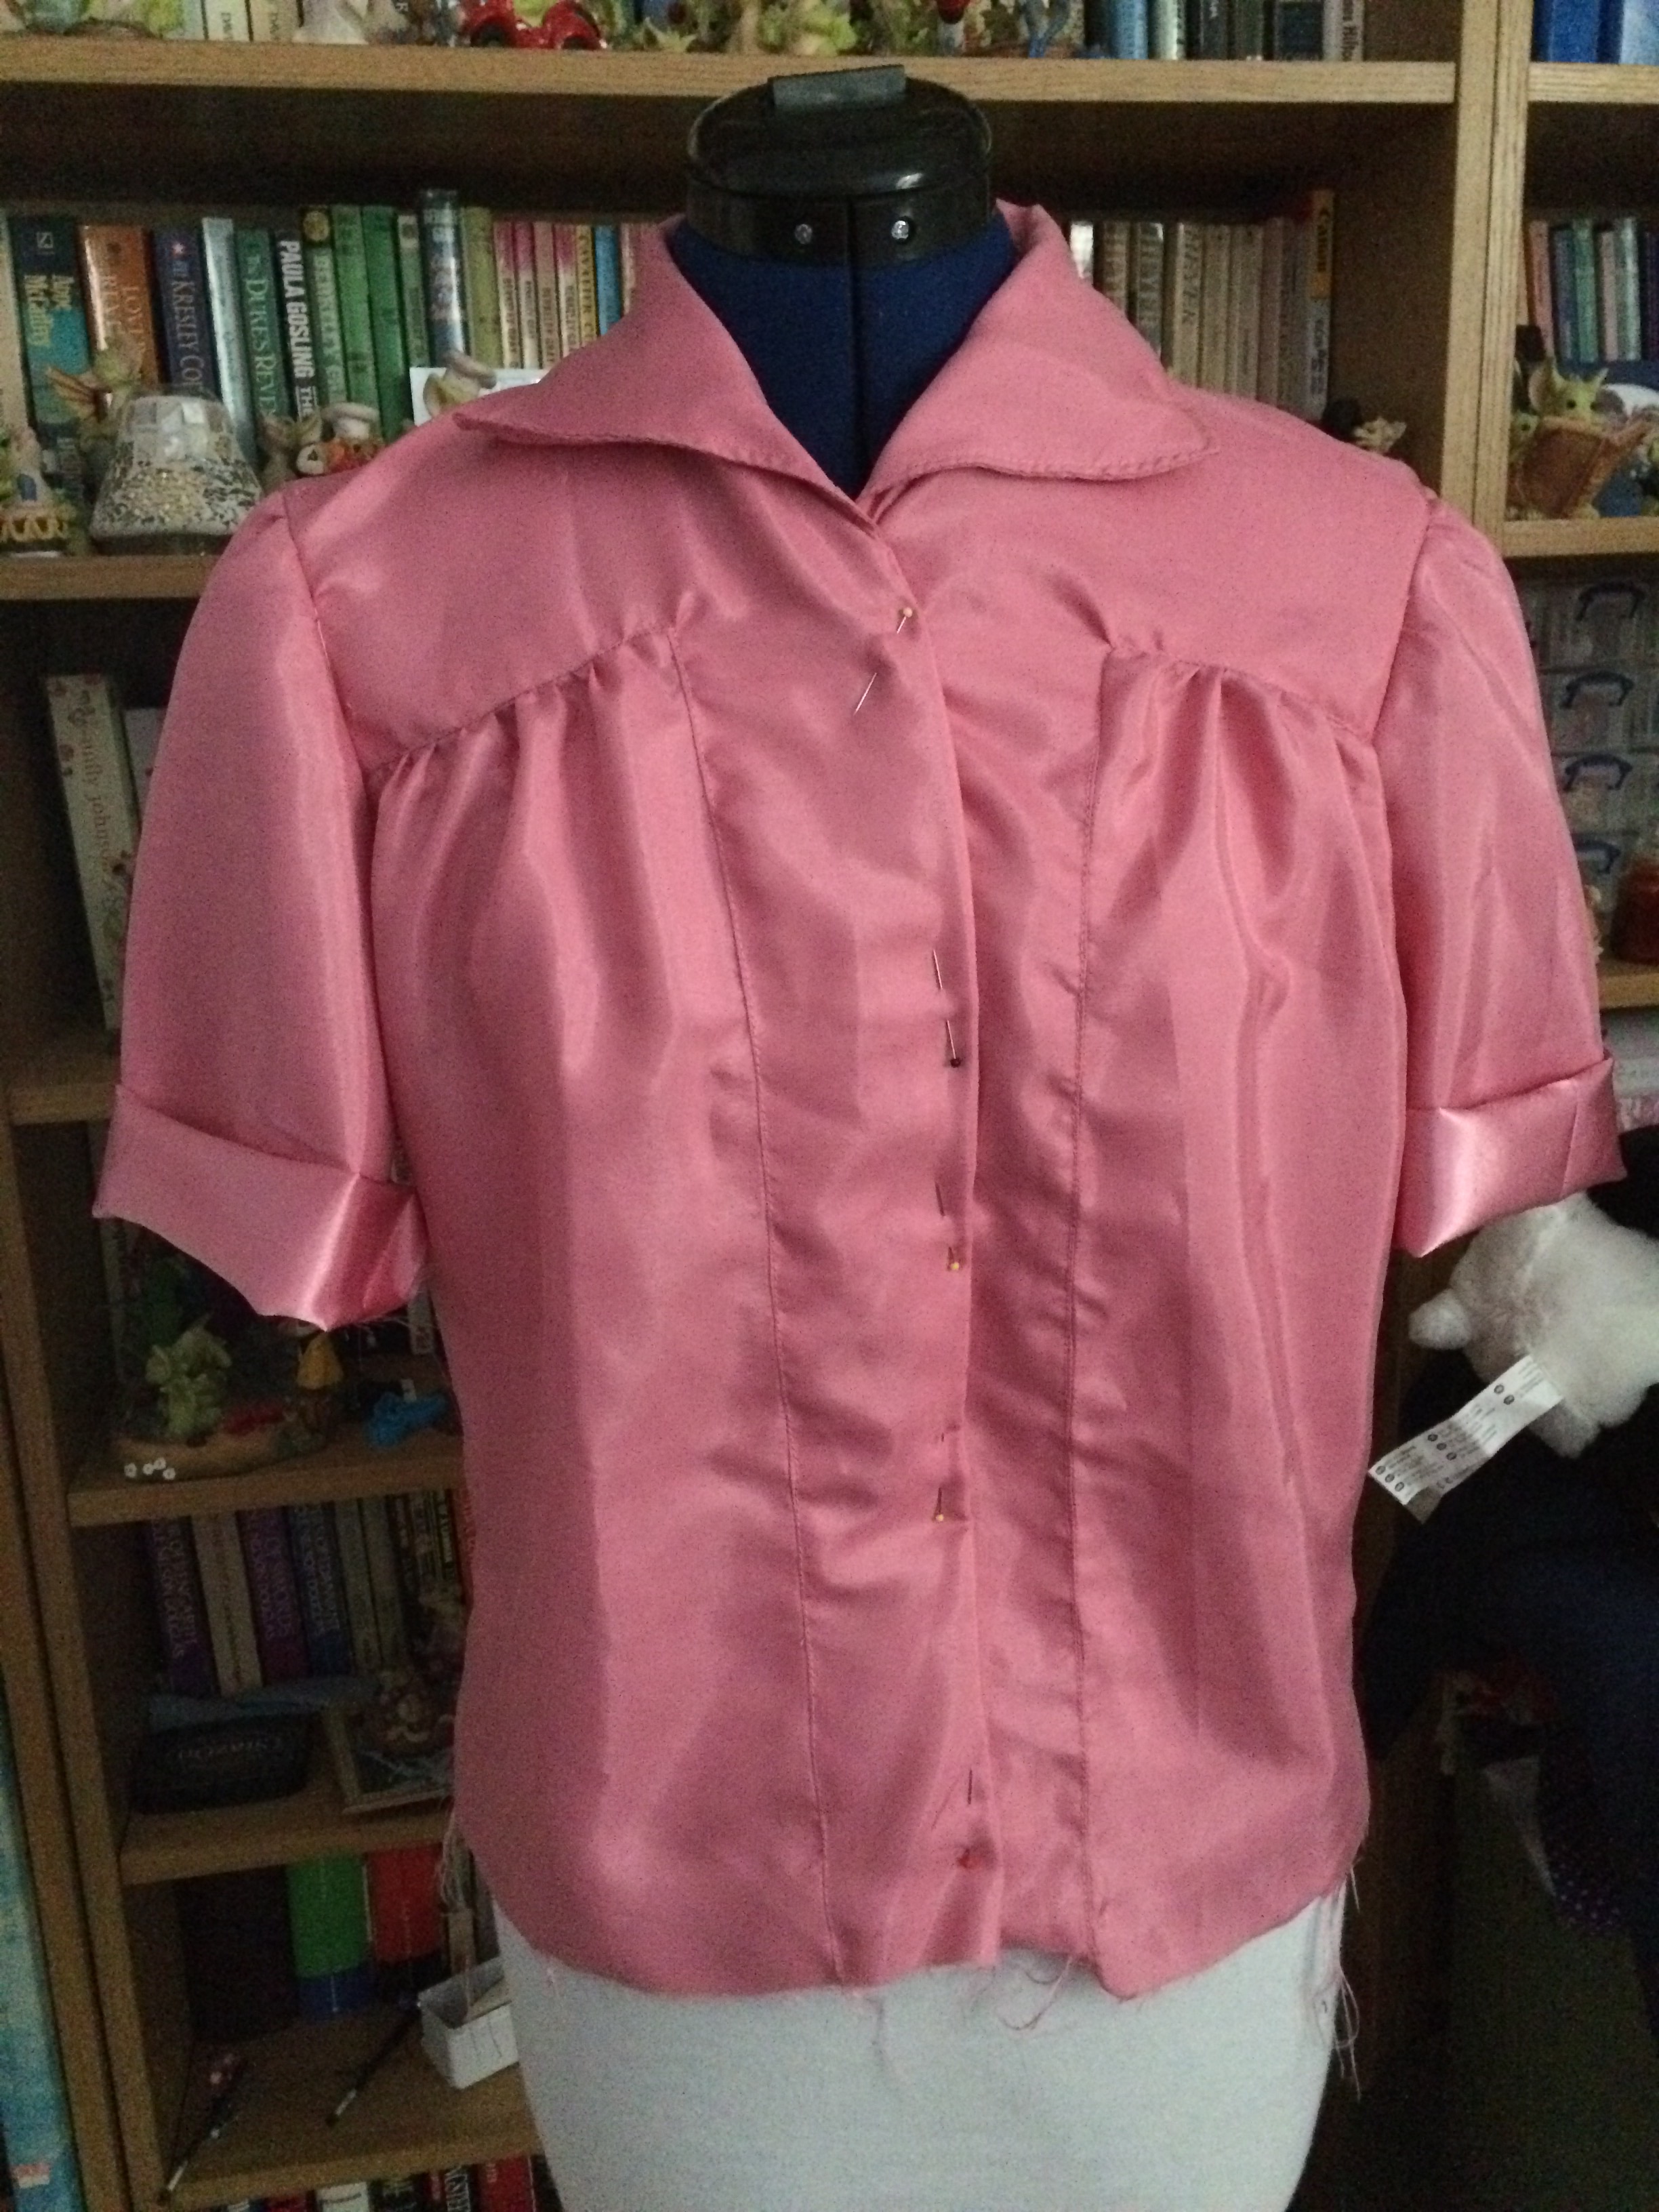
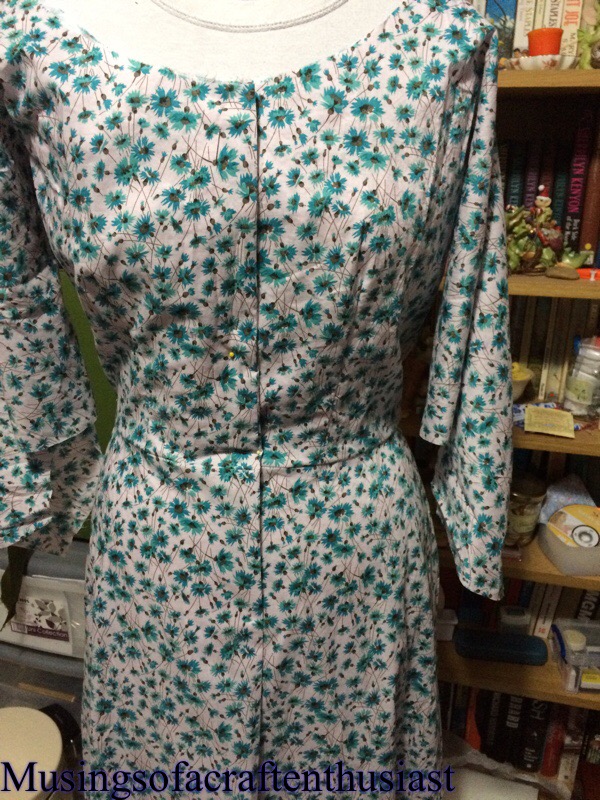
Butterick 7556

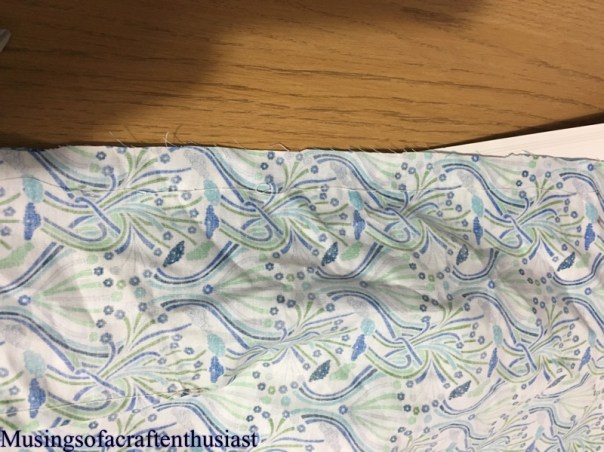
This is another Sewing post, I am in the middle of sewing a second version of this dress, this one was done just before our holiday. It went together so easily and looked really good, I decided to make another one.
This one was made with a Lawn Cotton, I bought at the Knitting and Stitching Show at Olympia earlier in the year, the stall said it was LIberty, but I haven’t been able to track down the print, it was a good price and the fabric is nice and soft, also cool to the touch, it irons beautifully (which I haven’t done to take these photos).
I wasn’t really sure about the neckline but it does look better on.

After marking everything out, you stitch the four skirt bits together, then baste the pleats in, the skirt closure is different, the dress has a short zip in the bodice but because of the pleats the skirt has a placket, the last pleat on the left side front folds over on to the side of the left side back and is held in place by a hook and eye and two press studs.
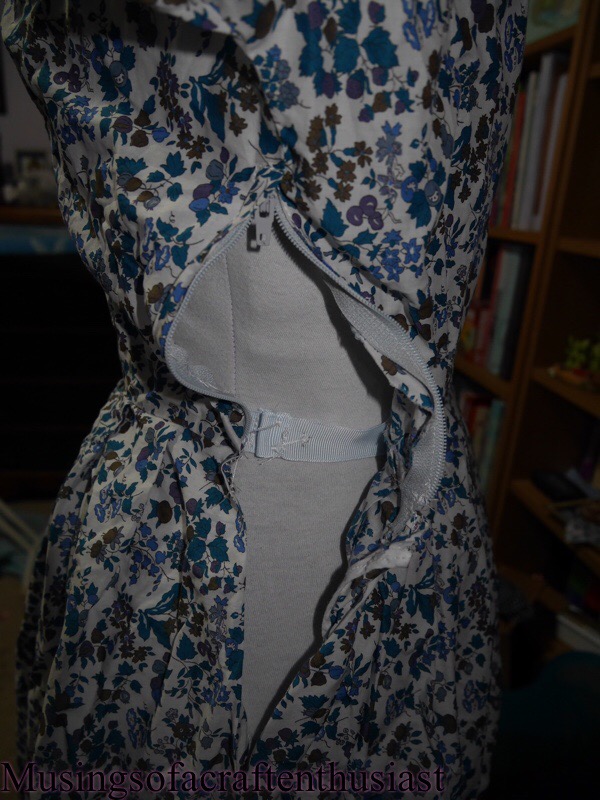

The first time I made the dress I didn’t look at the instructions close enough and didn’t realise there was a hook and eye, as I didn’t fancy relying on two press stud to keep my dress closed I put in a waist stay and a skirt hook and bar.
It is a surprisingly comfortable dress to wear, especially if you get the zipper tab in just the right place, and I got a couple of compliments on it while in the States.
Tracy’s Adventures in HaslamLand
Before Christmas I bought the Haslam dressmaking system from pinkemilyrose on ebay. This is a drafting system slightly different to Lutterloh, with this one you start by drafting a pattern block, then you draft your dress, blouse or Jacket over the top. like Lutterloh you end up with a pattern drafted to your measurements.

These are the three peices of the Haslam System of Dresscutting.
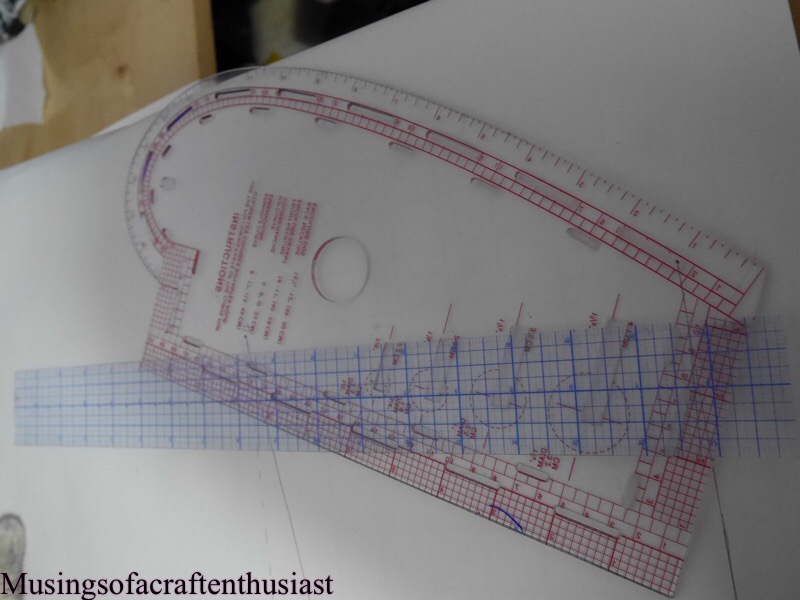
These are the extra tools I needed.
I thought I would go through the process and hope at the end of our ‘journey’ I will have a finished piece of clothing that I can wear.
I have decided to try some thing simple first, a blouse, I have decided on this one

It looks simple enough to not cause me many problems putting together but with a couple of nice details.
I started by drafting the front block, I used wallpaper lining paper to draft the block, and a pencil, I strongly advise using a pencil, the first time I attempted to do this, I used coloured pens for the different types of line and got my self into a right old mess. 🙂 this way if you make a mistake or get confused it is easy to erase it and start again.
you can just see the base block under the tissue paper I have layered over the top. After I finish the block I laid a sheet of the Burda tissue paper over the top so I can use the front block again and again.

Here is the first pattern piece I created, it is part of the front.
 you can compare the collar pattern piece with the diagram in the photo above
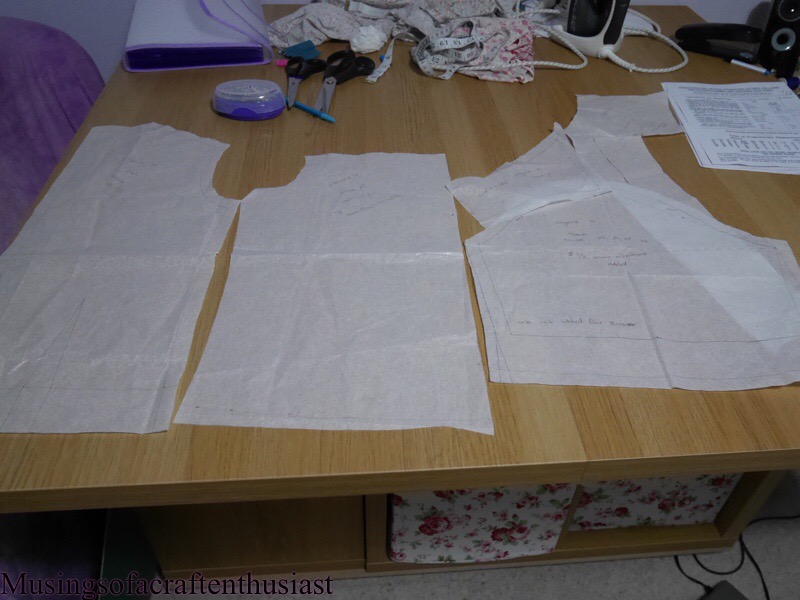
Here are my pattern pieces all cut out.
The next post will be on how it easy it was to be put together and the fit.
Butterick 7203
Hi

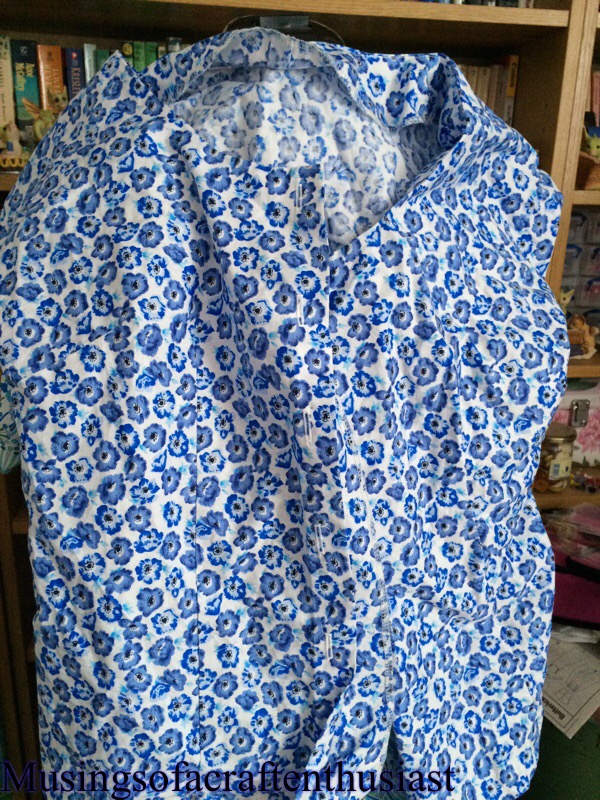
This is a story about a pattern, it is a poor pattern and it had two missing pieces the back and the front 😦 however it did have all its facings and kimono sleeves 🙂 It was also a butterick pattern, of which you might have noticed I have rather a lot of and “some of them” have kimono sleeves.
I have recreated my front and pack pieces using one of the other patterns and the facing bits, I not quite sure how the bodice facings go together but I’m sure I’ll work it out.
I am using a cotton fabric, it might be Lawn as it is thinner than the poplin I usually buy, I really will have to start marking the fabric up as I buy it. It is white with green flowers on it.


The skirt pieces are self-faced while the top has a separate facing piece. I didn’t cut out the interface at the same time as the rest of the dress as the kittens were being a bit of a nuisance, I’ve now cleared my craft room door so that I can shut them out, they aren’t particularly happy about it, but tough. It is very hard to cut out a pattern when three of them are sitting on it.

much like this but with differerent fabric
I’ve so far done the skirt seams the underarm seam and attached 90% of the top to the skirt, (why 90% I hear you say) because I’m a very disorganised when I stitch, and the other pieces need interfacing which as I pointed out earlier I haven’t cut out yet. I have tried to iron on the interfacing after stitching an item together, it is not something I recommend, even if it is a simple piece, like a front facing for one thing the stitches are now under the interfacing and it didn’t iron on quite as smoothly as I would like.
this is what we have so far


