Blog Archives
Haslam Spring and summer 21 fig 13
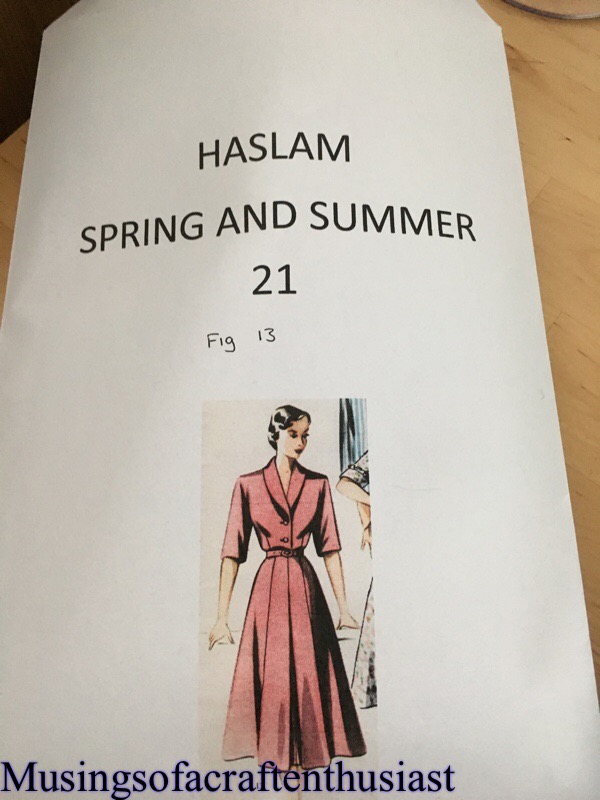
How do you like my pattern envelope? I know lots of imagination there !!
I decided that it would be easier to keep these patterns in an envelope and if I had a picture on the front it would be easier for me to keep track of what is what.
Now I have tried this dress before and it was a slight disaster, partly fabric, mainly I think I got the sizing wrong, unless the fabric stretched very badly.
I redid the foundation drafting and made a mock-up of the bodice, I then took an inch out of the under arm length.
once I was happy with the fit, I had another go at drafting the pattern
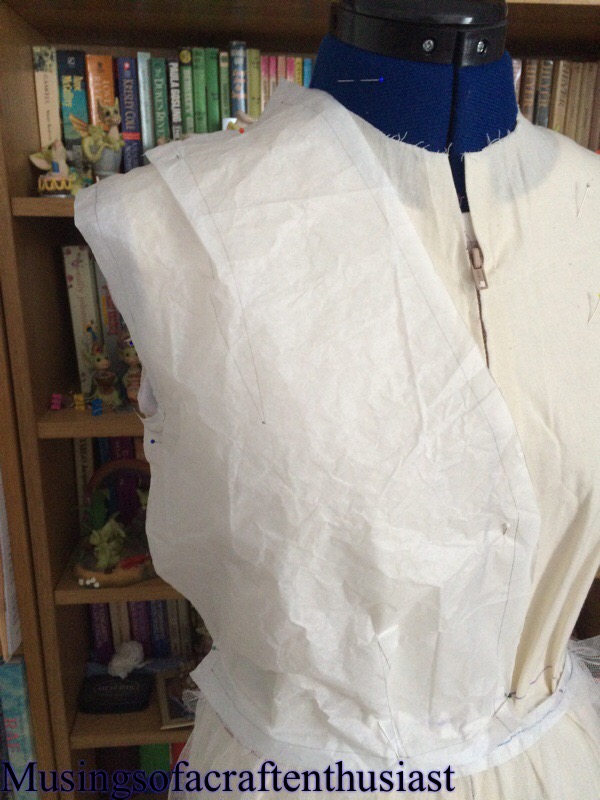
 As you can see below there is a funny curved dart in the shoulder seam
 I have never used so many pins for a dart before, usually I don’t bother.
 an here is the beautiful dart….
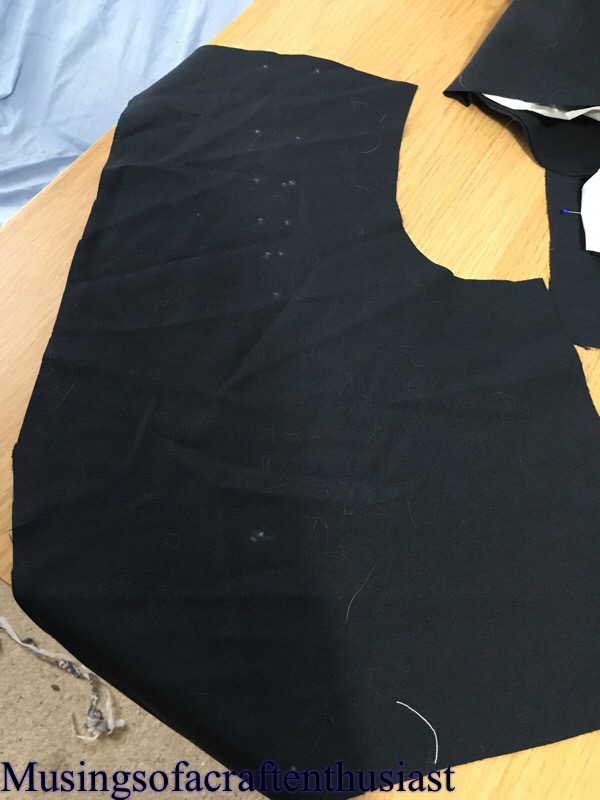
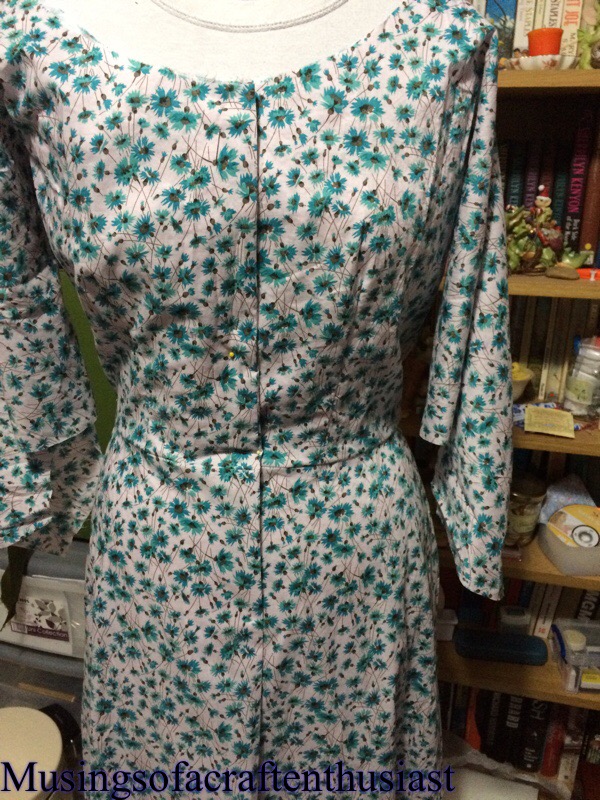
 photo of the back
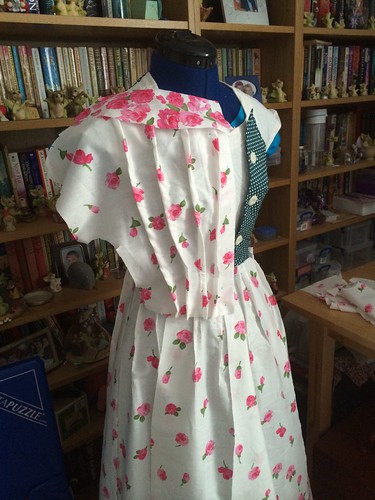
 Photo of the front
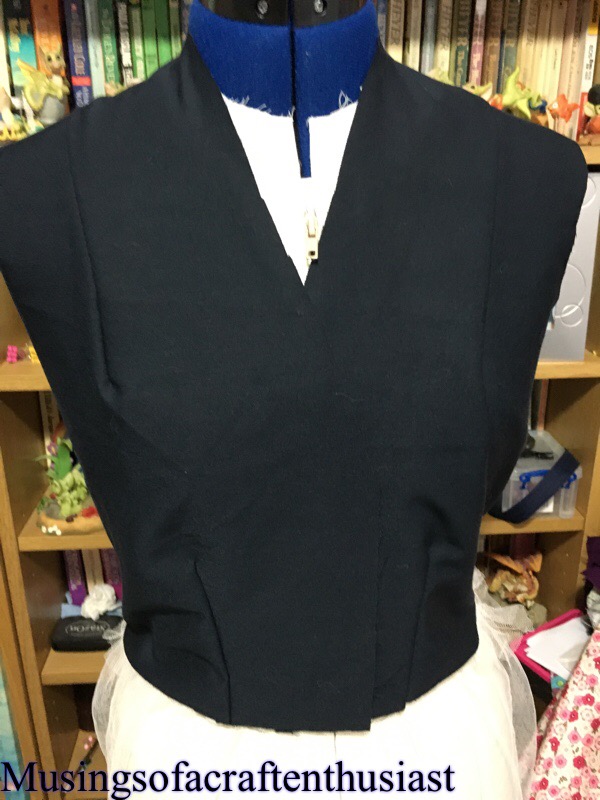 It is actually coming together really nicely, it has a skirt on but I don’t have a picture yet, there has been some complications with the sleeve and and collar but I’ll tell you about that another time….
Princess dresses, never too old?
As I was travelling to work this morning I saw a family walking into town, the two girls were wearing princess dresses, I’m assuming Frozen as that was the colour, the older (8ish) one had leggings on the younger (5ish) one had a longer coat on.
It lead me to thinking, at what age do we decide that it is too impractical to wear princess dresses all day long and is it this wish to look pretty and wear swishy skirts what lead most of us to the 1950s with the Dior New Look patterns?


Out of the dresses that I have made, I love the ones with the big skirts and the little details on the bodices but they are the ones that are worn less and when I do wear them it isn’t with net underskirts partly because I don’t own one, and every time I try to make one the cats appear to like eating and clawing at them, but mainly because although I spend most of my time sitting at a desk it isn’t the done thing to wear pretty, swishy dresses to work.

Of course growing up in the 70s Disney hadn’t worked out a way of marketing princess dresses en mass to the UK, if they had my sister and I would have had them, not real ones of course but my Mum and Aunts were all experienced dress makers (I had a fake EMU to prove it)and my Mother made a lot of our clothes. So maybe I’m making up for a lack of princess dresses in my formative years, I do know that I’m drawn to the patterns with the bigger skirts, but still feel slightly uncomfortable wearing for everyday.
Butterick 7203
Hi

This is a story about a pattern, it is a poor pattern and it had two missing pieces the back and the front 😦 however it did have all its facings and kimono sleeves 🙂 It was also a butterick pattern, of which you might have noticed I have rather a lot of and “some of them” have kimono sleeves.
I have recreated my front and pack pieces using one of the other patterns and the facing bits, I not quite sure how the bodice facings go together but I’m sure I’ll work it out.
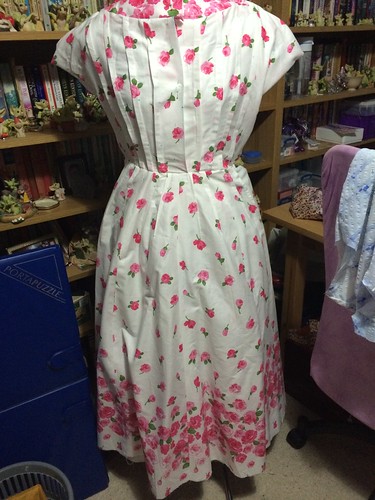
I am using a cotton fabric, it might be Lawn as it is thinner than the poplin I usually buy, I really will have to start marking the fabric up as I buy it. It is white with green flowers on it.


The skirt pieces are self-faced while the top has a separate facing piece. I didn’t cut out the interface at the same time as the rest of the dress as the kittens were being a bit of a nuisance, I’ve now cleared my craft room door so that I can shut them out, they aren’t particularly happy about it, but tough. It is very hard to cut out a pattern when three of them are sitting on it.

much like this but with differerent fabric
I’ve so far done the skirt seams the underarm seam and attached 90% of the top to the skirt, (why 90% I hear you say) because I’m a very disorganised when I stitch, and the other pieces need interfacing which as I pointed out earlier I haven’t cut out yet. I have tried to iron on the interfacing after stitching an item together, it is not something I recommend, even if it is a simple piece, like a front facing for one thing the stitches are now under the interfacing and it didn’t iron on quite as smoothly as I would like.
this is what we have so far
Bound Button holes: friend or foe?
Bound Button Holes: Friend or Foe ?
I have rather a Love hate relationship with Bound Button Holes, I love the look of them but I hate the execution of them.
Lets face it they are pretty, but does the amount of aggravation and extra time spent on them really justify putting them in over normal button holes, in the main they are going to be hidden by the button anyway.
I can understand putting them in when you are going to have to spend hours putting other types of button hole by hand but in the age of the machine button hole which takes seconds, meh.
I’m going to use a particular dress as an example, it has been sitting on my Dress Making Dummy for about two months (bad me) the skirt is together and the top is together the only thing standing between me and New Dress Heaven is bound button holes (that and the fact I’ve lost the two small facings for the skirt piece). On the dress top I have carefully stitched on both pieces of right hand facing the squares of fabric to create my button hole I’ve even cut the slot to push the pieces through to the back, but have I hand stitched them in place have I heck as like.
Saturday evening Simon was Gigging in Colchester, I thought lets sort these button holes out sitting in front of the TV watching Haven. It took me four hours to create five button holes, I did try and cut a couple of corners and do the first one in one go instead of making the ‘lips’ on the front first and then slip stitching the back facing piece to it. That didn’t go down too well so I abandoned this and did the last four properly. But Four Hours and I still have another three to do which are on the skirt piece, may be another two hours button hole work. Seven hours to make nine button holes when I could have them all done in less than twenty minutes.
I’m sure there are the purists out there who would say ‘hell yes, you must put in those Bound Button Holes and while you are about it make your other button holes by hand as well, that is why they give us the instructions for how to do it.’
At the end of the day a button hole is just something to stuff a button through to stop your clothes falling off.
The other thing you could say is that the more you do the quicker you become and next time it won’t take seven hours to create nine button holes. But do the button holes on this dress
look fours hours worth better than the button holes on this dress?
I don’t think so.
Dress Making
My Shoulder still isn’t quite up to long hours of dress making but I do hope to have a couple of skirts for you to look at soon.
Butterick 6622

Slim skirt needs only one yard 54″ fabric-sews in a Jiffy. Skirt has single back seam, deep inverted pleat, back slide fastener closing. Make the skirt with soft unpressed pleats(A), or darts (B) under lining the waistband.
I’ve made version (B) in this one
Butterick 7915
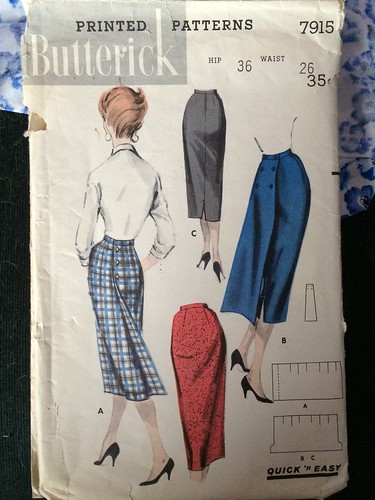
Slim Skirt in three versions. Views (A) & (C) can be made from 1 yard of 54″ fabric. (A) Mock wrap-around version buttons at side back. (B) Double-buttoned, floating panel is back. (C) Back slit.
Version (A) for this one
vogue 8782
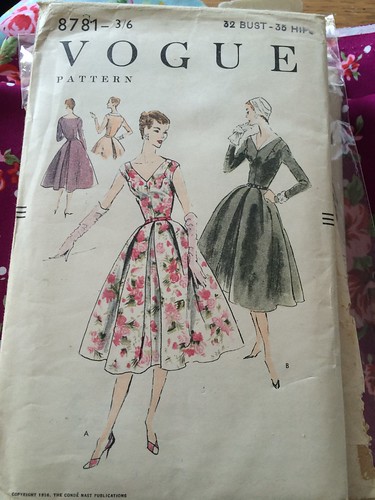
this is a vogue dress, I made it in a size smaller than usual, partly because the pattern I bought was a size smaller, but mostly because I have been finding that a lot of these dresses have been large around the bust area and it is easy enough to add two inches at the waist rather than do a small bust adjustment.
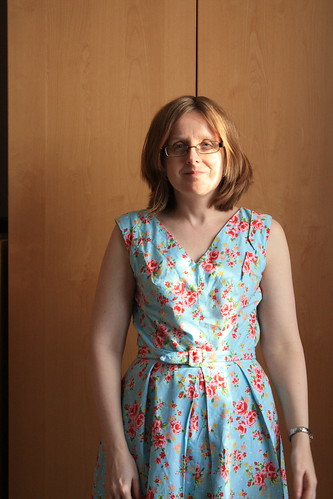
the sizing has come out quite well, apart from being a bit tight around the front of the arms, on the bright side it might just make me stand up straight and stop slouching.
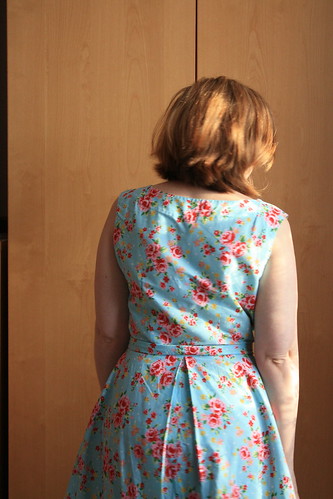 as you can see it has a pleat at the back and three at the front.
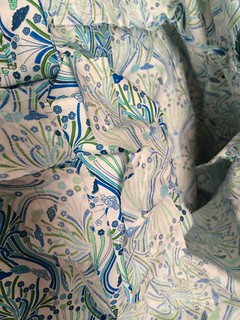
as you can see in the top photo it has some fancy detail instead of the normal darts, you stitch in the diamond shape first the fold it over to create the cut out.
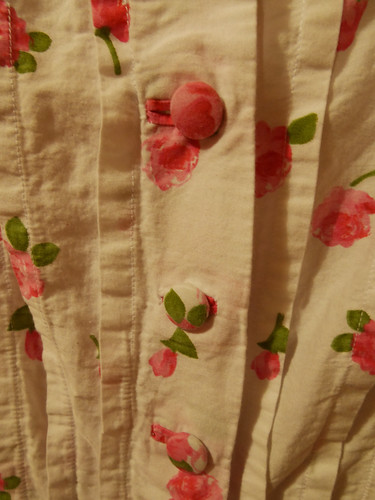
border print dress
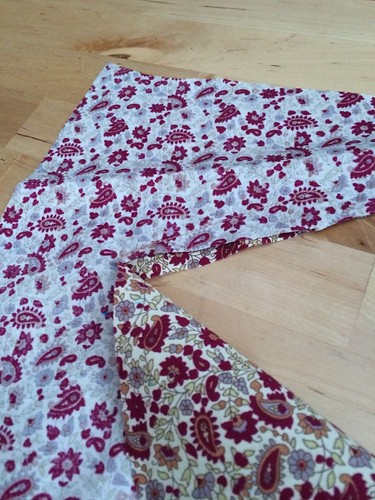
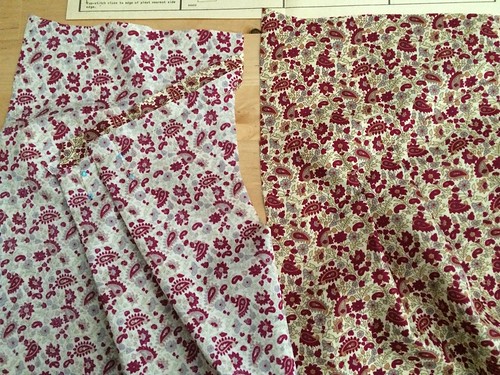
I though you might like to see some photos of my border print dress, the pattern I’m using is the Vogue 9040 pattern, I have taken about half an inch from each side under the arm
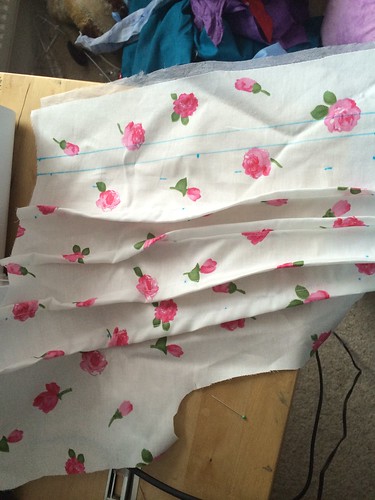
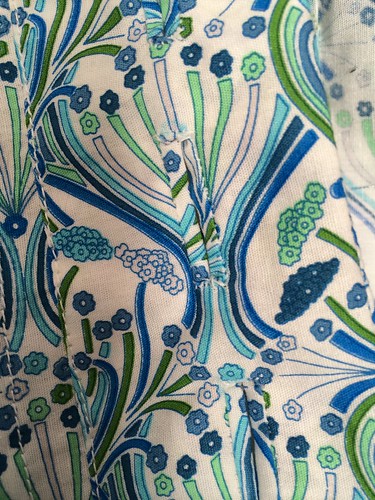
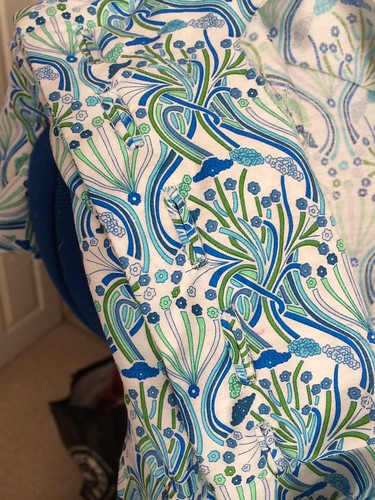
in this photo if you look carefully you can see all the markings used to make the photo above
if you think there are too many dots for the pin tucks, that’s because you put in the darts first then the pin tucks using half of the of the dart markings.
here’s roughly what it will look like, I am going to use pink buttons and part of the border print for the belt
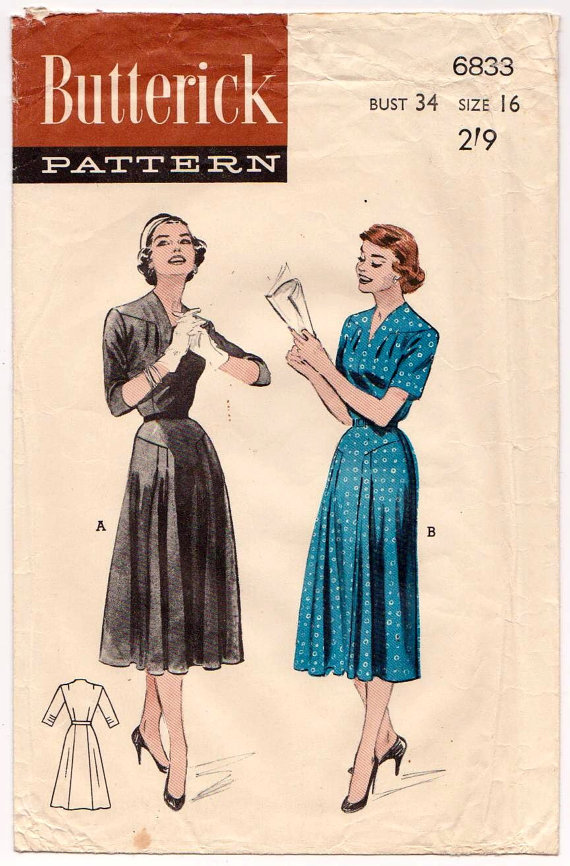
Butterick 6833
I’m going to try to do a slightly more in depth post on this dress.
Pattern envelope
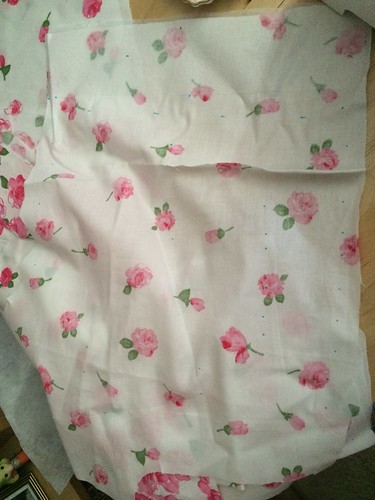
If you look closely at the pattern you should just be able to make out the pattern detail on the shoulders and hip. I thought that the print might have been a bit mistake but from a distance it isn’t too bad. It is just as well it is so busy as I folded the fabric in half which meant that some of the pattern ended up upside down.
The first photo is the front pieces, you need to enforce the front with two sets of stitching round what will become the slash point which you can’t see on this photo, but what you can see is the placket which is used to reinforce what will become a seam.
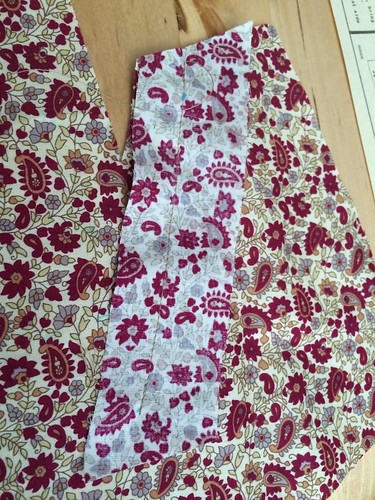
You then slash up to the dot.
Fold the placket up, then put in the pleats

stitch the placket over the top of the pleats using topstitching, unfortunately the top stitching hasn’t come out well in this photo.
roughly the same process is copied for the front of the skirt.
Border pattern dresses
I’ve just bought some fabric with a large border pattern

I’m hoping to have bought enough fabric to make vogue 9040 with it so I can get a look similar to this
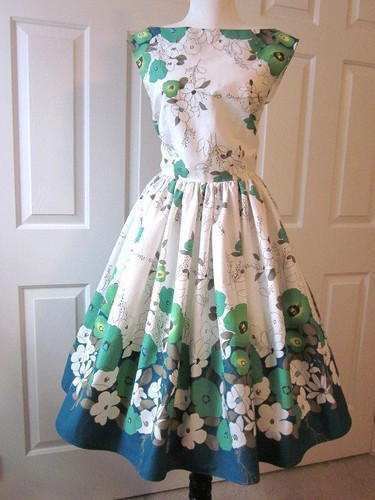
Fabric from ebay, dress photo from etsy.
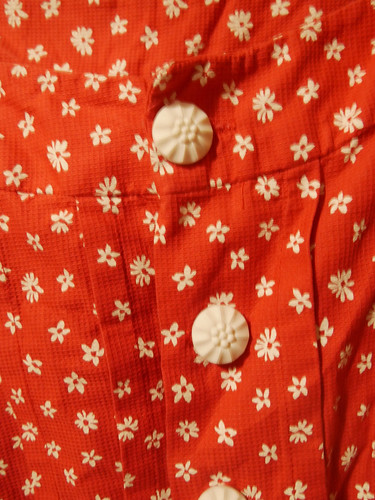
vogue 9040 part 2
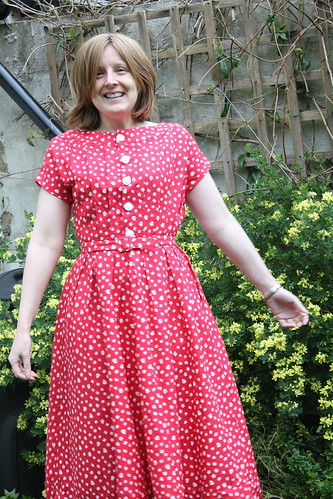
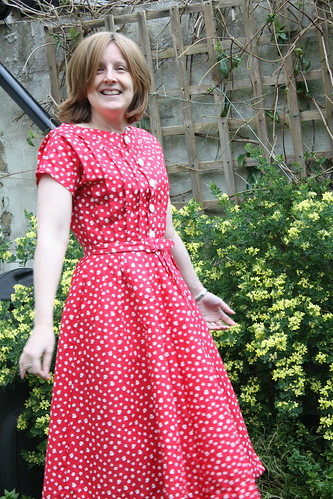
here we have another finish red and white dress, this is the first dress that i have made that looks like the actual picture on the envelope.

I also thought that as the sun was shining I would take the photos outside, of course by the time i had put the dress on and moved the camera downstairs the sun had gone in. Also my shoes weren’t quite up to the muddy grass either.
This is the first vogue dress pattern i had put together and i was surprise at how easy it went together. I wasn’t sure about the buttons but seeing them on now i’m quite happy with them.
![IMG_2910[1]](https://farm3.staticflickr.com/2884/13353637393_01dc97fae8.jpg)
Here’s a not such a good shot but it has the shoes in it.
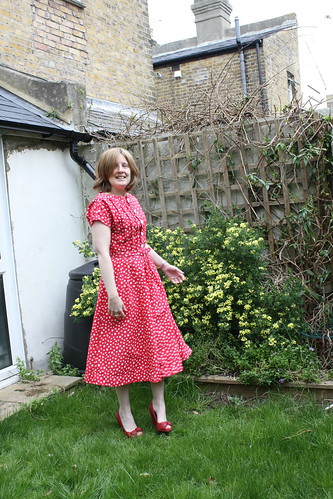
i’ll definitely be making this dress again.


