Blog Archives
Itch to stitch – Patternsy Printing
Just before Christmas I received an email from Kennis Wong about having the large-format PDFs printed by Patternsy, I thought I would try it out as I had been looking at printing. If Kennis wanted to do the research for me I thought I would give it a try.
It was quite straight forward, you login with a gmail account so that you can upload the patterns to google docs, then you fill out a form giving them your name, email address and address. Once you have done this Patternsy emailed me to ask what cup size I wanted printed as it will make the printing cheaper, once I answered this question, they came back with an invoice. Which I paid using Paypal, for the four patterns I decided to have printed which cost £21.74 in total, I had printed Bonn, Chai, Idyllwild and Mila.
After I paid it took only a couple of days for my printing to arrive, the paper is slightly heavier than tissue paper 24gsm better than normal printer paper.


For some reason I had expected it to come in a tube, but that could be because I expected it to be a heavier paper, they came in an A5 envelope, folded up like a purchased pattern. I will be quite happy to use this service again with other patterns.
Back in hospital more shopping will be done…
I have bought some patterns from deer and doe, I have had so much use out of the free Plantain pattern I recommend you rushing over and downloading it, to be honest I’m not too keen on the styling on the website too much eyeliner and silly poses but I have been eyeing up the azalea skirt
 , bleuet dress
  and the givire dress
 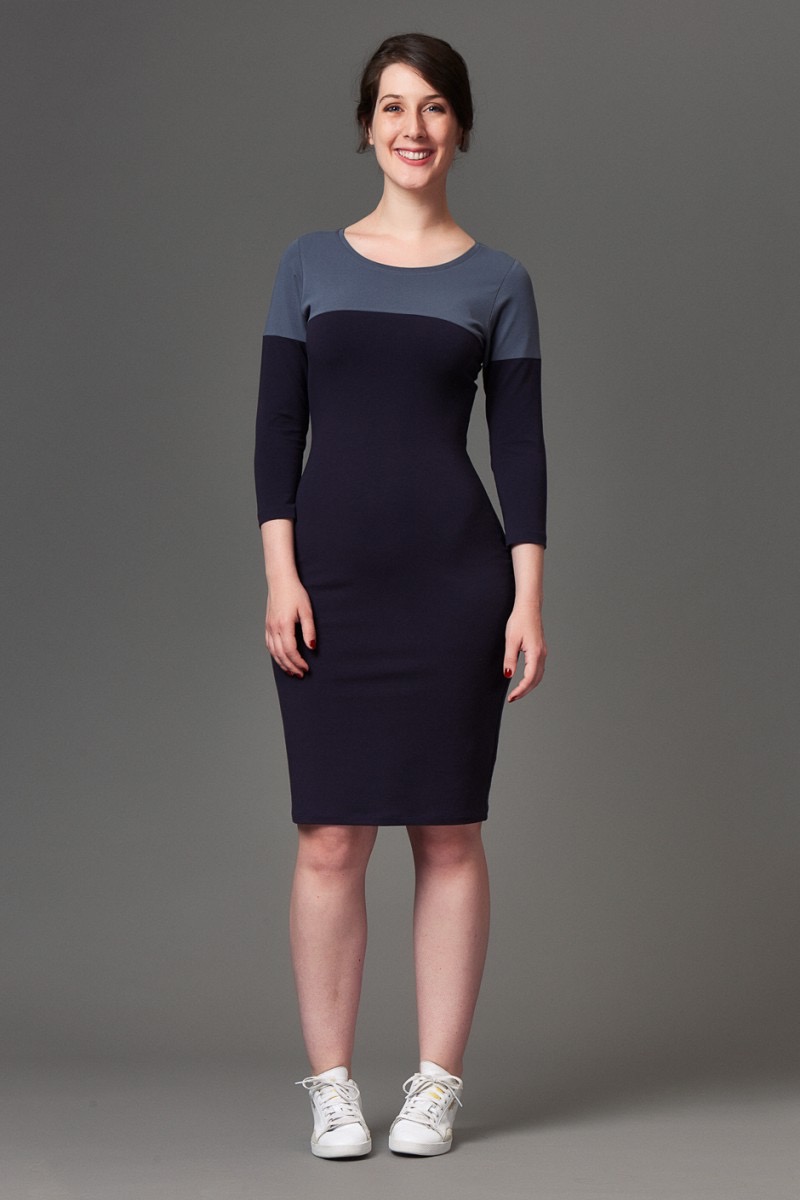 ad I just realised I missed fumeterre skirt,
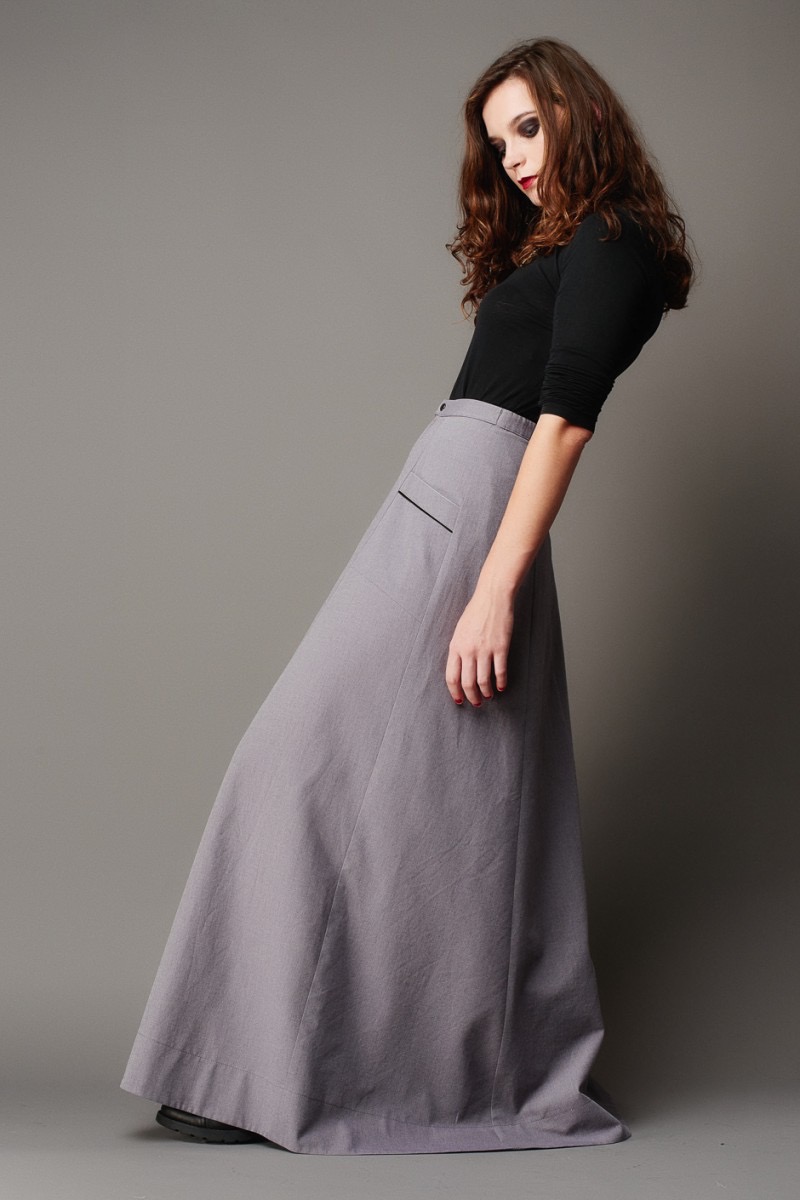 which I love, of course I can’t do this pose without falling over at the moment, i can dream 🙂
I have also been over to love notions for trendy tunic, 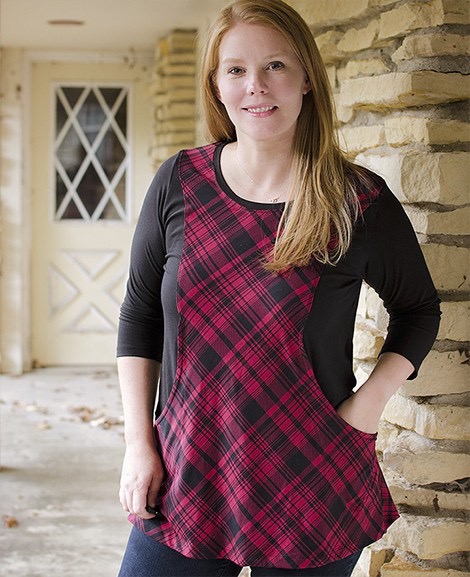 candence top and dress
  and tidal dress and top.
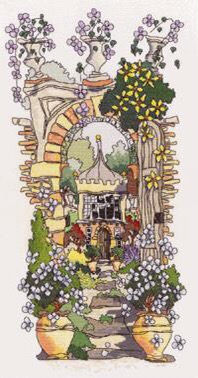
I also suggest that Michael Powell, cross stitch copyright division get their arses over to Pinterest, up and down the garden path and a couple of others are available to down load which brings me to my other purchase, as you may have realised I have gone back to my other love, counted cross stitch and have picked, Michael Powell secret garden 1
 to finish, I had it in the evenweave version purchased from the designer himself at a long ago knitting and stitching show, I picked this one of the many started as I thought it would be easy enough because of the fabric and blocks of colour but enough of a challenge because of the back stitching, so went over to amazon to buy the companion kit the secret garden 2
Hey June – Cheyenne Tunic
Hi, I picked this pattern because of it’s similarity to a couple of Fatface Popovers I bought in the winter sale and also, while researching the Birkin flares I came across several really beautiful versions of the pattern.
I made the tunic with 3/4 sleeves, it went together quite easily and the instructions were very, very detailed, they hold your hand through the whole stitching experience.
you make the tab first


Then you make up the back, using what I assume is the Taco method for the yoke

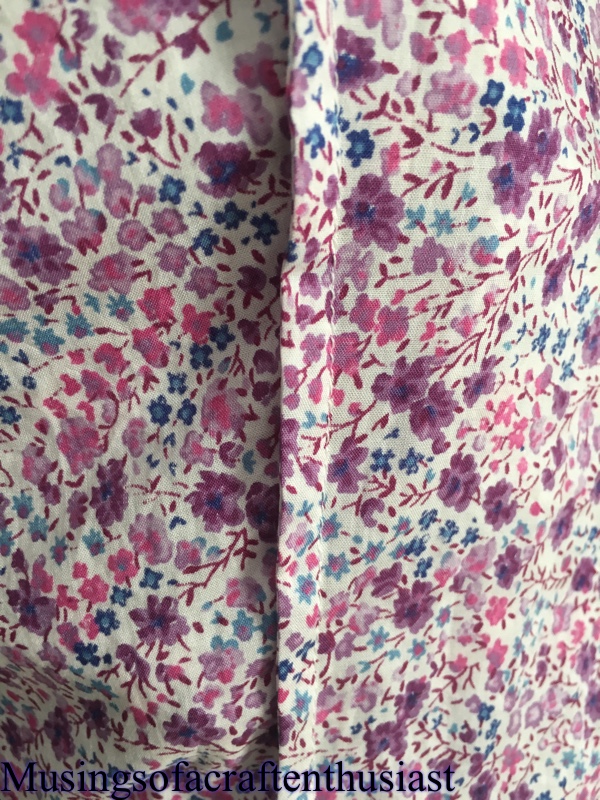
there are a couple of nice details on it, the cuffs for instance are surprisingly easy to put together and look very professional,


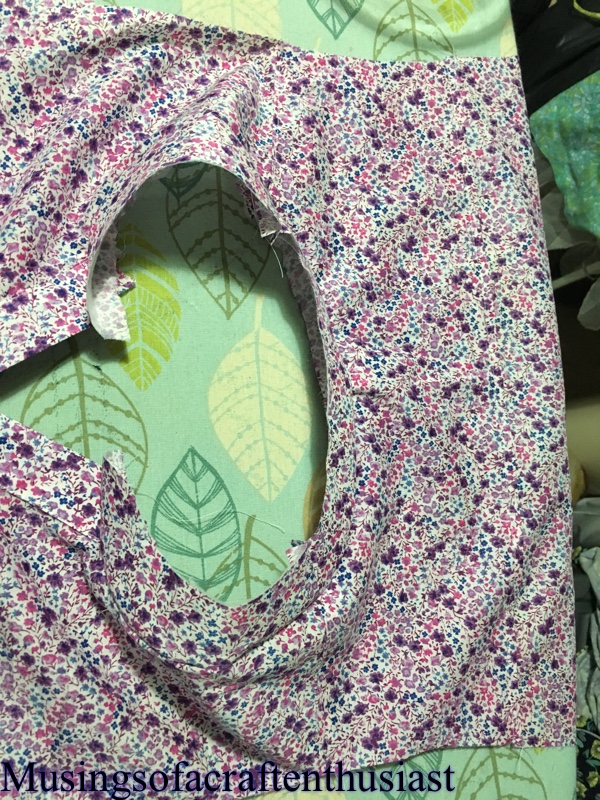
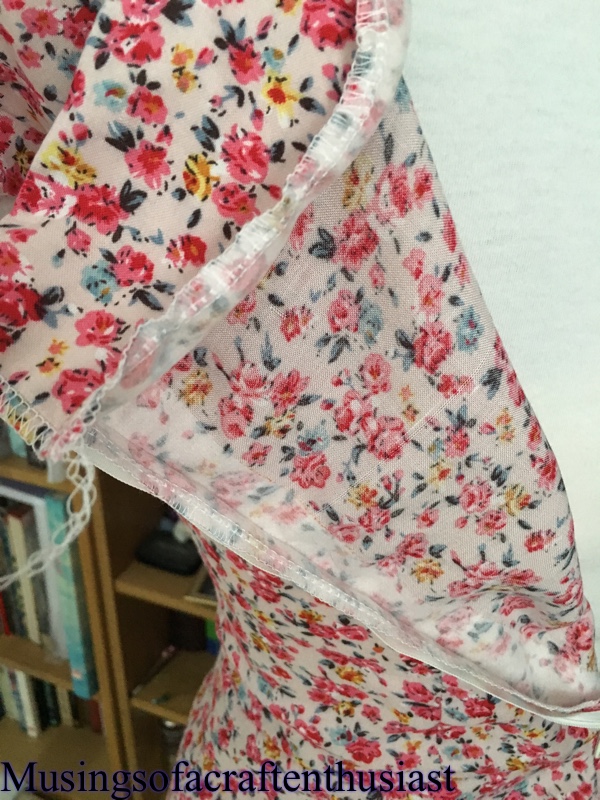
the whole thing has french seams even the arm holes, the shirt is put together flat then the side seam and underarm seem is sewn last.
The one thing that I’m not sure I agree with is the hem is stitched separately on the back and front then the side seams are done

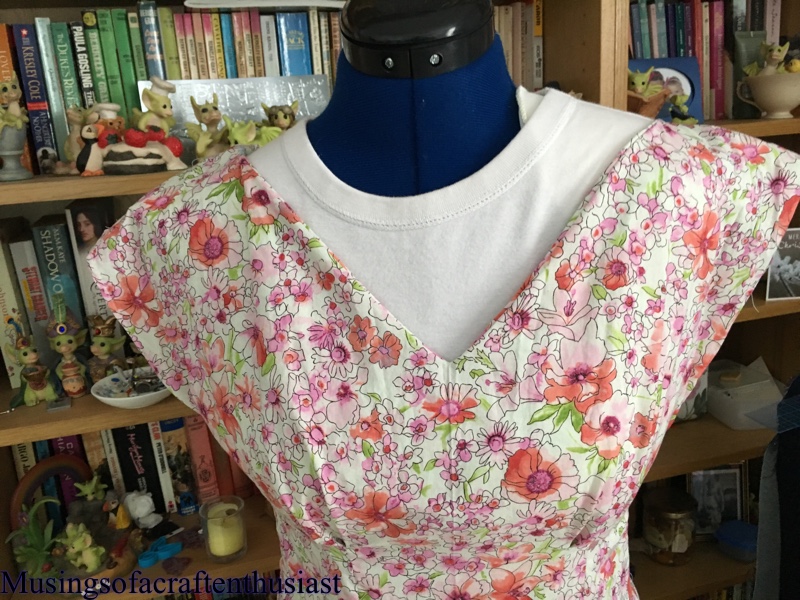
If I was to make it again there are a couple of things that I would change, the front tab reaches my belly button definitely not sure about that, also the the tab on my Fatface shirts are thinner which I think I prefer.
I’m not sure if the fabric I used is slightly too stiff though I thought it was a light weight Lawn. the back doesn’t seem to lay properly but I think I might wash the fabric again before looking into this issue.


The reason this is not finished is because I can’t decide on the buttons, any suggestions?
Anna Dresses BHL
Here is the promised post on my Anna dresses, neither are completely finished but both are beautiful in their own way.
The first one is a viscose (rayon) which is very slippery and after the last time I worked with viscose I swore I would never do so again, but this was cheap and pretty…..
Those by Hand London girls sure draft for some very tall Ladies, I loped 7 inches off the skirt before I even started. The other changes I made was to do a small bust adjustment and to bring the neckline up an inch, I tend to find that deep V necklines do nothing for me and they gape something terrible.
I did French seams on the skirt and overlocked the top mainly because I wan’t 100% on french seaming the underarm.

It still needs ironing and hemming, over all I’m quite pleased with it. I will admit though I wimped out on the thigh high split.
I used a small bit of interfacing where the zip is, not my idea I read it somewhere when I was researching the Anna Dress.
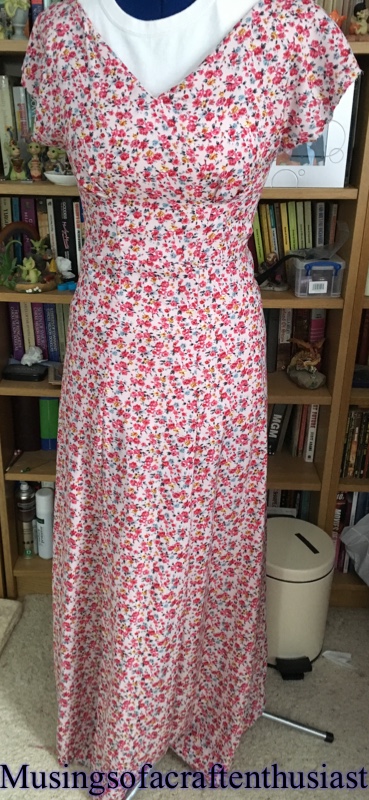
The Second Anna is made out of a Robert Kauffman London Calling Lawn fabric, I bought in the Craftsy fabric sale before christmas, It is very nice and light and floaty.

here are the full length photos.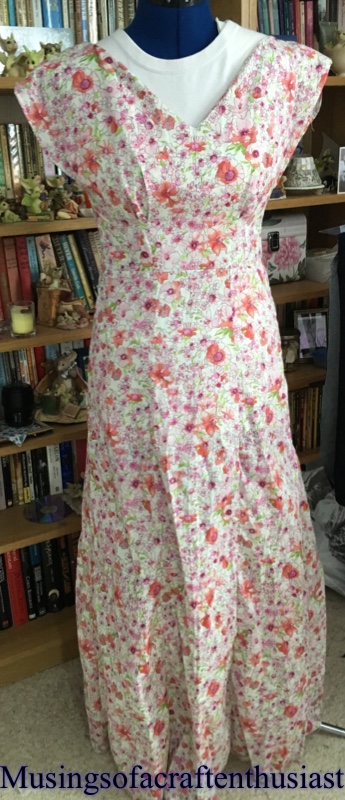
Birkin Jeans – Baste and Gather
Hi, I’m having a busy year so far, I’ve made a lot of things but not finished them, if you read this blog I think that you will find this is a recurring theme, However I do have something to show you that is finished.
My first pair of Jeans, and they look lovely, I cheated top-stitching wise, my fabric is Black and so is my top-stitching but never fear I’ve started on a new pair which are dark blue with red top stitching, a photo at the end of this post.
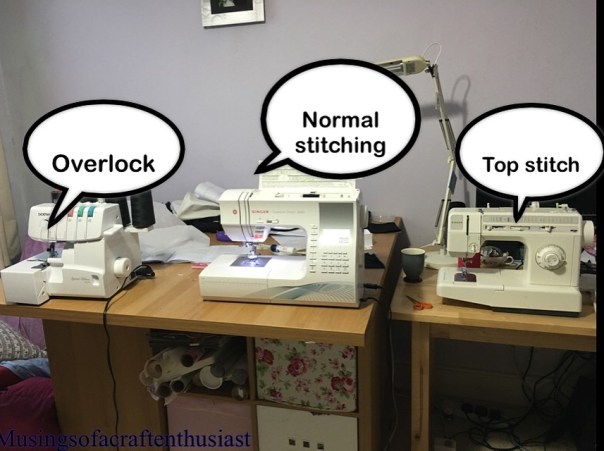
I do have two sewing machines which make assembling this pattern a lot easier, my usual machine is set up with the normal thread and my older machine with the Top-stitching thread.
I bought the fabric from eBay, it was the cheapest 10 oz denim I could find, when it arrived, I wasn’t too sure about it, it was quite stiff, but after washing it, the fabric softened up a lot.
This is the first PDF pattern that I have downloaded that you can pick which sizes to download, this is genius everyone should do it. It makes it easier to to grade between sizes and you don’t get all the confusing bits where all sizes congregate in one spot. I printed 26 and 27, in the end I just made a straight 26, I took 3 1/2 inches out of the length, looking at the sizes I should have taken out 4 inches but I’d rather they were too long after the next wash than too short. With shop bought jeans I sometimes find they keep shrinking into the second and third washes.
The instructions were brilliant and I would say that as long as you know your way round a sewing machine, you should have no trouble making a pair of jeans whatever your skill level.
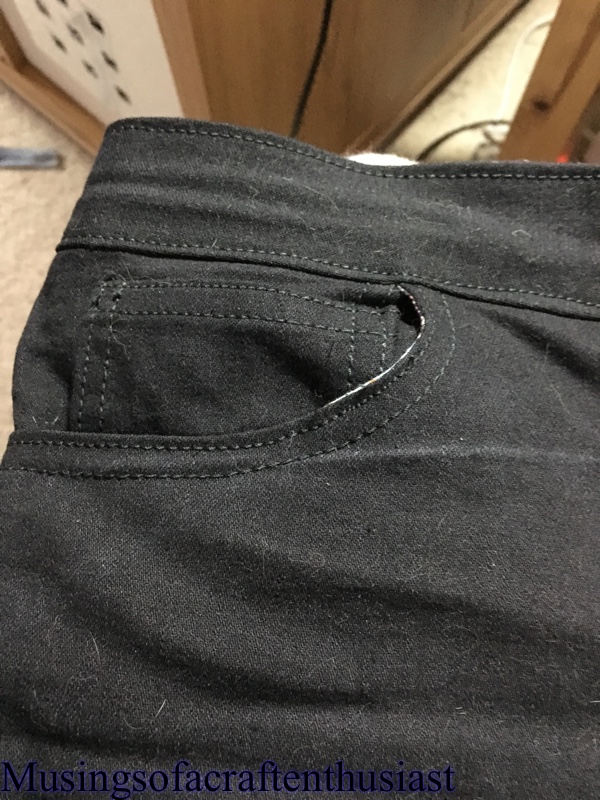
The back goes together first, I put a couple of lines of stitching on the back pocket, just to give it that ‘authentic’ jeans feel

The fabric is a lot blacker than it looks here, but at least the highlights are showing off the stitching.
after this you start working on the fly, I would say that the instructions for this is better than the instructions for the Sewaholic Thurlows, but it does use a lot more photos.


one thing this fabric does do is attract the cat hair :-(, here are some photos of the front made up.


I am very pleased at how they have turned out, the only bit I am slightly disappointed in myself is that there is a tiny bit of pocket lining showing on the curve of the pockets, but that’s what a black sharpie is for.
As promised a shot of the pair I am working on now.

I decided against patterning the pocket as I thought it might be too much red, but now I sort of wished I had.
I used a different foot for the top-stitching the first one was done with a 1/4 inch quilting foot the second pair of jeans I decided to use the stitch guide foot, which I’m finding a lot more accurate.
bye for now…


