Author Archives: Tracy
Anna Dresses BHL
Here is the promised post on my Anna dresses, neither are completely finished but both are beautiful in their own way.
The first one is a viscose (rayon) which is very slippery and after the last time I worked with viscose I swore I would never do so again, but this was cheap and pretty…..
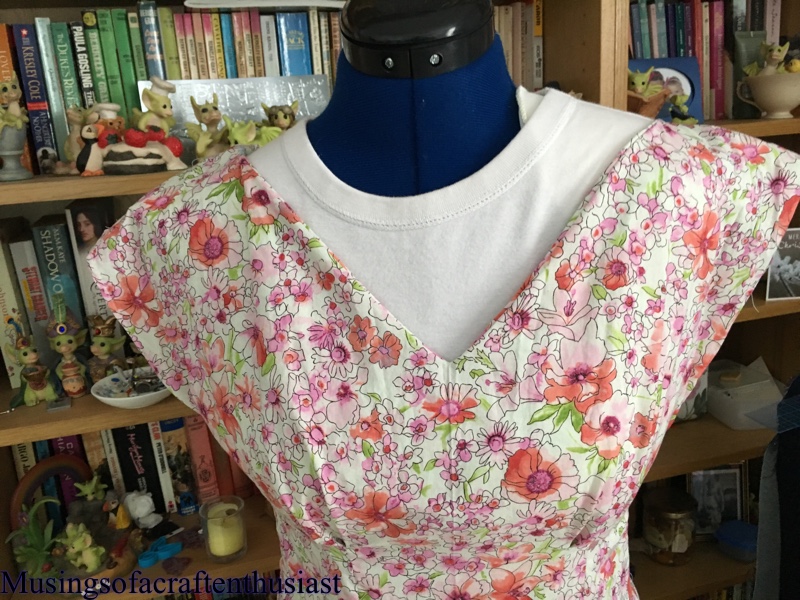
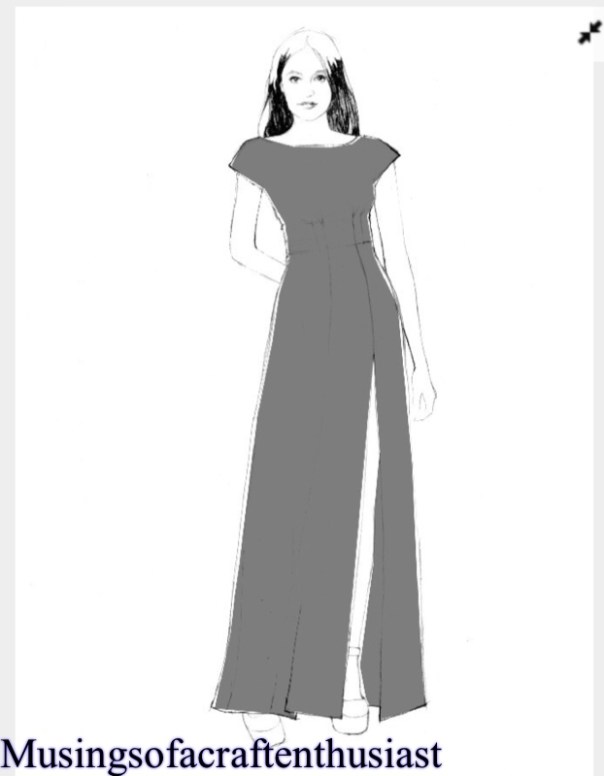
Those by Hand London girls sure draft for some very tall Ladies, I loped 7 inches off the skirt before I even started. The other changes I made was to do a small bust adjustment and to bring the neckline up an inch, I tend to find that deep V necklines do nothing for me and they gape something terrible.
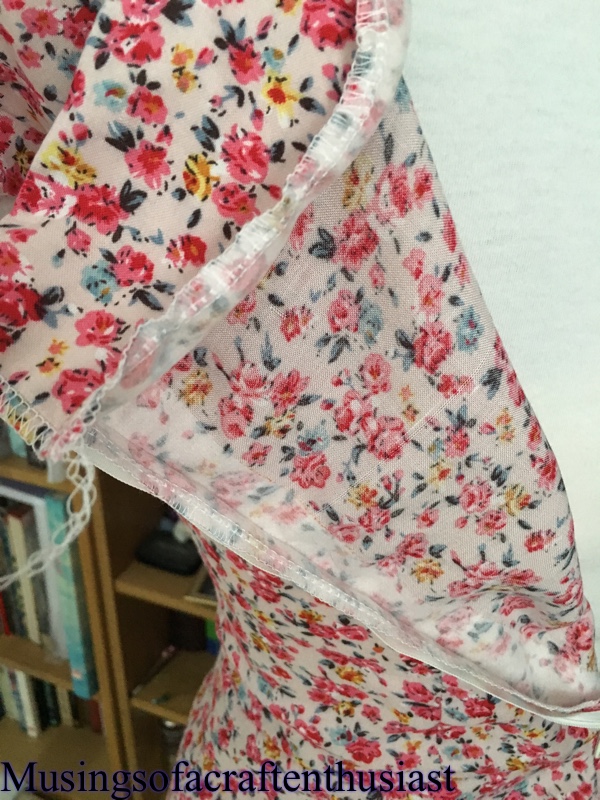
I did French seams on the skirt and overlocked the top mainly because I wan’t 100% on french seaming the underarm.

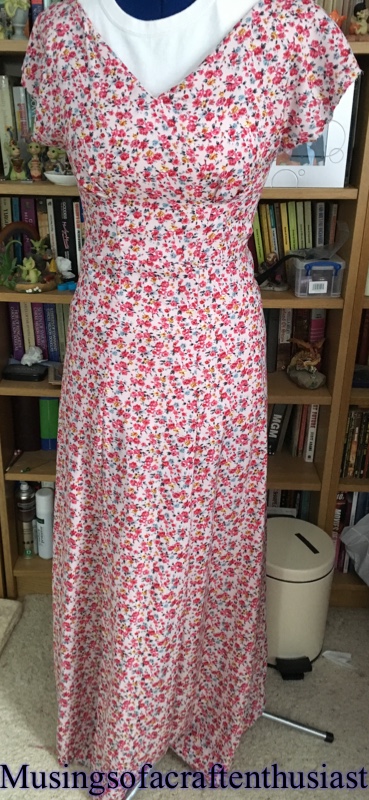
It still needs ironing and hemming, over all I’m quite pleased with it. I will admit though I wimped out on the thigh high split.
I used a small bit of interfacing where the zip is, not my idea I read it somewhere when I was researching the Anna Dress.
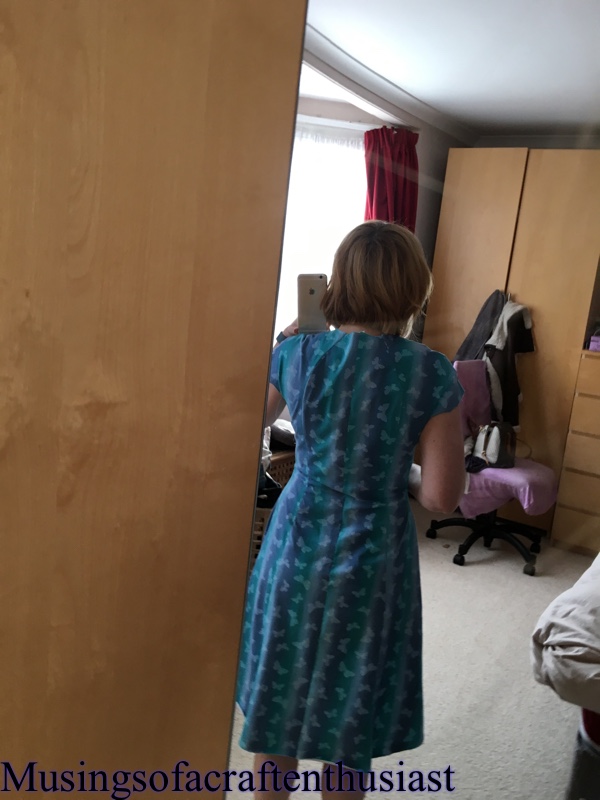
The Second Anna is made out of a Robert Kauffman London Calling Lawn fabric, I bought in the Craftsy fabric sale before christmas, It is very nice and light and floaty.

here are the full length photos.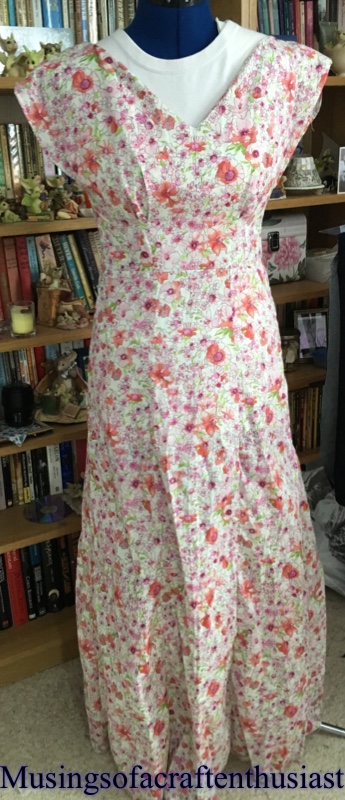
Stretch fabric
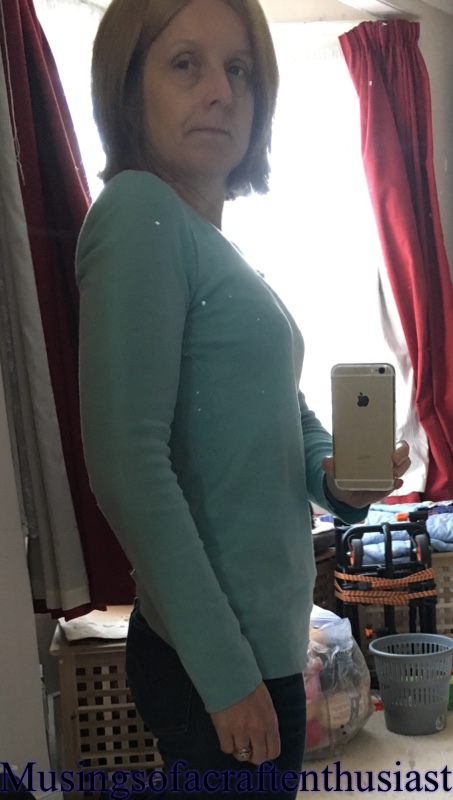
Now that I have spent some time with knits, I can now say that although I don’t love them, I do realise that they are not as scary as I first thought. Off the back of the stretch Craftsy class I have decided to try and replicate one of my tops, the result, while unwearable has a lot going for it.

I laid the top I wanted to copy out on my table and also traced off the t-shirt pattern from my class, my top has pintucks in it and a yoke at the back which means that the shoulder seams are forward.

To start with I modified the neck line to mimic the lower scoop of the original then I took 1 1/2 inch off the front and added it to the back piece, because of the pintucks I slashed my new front pattern piece and added in the extra for the pintucks. After redrawing the new front, I checked it against the original and added length and width.

I then moved on to the back piece, I sliced off the yoke and added the seam allowances on.

Fit wise it looks great, I had to take a bit off at the hips as they seemed to have a life of their own, and was standing out in a most ungainly way.

As I said it is unwearable, the unwearability of it is tied up in the front placket and the neck treatment, the fabric is too thick for for the front placket to four layers, if I had checked the original I would have realised this as they have replaced half of this with what looks like ribbon, and also I’ve rather messed up the curved edge of the neckline, however the basic shape is there I just need to tweak it.
Bye for now.
Birkin Jeans – Baste and Gather
Hi, I’m having a busy year so far, I’ve made a lot of things but not finished them, if you read this blog I think that you will find this is a recurring theme, However I do have something to show you that is finished.
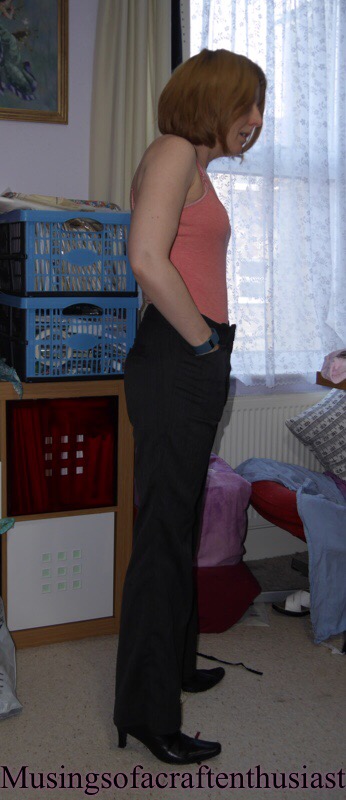
My first pair of Jeans, and they look lovely, I cheated top-stitching wise, my fabric is Black and so is my top-stitching but never fear I’ve started on a new pair which are dark blue with red top stitching, a photo at the end of this post.
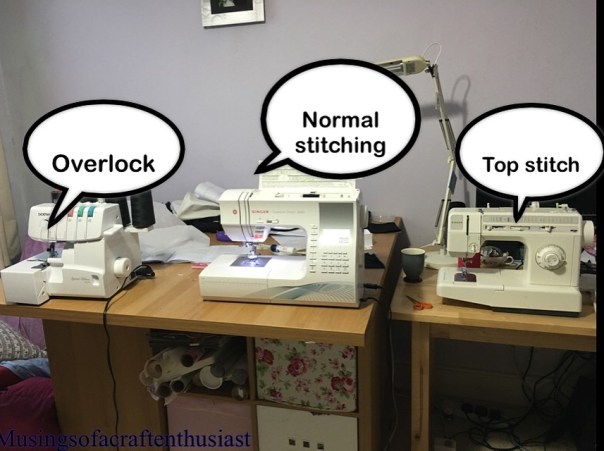
I do have two sewing machines which make assembling this pattern a lot easier, my usual machine is set up with the normal thread and my older machine with the Top-stitching thread.
I bought the fabric from eBay, it was the cheapest 10 oz denim I could find, when it arrived, I wasn’t too sure about it, it was quite stiff, but after washing it, the fabric softened up a lot.
This is the first PDF pattern that I have downloaded that you can pick which sizes to download, this is genius everyone should do it. It makes it easier to to grade between sizes and you don’t get all the confusing bits where all sizes congregate in one spot. I printed 26 and 27, in the end I just made a straight 26, I took 3 1/2 inches out of the length, looking at the sizes I should have taken out 4 inches but I’d rather they were too long after the next wash than too short. With shop bought jeans I sometimes find they keep shrinking into the second and third washes.
The instructions were brilliant and I would say that as long as you know your way round a sewing machine, you should have no trouble making a pair of jeans whatever your skill level.
The back goes together first, I put a couple of lines of stitching on the back pocket, just to give it that ‘authentic’ jeans feel

The fabric is a lot blacker than it looks here, but at least the highlights are showing off the stitching.
after this you start working on the fly, I would say that the instructions for this is better than the instructions for the Sewaholic Thurlows, but it does use a lot more photos.


one thing this fabric does do is attract the cat hair :-(, here are some photos of the front made up.
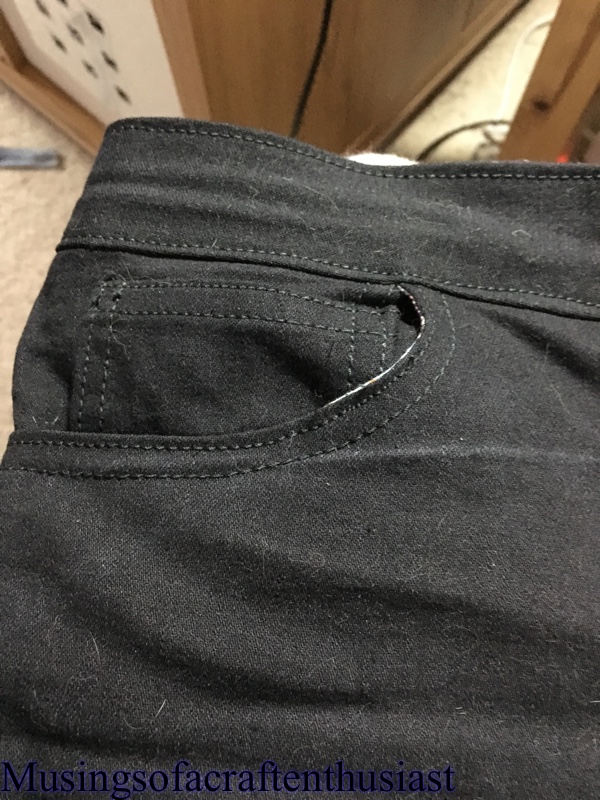


I am very pleased at how they have turned out, the only bit I am slightly disappointed in myself is that there is a tiny bit of pocket lining showing on the curve of the pockets, but that’s what a black sharpie is for.
As promised a shot of the pair I am working on now.

I decided against patterning the pocket as I thought it might be too much red, but now I sort of wished I had.
I used a different foot for the top-stitching the first one was done with a 1/4 inch quilting foot the second pair of jeans I decided to use the stitch guide foot, which I’m finding a lot more accurate.
bye for now…
2016 is shaping up to be the year of the indie pattern
Usually I stick with the big four, well actually two, Butterick and Vogue I have occasionally gone to Newlook, to be honest I’m a bit confused as to why they are called the big four as they all appear to be now owned by McCalls but who am I to question why.
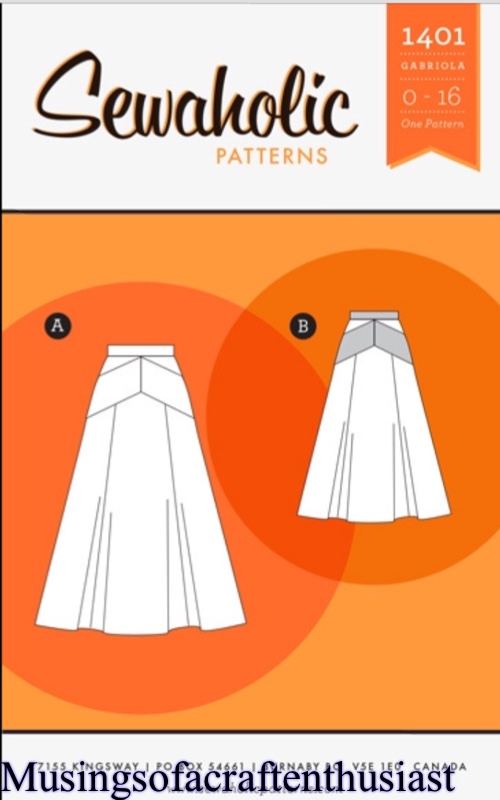
This year I’m going Indie, I already have By Hand Londons Anna Dress, Pinup Girls Bra pattern and what seems to be half of Sewaholics pattern line – Davie Dress, Gabriola skirt, Cambie dress, Thurlow Trousers, Hollyburn Skirt, Belcarra Blouse and Granville Shirt. I have added the Birkin Jeans from Baste and Gather and two patterns from Hey June Handmade, Cheyenne tunic and Lane Raglan.
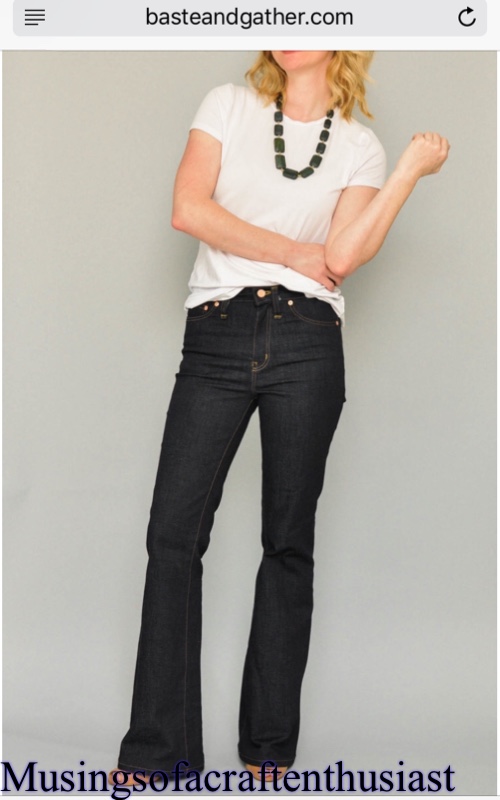
I have always fancied making Jeans but the pattern that seems to be most talked about is the Ginger Jeans, to be honest I haven’t worn Skinny Jeans since the last time they were in, and mostly I remember not being very comfortable especially while sitting down, I know they have bought out a bootcut addon pack but I still find them a bit meh. The Birkin Flares however I love, love all the photos I’ve seen of them and all the reviews seem very favourable.
Of course while I was checking up on the Jeans I came across the Cheyenne Tunic, which is quite close in style to the FatFace Popovers I’ve been buying (in the sale) so I thought why not. I have some very nice stash fabric I can use for it hopefully before I go to Olympia 4th March. I need to stash bust pretty darned quick 🙂


Sewaholic Davie dress
Hi, since my brief look at knit fabrics I have been looking to complete Sewaholics Davie Dress, when I ordered it I hadn’t realised that it was made in a stretch fabric, but I was willing to give it a go. I had some fabric bought from eBay that I wasn’t all that keen on once I had it delivered so it was ideal for my test run.
My first problem is that I’m not a pear shape which is the shape that Sewaholic favours, at 33 27 37 I was alright for waist and bust with a US 6 but my hips are a US 2, what I have done before in this position is just cut a straight US 6 but I have ended up with too much fabric at the hip and it has looked just plain wrong, so I decide to grade down from the waist to the hip size, I used my new hip curve and was very happy with the results.
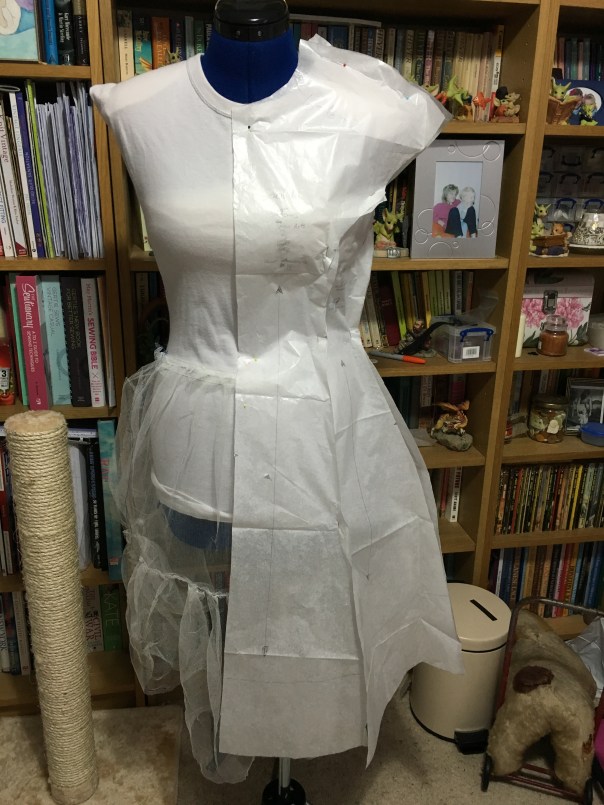
I did a quick pin to my dress form and it looked alright
My second problem is that I’m short 5ft 2in and I do usually have a problem with princess seam but I’ll cover that a bit later.
Who wants to see the first attempt at the dress.


I would like to say it looks a lot better on the dress form than it did on me and also by this point I had already raised the shoulder seams about an inch. The dress was just too big all over, except on the hip, the other problem was that without raising the shoulder seam by an inch the bust part of the princess seam was way too low, and even with the inch taken out it still wasn’t sitting properly.
Because of the amount of excess I had at the waist and bust I decided to try a straight size 2, after all there are 8 seams so I could quite happily ‘steal’ back 2 inches from the seam allowance. Also by going for a size 2 you already lost 3/4 inch from the shoulder.

What I didn’t realise was how rollyupy the already cut pieces were going to be and ironing them didn’t help 😦 however what I did find was that if I laid it on the ironing board it stuck to the cover like fuzzy felt, I managed to keep it flat enough to cut the new pieces out.
The dress went together very nicely, I used a normal straight stitch as this was only a test dress, zigzag is so hard to unpick, also I don’t like the way it looks on the outside. I might just use my overlocker in future.
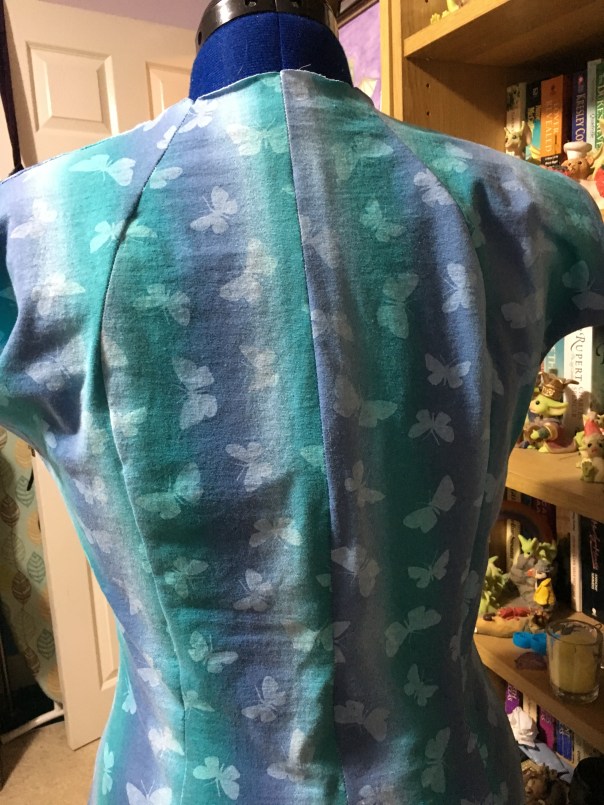
Here is the dress with the basic seams put in it fits loads better.
There is something squiffy going on with the back, but I’m not sure if it is how I standing, the shoulder seam could do with coming up slightly which will might fix this and will bring the bust point of the dress up to the correct position.
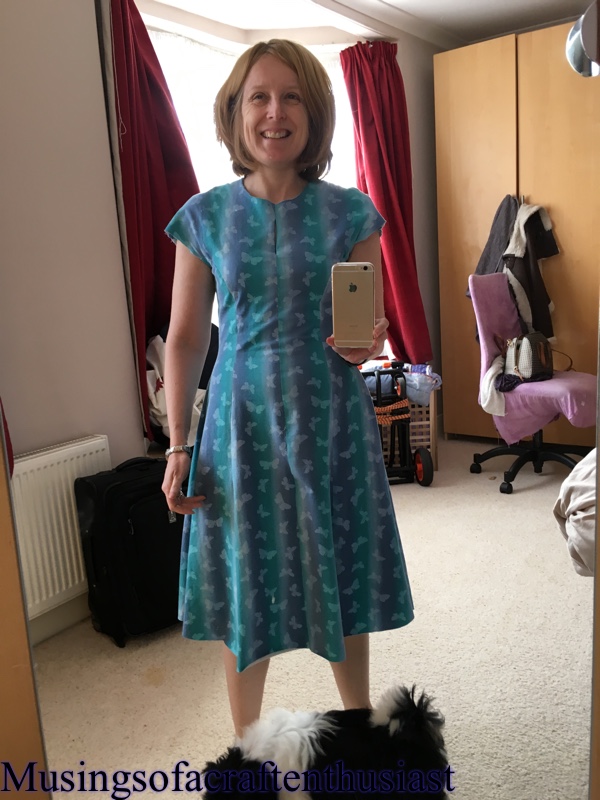
I made the longer length which comes just below my knees, I’m not sure if the shorter one might be just out of my comfort zone.
I’ll be back with the finished article soon, also I like the fabric made up a lot more than just laying in the drawer so this might by my first dress for Florida.
It is a medium weight stretch fabric with a nice amount of body, I used my walking foot which is brilliant and my sewing machine didn’t try to eat it once, bonus!
Also on my cutting table is By Hand London Anna dress, more about that soon.
Butterick 6254
This is a great pattern and is the first Butterick pattern that the finished garment actually looks like the picture on the front of the packet.

The only problem I have with this dress is, it is either too late for Christmas 2015 which is what I originally planned it for hence the dark green with little silver holly leaves, or miles too early for Christmas 2016.

I actually removed an inch from the length of the bodice because of the proportioned dress and then I did a SBA on it removing half an inch across the pattern piece.

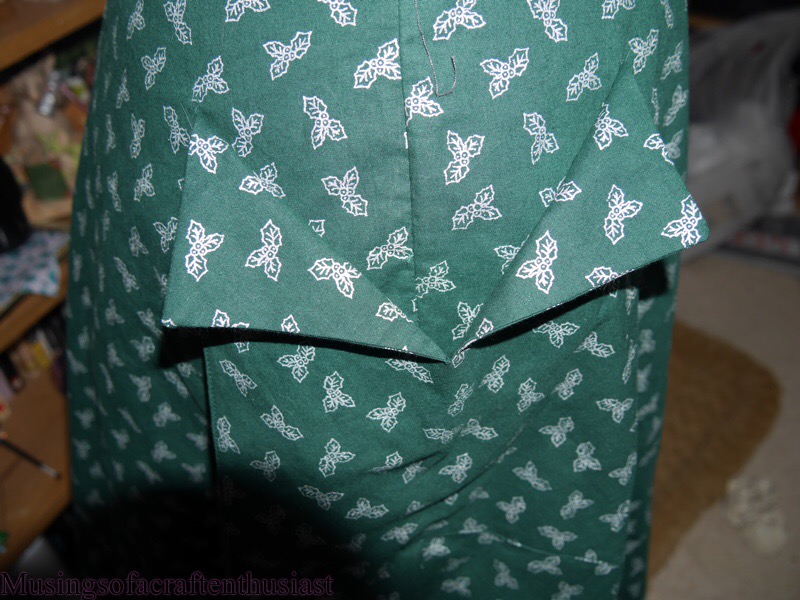
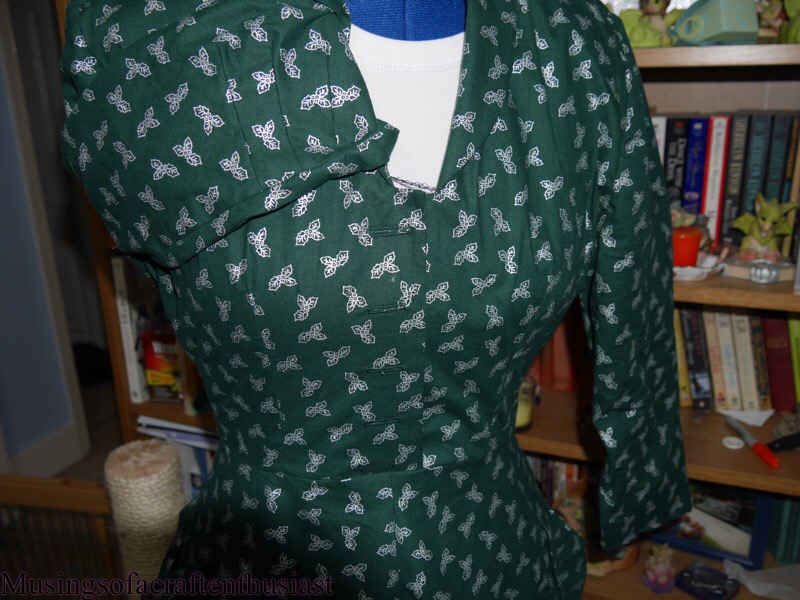
The details that I love on this pattern are the patch pockets which to begin with I wasn’t really sure about and the beautiful shawl collar which went together with no problem at all.
 The collar is one of those ‘part of the bodice front’ collars where you put in a couple of darts in front then it wraps round to the back, and tada you have a collar, once you have fiddled about trying to get it to play nice with the back piece and wonder why you have ended up with a fold in the wrong place. I had no problem with the back and it just went in, I’ll be intrested to see if it goes together as well the next time.

Thurlow Trousers part 2
I cut out and put together my second pair of Thurlow Trousers before Christmas, the reason I haven’t blogged about them it that I made a bit of a hash of the back pockets, and I was sulking. There were a couple of other issues with them as well but that was the main one.
I cut too far on the pocket slit, I’ve done bound buttonholes before so I had no excuse. The welts lie very nicely unfortunately I have a bit of fraying at the corners.

Since I started this post I have actually completed two pairs of Thurlow Trousers and apart from the welt pockets on the first pair I am quite pleased with them. I stitched further in on the welt pocket sides so now instead of the fraying I have a bit of puckering, as I am never going to use the pockets I have also stitched them up.
The first pair I added 1/4 inch to the front rise, as it seemed to slope down from the back and was quite away from my belly button, the second pair I added in total 1/2 inch I was much happier with the result, oddly enough I had more problems following the instructions for the last two pair of trousers than I did with the ‘muslin’ I think I did too much second guessing.
Here are pictures of the first pair
And pictures of the second pair

I think that they could do with being a smige longer but other wise I’m happy.
Butterick 7556
A couple of posts ago I talked about this dress how I did a small bust adjustment and shortened the bodice. I will admit I was a little concerned about taking the full inch out of the length of the bodice I usually only take out 1/2 inch but after looking at the sizes on my ‘fully proportional dress’ I thought it might be a good idea.
I have put the top together and attached it to the skirt, I did have to do something with the pleats on the skirt as it was about an inch wider than the bodice, one other thing that I did to the bodice was to take the under bust darts in an extra 1/4 inch up to 2 inches below the bust point then taper them into the bust point, I am quite happy with the changes.
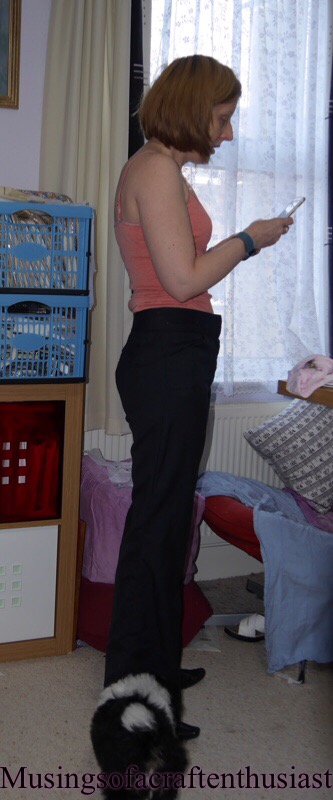
Hopefully taking the extra material out of the bodice and removing two inches from the bottom of the skirt will make me look less dumpy.


What do you think? Does it look less dumpy than this dress

The bodice definitely looks a lot better, of course it would have helped if I had managed to take a photo face on that I would have been happy to put on the Internet unfortunately there were funny faces and peculiar poses.
So what do you think?
2016……
This is what the first post of the year should have been……a look at what I want to accomplish over this year.
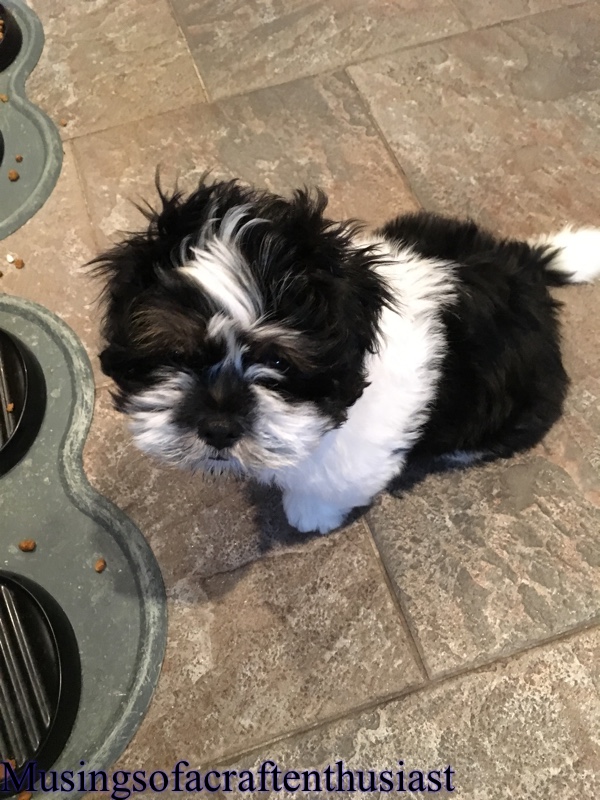
We haven’t started the year off particularly well as we have both been sick, Simon first then he quite gererously handed it over to me. We also bought a puppy, he is a Lhasa Apso, he is 10 weeks old and he is named Charlie, if a breeder ever says to you, your puppy is weaned and ready to go and the puppy is less than 8 weeks old say thanks, but no thanks, we bought Charlie home at 6 1/2 weeks, he might have been weaned but he was too young to leave his litter mates, not only is he not allowed out on the ground until he has had his second lot of jabs so you are going from having your puppy 3-4 weeks before being able to toilet train him outside to 6 weeks, there is his first lot of teeth coming through which we could have done without and also if you read up on the internet there is a whole load of learning experiences he gets from his litter mates that we can’t give him.
so enough about the fact I haven’t been able to get near my sewing machine for three weeks and only managed to read one book these are my sewing goals for this year.
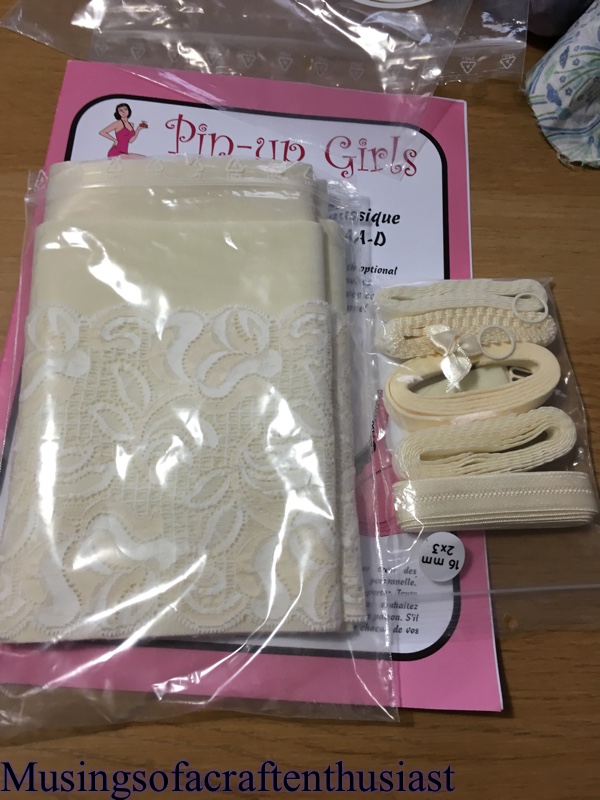
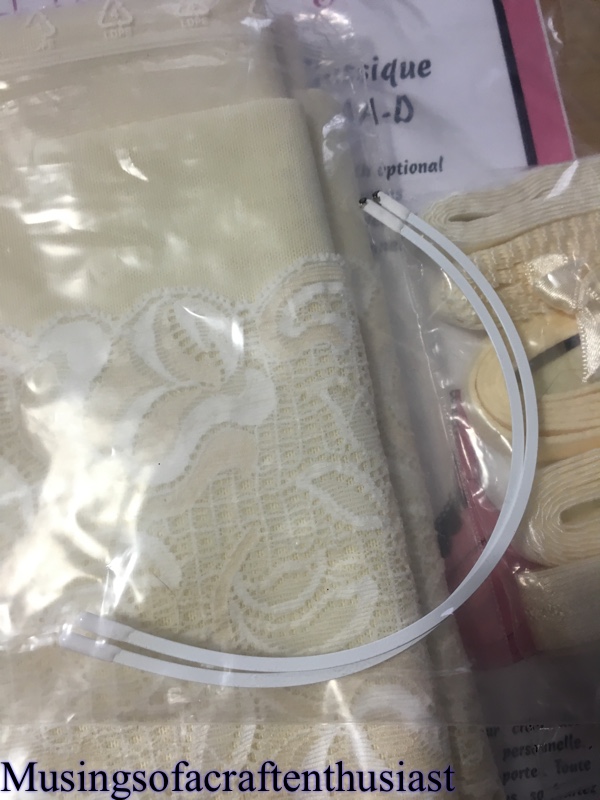
I would like to make a bra, I have a bra making class from craftsy (Sewing Bras: Construction & fit with Beverly Johnson) and have managed to source the kit and the pattern that goes with the class craftsy kit B,wear is in Sweden and I found it by going from Beverly Johnson web site in Canada. The kit came relatively quickly as I ordered it 11th December and it arrived just before Christmas.

Apparently I am also going to be sewing a lot of sewaholic patterns this year, you already know about the four I bought in Sewaholic sale, well I also received two for Christmas, the Belacarra blouse and the Cambie dress.
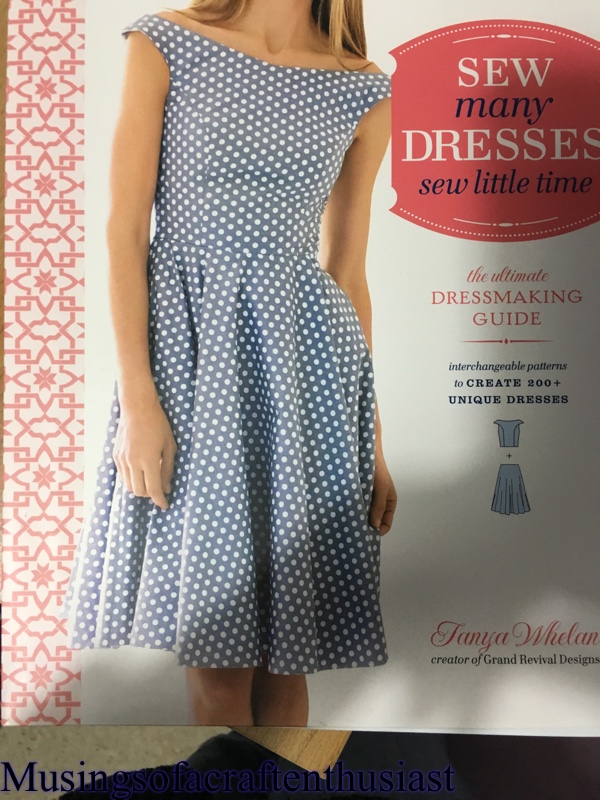
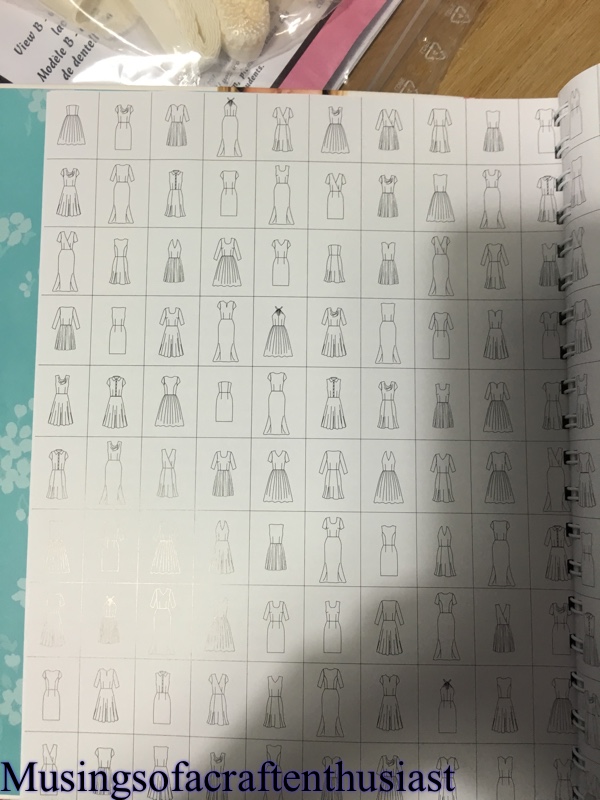
For Christmas I also received this book Sew Many Dresses, Sew Little Time by Tanya Whelan, I haven’t had a lot of time to go through it yet but I am wondering if it might help reproduce some of the dress patterns that I can only find pictures of, expect an in-depth review later in the year.

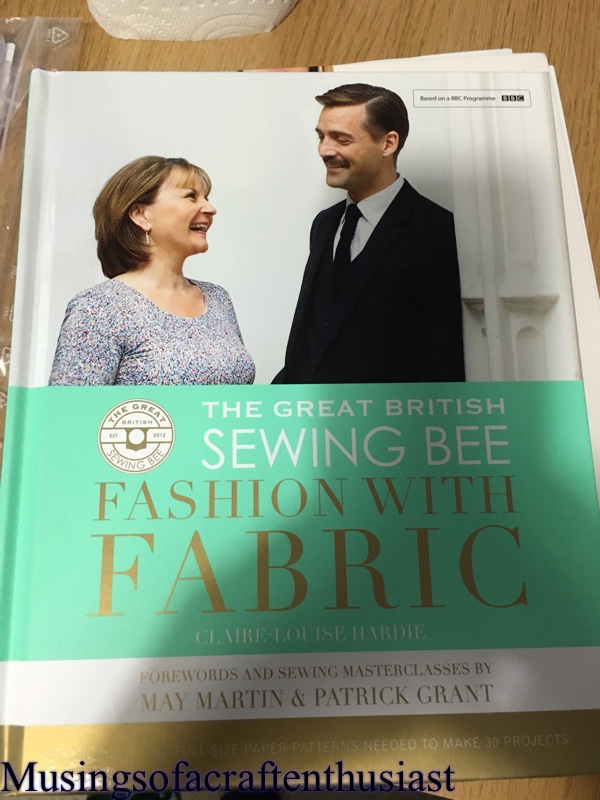
I also received a copy of The Great British Sewing Bee Fashion with Fabric which I hope will help with all those pesky fabrics that aren’t cotton. 🙂
To be honest, I don’t have many goals for this year, I would like to improve the fit on my makes and to that end I have most of the classes offered by Suzy Furrer on craftsy, and hope to go through them.
Bye for now…
Craftsy – Sewing with knits: 5 Wardrobe Essentials
Hello, in preparation for the Davie Dress, I decided to take a Craftsy class on knits, I narrowed it down to two and I decided on the Sewing with knits: 5 Wardrobe essentials, the two main reasons I picked this one is on reading the reviews the other class didn’t have any demonstrations and the second reason is that that this class actually came with some patterns.
I will admit Meg McElwee does go on a bit to start off with and does say umm a lot, however once you actually get into the actual course material she is very good, so if you have started the class and feel that you can’t put up with the umming and the things you don’t want to know about, just skip straight to either lessons two or three, I jumped straight to the scoop neck Tee, but did have to go back and listen to Hoodie as a couple of times Meg said that she had covered that construction detail in the Hoodie class.
I had a large piece of T-Shirt fabric that I bought last year waiting for Simon to tell me which of his T-Shirts he wanted me to copy which he never got around to (he says I never mentioned it to him). So after printing off the T-shirt pattern and sticking it together I checked the size copied it off and cut out my fabric. Although Meg does say that you could use an Overlocker(serger) for this she exclusively uses a sewing machine.
We go through the lessons step by step, the first bit is putting the the clear elastic/ shoulder seams using a three stitch zigzag, I wasn’t convinced by this watching the video and in practice my fears were correct, the seam looked loose and not very professional, It could just be that my stitch wasn’t close enough together and I need a pit of practice.
The other seams and the neck were put together using a plain zig zag Megs was set at one wide and two long, my Singer sewing machine wouldn’t let me go any lower than 2 for the width , but it did have a preset for stretch fabrics, which sort of looks like a lighting bolt which worked brilliantly.

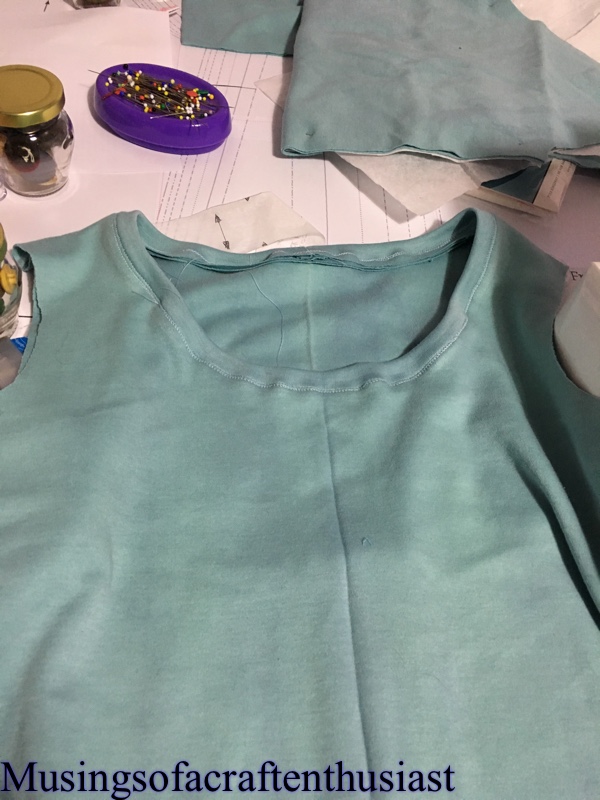
Meg showed us how to put on the binding for the neck and put two rows of stitching to hold it down, the sleeves are put in flat and then the side seams and underarms, two rows of stitching are used for the cuff we then use a twin needle for the hem. Full disclosure I put the t-shirt on after sewing the side seams and underarm and decided it was too big, so I haven’t done the finishing off, but I have worn it a lot round the house for slobbing about in and it is very comfortable. When I make the next one it will be in a smaller size.
This is the first time that I have used the walking foot that came with the machine, once I got it fitted it worked really well, I had no puckering on the fabric or unsightly stretching.


I bought this class in the sale so the patterns made this a great bargain, but I would recommend this class even though I skipped most of the first two lessons.


