Author Archives: Tracy
Ikea furniture
I wrote this at the end of September but have only just got around to taking the photos.
At the beginning of the year we decided to get rid of the bed in the spare bed room, (thank you Sue Ryder for coming to pick it up) and get a sofa bed to replace it, with the idea that it would make it easy to set up when we have guests. While we were walking round Ikea (for the bits for my cutting table) we found some sofa beds, after a quick facetime to Simons Mum to check she would be able to get off it we decided which one to get.
So on our week off in September we decided to order it, only to discover that it couldn’t be ordered on line and we would have to go into store even though we wanted it delivered. So a trip to Ikea was planned, there were a few other bits we wanted, a couple of mirrors that also wouldn’t fit in the car and we needed some storage boxes for the bedroom.
I have never been to Ikea and them have every single thing that I wanted and this trip was no different. In this case they had plenty of the bed frames (probably over 20) and the mattresses (two sizes) but no covers, surely you should have enough covers for the frames, and at £60 each you wouldn’t have thought too many people would buy one in each colour. Also where is the forward planning on the part of the stock system? they were getting more in, just not until the end of November.
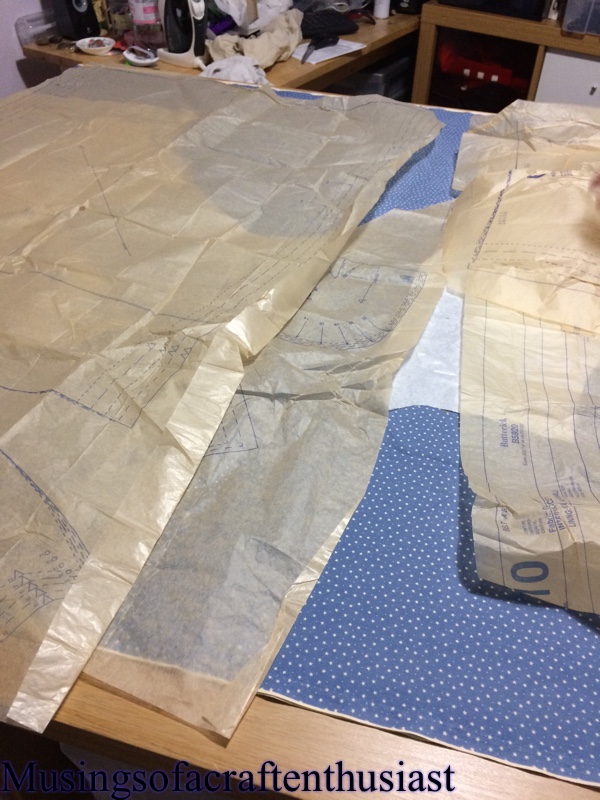
That’s my complaining done, while we were umming and urring in front of the mattress isle (with four cats we really didn’t want to leave the mattress uncovered) I suggested that if we went back and took some measurements I could probably make a cover for it, even if it wasn’t as padded and snazzy as the bought one
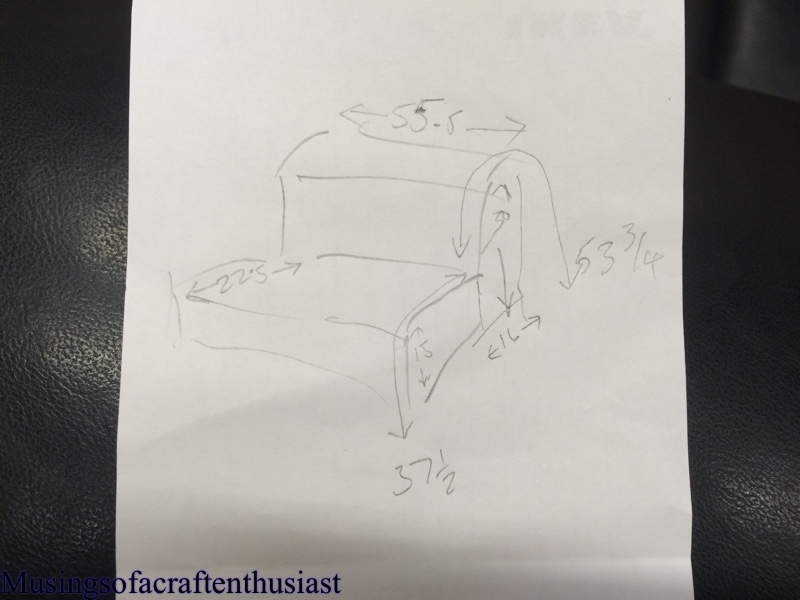
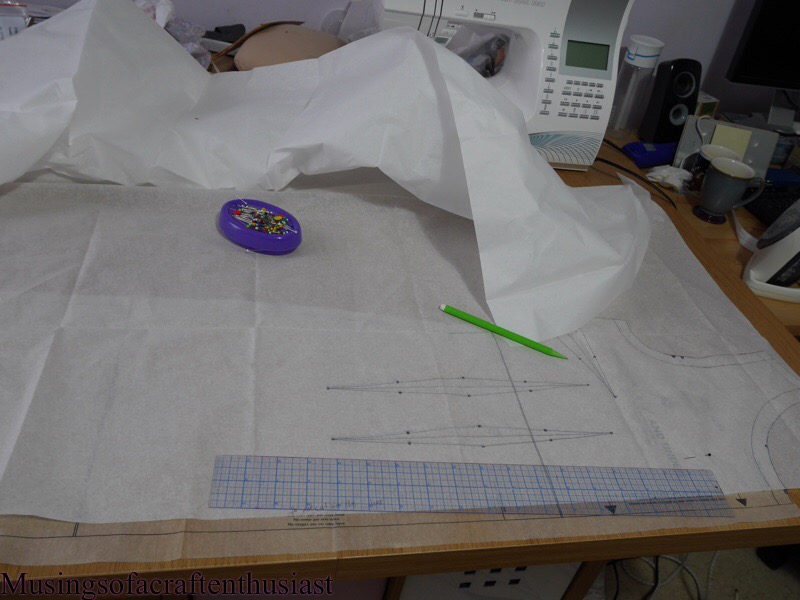
here are the measurements and the nice little diagram I made.
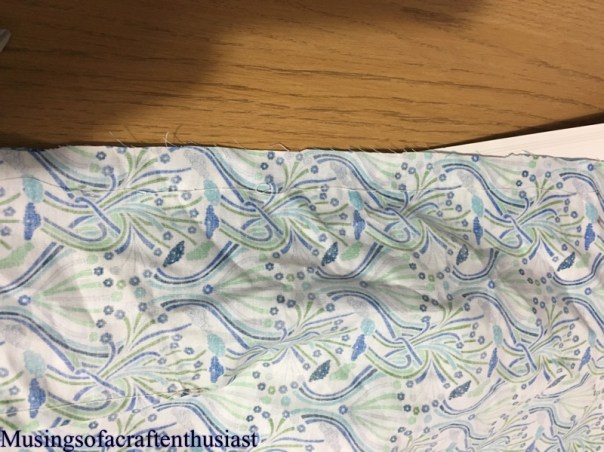
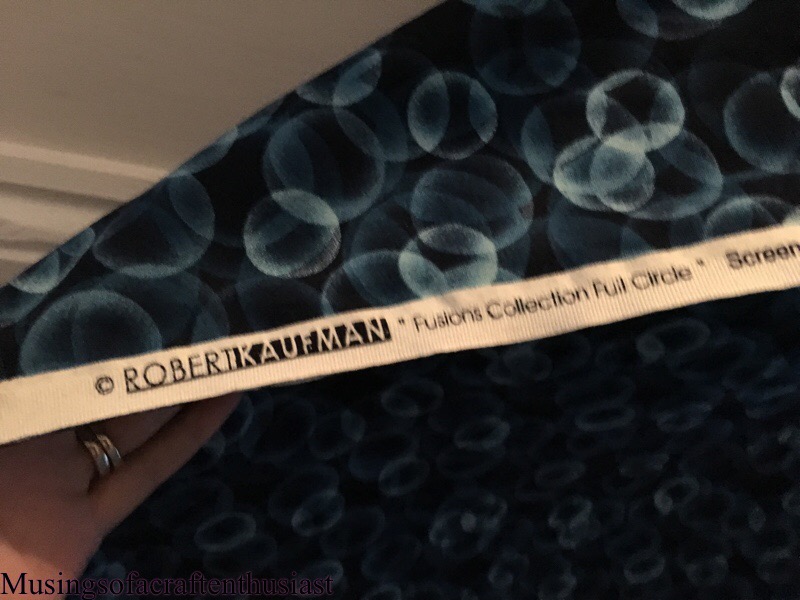
I used some fabric I bought early on in my stash acquisition, I didn’t quite realise what it was, the listing said “blazer fabric” so I thought trousers, skirts, it must have been really cheap I must have bought 10 meters of the stuff, it is horrible, it is heavy and it doesn’t hold a crease, however it is perfect to make a sofa bed cover.
Most of the pieces for the cover are rectangles, there was a rectangle for the the seat and front and one for the seat upright and the down the back ( i cut that as one piece) the side piece is also in two parts, a rectangle for the seat, and one running down the back with a curve on top.

 Luckily I remembered to add the seam allowance to my measurements and all in all it took about two hours, I think there is already a catch in the fabric but at least it isn’t on the mattress. and I managed to get rid of roughly 3 meters of fabric.
Where did last night go?
Abandoned by Simon while he was off in Colchester ‘being a rock star’ his words not mine. I had plans, mostly sewing and it didn’t really happen.
Have you ever got to the end of an evening disapointed that you haven’t done as much as you were expecting, but then after really thinking about it you realise that although you might not have got done what you were expecting but you achieved a great deal.
Up first was the Thurlow trousers I had planned on finishing them, they should already be finished but once the waist band was on I realised there was something funky going on with the back, they fitted alright but one of the pockets on the front was freakily smaller that the other unless my hands were woefully unblanced.
I did eventually get the waist band on, though the top part of the trousers seemed to have stretched 2 inches, also I drew the back line in with chalk instead of doing it by eye and I didn’t carry the stitching line up through the ‘foldy over bit’ which then made the the lining of the waistband too small, which was one of the reasons there was ‘something funky’ going on.
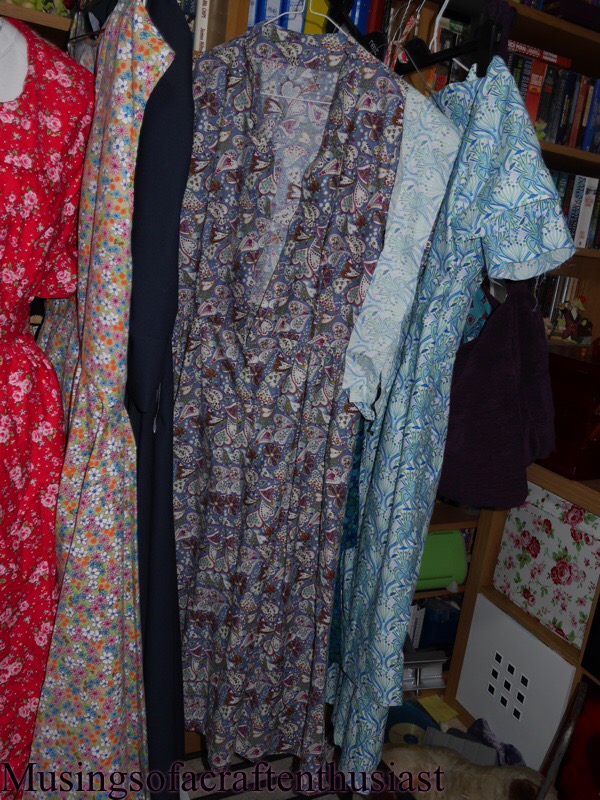
Going by Butterick 2535 I went through the dresses hanging up waiting to be hemmed and cut 2 inches off the bottom of each of them. This should make a good difference to where the length comes to.
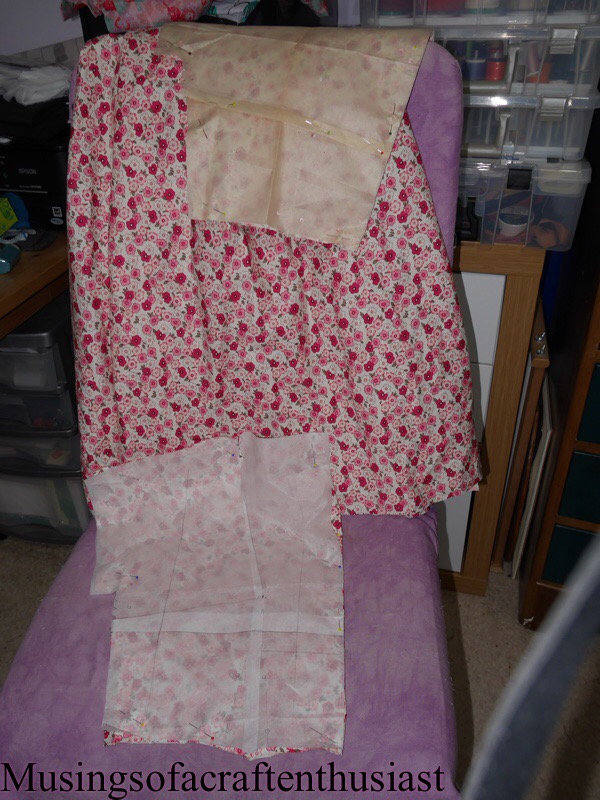
I took the bodice off of Butterick 7556 (pink flowers) and recut it, the facing hadn’t been sitting properly so it would have need to have been taken off anyway. So I did a SBA on the front and also took an inch out of the length of the bodice, I was a bit concerned that the photos I took of the first one as I looked a bit of a shapeless blob, if it doesn’t look alright I can alway just use the skirt.


The last thing I did was to narrow the pattern for Butterick 2535, I really couldn’t work out how to do a SBA on this pattern but it is too wide so something had to be done. in the end I recut the pattern, as the neckline is too wide I just took 1/2 inch out of the center of the pattern, but I then had to add the 1/2 inch on to the other side for the waist and hip seam.


I also found a zip to put into my Gertie sweetheart neckline dress.

All in all a productive evening but not what I expected to do, how about you ???
Sewaholic Thurlow Trousers
Sewaholic had it’s five year anniversary sale earlier this month and I decided to take advantage of it, especially after seeing the Thurlow trousers, they are almost identical to a pair that I have been wearing for the last few years and to be honest they are getting on a bit.
I bought four patterns, well it was buy one get one free, to be honest I liked the Davie dress before I realised it was stretch fabic and the skirt was there to make up numbers I really wanted the Belcarra blouse but it was unavailable(something to put on my christmas list ).

I read up on Lladybirds sewalong and after measuring my existing pair of trousers decided on a size 2, I’m a waist 26 and hip 37 at the moment. I decided to use some gabardine fabric that I got cheap from ebay, when it arrived I realsed it was horrible, it was quite thick, very frayey and had a slight sheen to it, (no wonder it was going cheap).
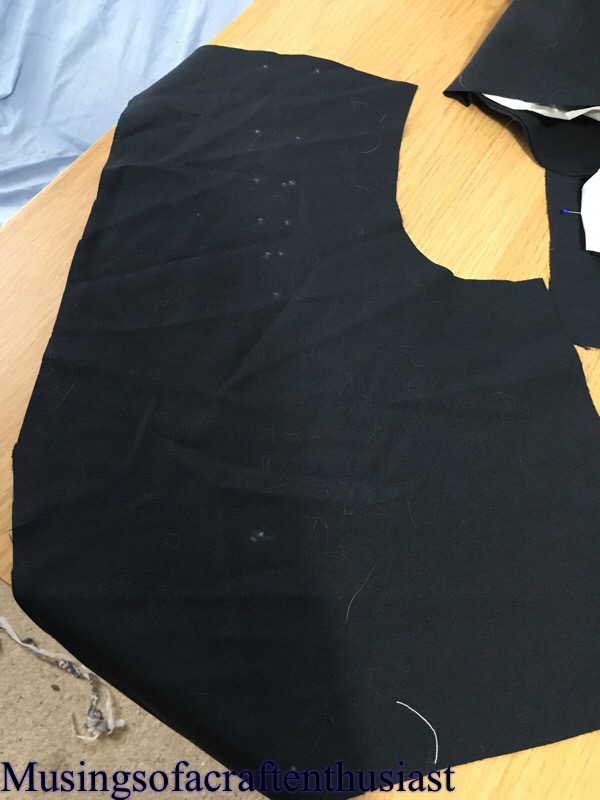
After cutting out the first thing you do is make up the front pockets.


and attach them to the front pieces.

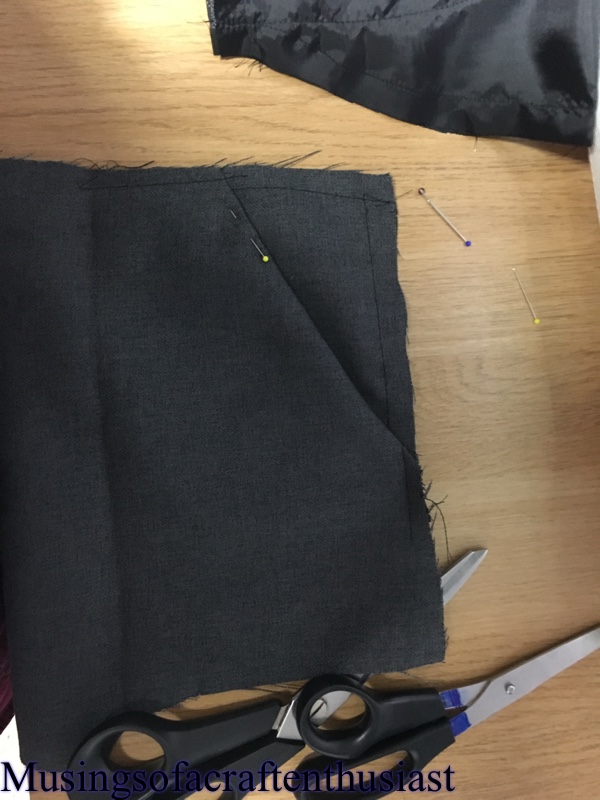
I skipped the welt pockets on the back as this was just a test piece for size. I tried to skip the putting in the zip step as well and went straight to stitching the legs together, big mistake, without the zip inserted correctly you can’t judge how the front is going to lay.
I went back and put the zip in, which would probably been a darn sight easier had I not stitched the legs together.
here is a picture of the finished fly (which is the wrong way round)
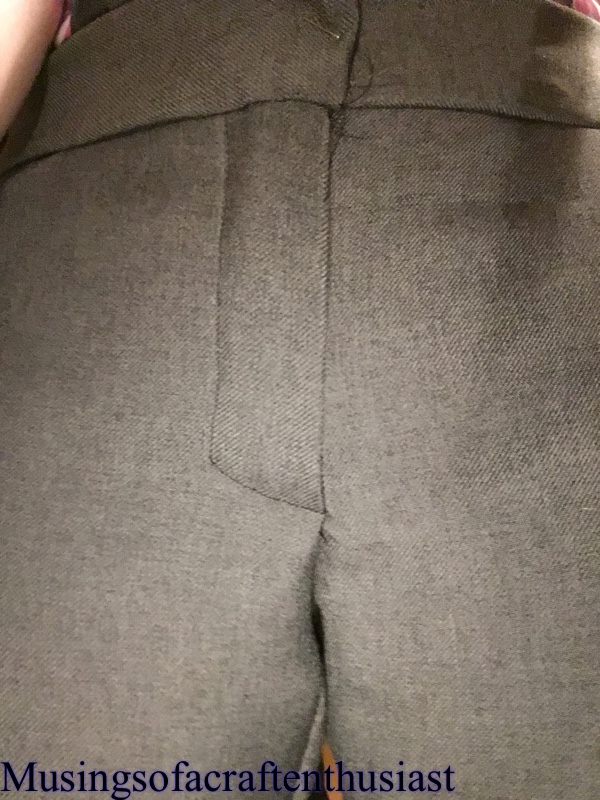
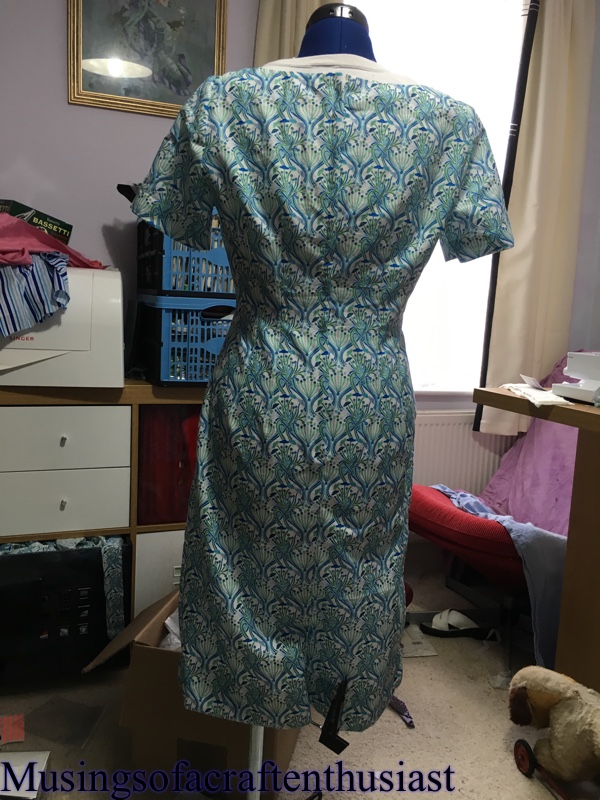
a picture of the back

which I don’t think looks too bad, even though I fudged putting the waist on, which you can see in the way the seams don’t line up. you can also see from this picture that I didn’t take up the pattern before cutting out, I have taken two inches out of the length I should probably take another half inch out but I do like to wear my trousers long.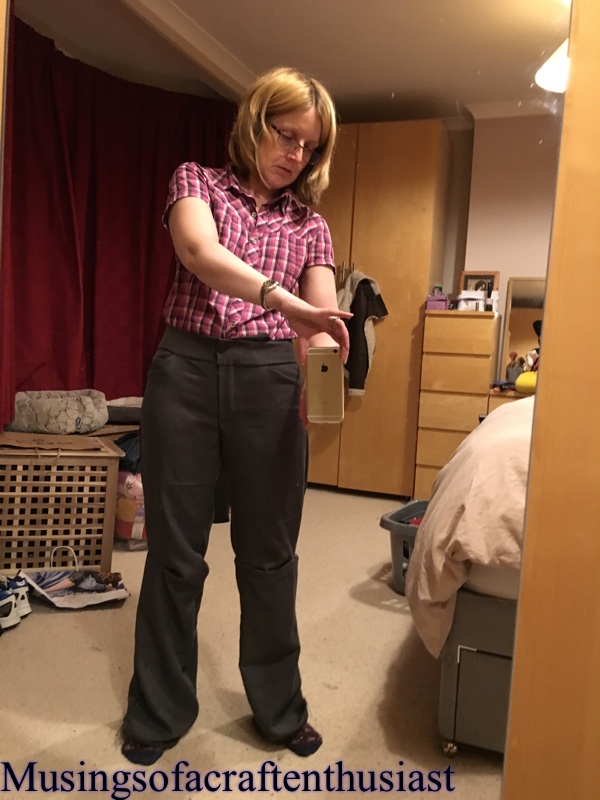
I am quite pleased with the fit, I will add 1/4 inch to the front as although the back and sides were good, I wanted the front higher. This is probably not the best photo and I should have got my camera and tripod out.
One note on the fabric once it was made up I liked it a lot better, in fact I’m planning on taking them apart and and putting them together properly.
my comments on the pattern instructions, they aren’t as clear as they could be, I wasn’t always sure if it was right sides together, on top of each other or wrong sides together.
I am going to make this pattern again but once I get the fit exactly right I’ll probably play with the leg, I like a bootcut tighter on the thigh then going out to the flare, but these are very comfortable.
New boobies for my dressmakers dummy
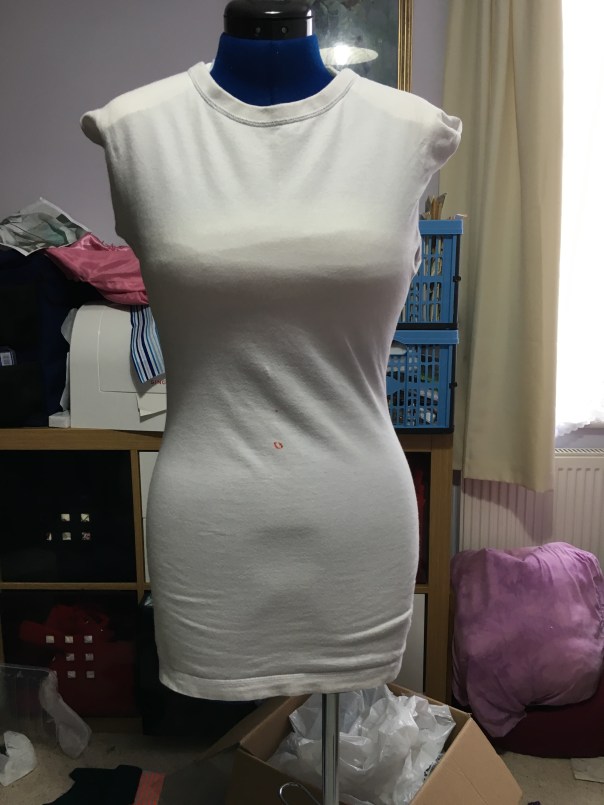
The biggest dislike of my dressmakers dummy is the fact the chest is very meh, there is no fullness to the underneath and not much slope to the top.
I haven’t got a particularly big chest, but when sizing my dresses on my dummy they sort of just lie there of course that isn’t helped by the fact I took half of the shoulders away 🙂
I had to go into Kaye’s Saturday to buy a 20″ zip for my sheath dress and while I was there I noticed they had some quilting batting by the till, I’ve been looking into making my own shoulder pads and this is one of the fabric people have been suggesting using so along with my zip I bought 1/4 metre the smallest length could buy, now I knew that I wouldn’t need all that.
First I took it down to the smallest size it would go which was still slightly more than my high bust but it was going to give me more scope on the bit I was more concerned about.
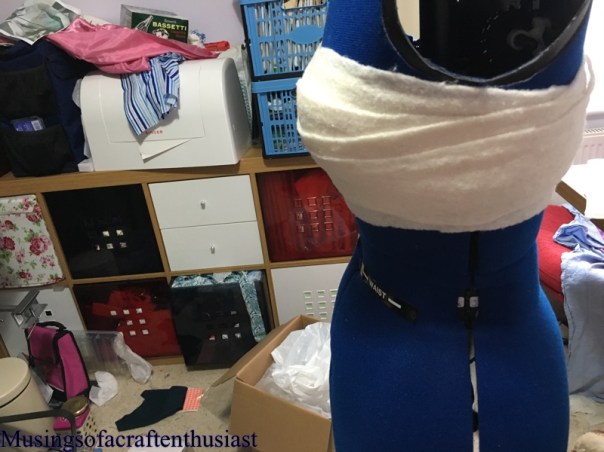
I bought a pair of raglan shoulder pads a couple of weeks ago to try in my kimono sleeved dresses/ blouses but they were too big, after rescuing one of them from the cats I pinned them to the chest of my dummy.

After some ‘helpful’ suggestions from Simon about placement I then wrapped strips of the batting round them. Unfortunately not only did this approach mess even more with the high bust measurement it created havoc with the under bust measurement as well, they did look quite good though. I unwrapped the dummy and went back to the drawing board.
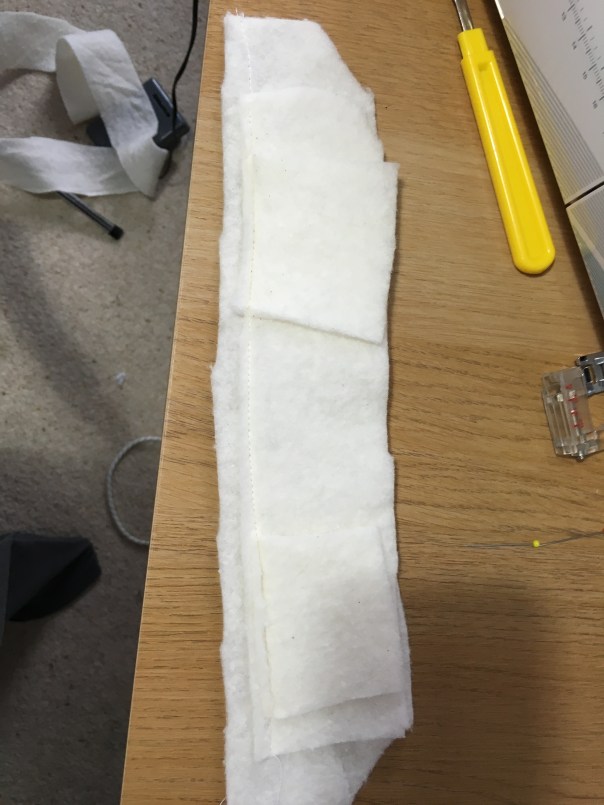

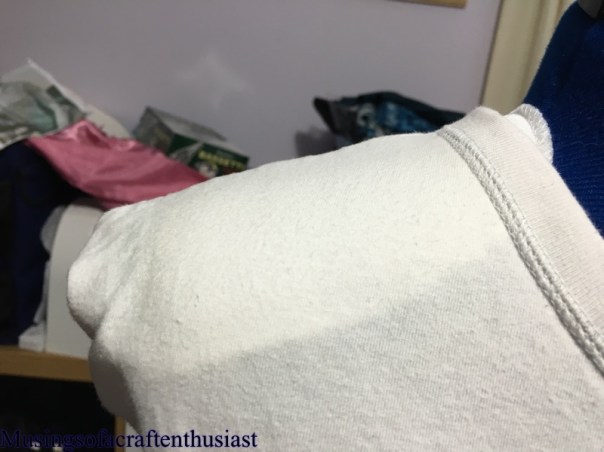
The next idea was to make a strip to go across the middle and wrap that up the result of this was a very nice shape, not as good as the one I got with the shoulder pads but the measurements all added up.

On the plus side I found a new use for the Raglan shoulder pads, which works better than the two pieces of cardboard I was using.
Butterick 2535
Last year I picked up this pattern

I am going to make view C using the short option.

It seems as if even in the 60s/70s I was short…..
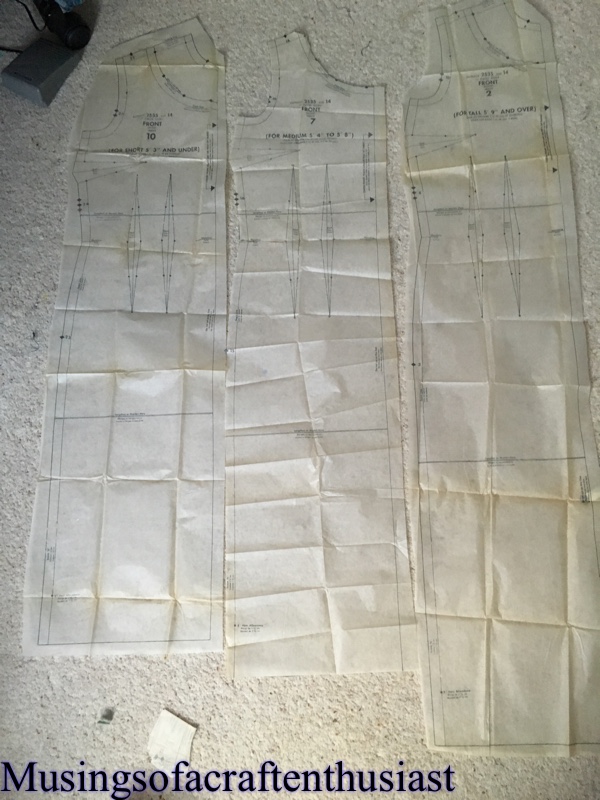
As you can see looking at these three pieces, there is a greater length difference between medium and tall to medium and short.
The difference in medium and short is 1 inch on the bodice and 2 inches on the skirt. Once I have put this dress together (with no alterations ) if it fits I will finally know how much I should take out of the bodice, but more importantly how much to take out of the skirt to make it closer to the length the designer envisioned.
The dress went together very easily the eight waist darts brought the waist in nicely (unsurprisingly)
then the shoulder and side seams and the kick pleat at the back, I tried the basting option on my sewing machine for the first time, I won’t be using that again. Usually I just make the stitch length as long as it will go. Basically with my sewing machine you put on the darning foot and pick the basting stitch which puts one stitch in at a time and is a blinking nuisance. I could have basted by hand faster and the stitch would have stayed in long enough to be useful.
I am very pleased with fit of the dress, I should have done a small bust adjustment and if I make this dress again I will probably do that.

I am very proud of the overall finish, I have over-locked the seams and the edge of the facings, as advised by the pattern I have used seam binding on the hem and the sleeves.


Haslam Spring and Summer 21 fig 13 update
I am determined to get a blog post out tonight so here goes….
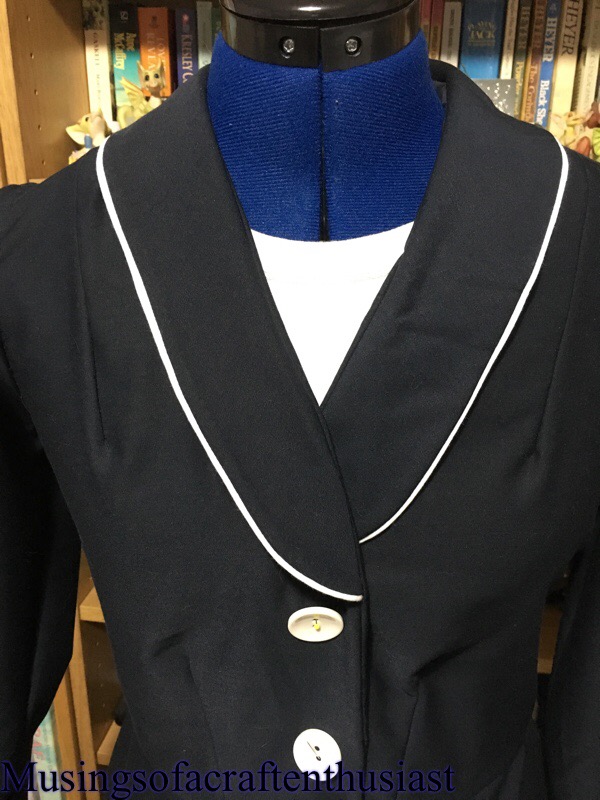
As I said in my previous post I had a problem with the sleeves and the collar, first off the the collar I misread the the instructions and it ended up about an inch and a quarter short, not too bad you say, and you would be right all it meant was that instead of folding over each other the met in the middle ( I thought I took a photo, obviously not) it was one of those things I knew would niggle at me so I changed it, at the same time I also decided that the dress was going to be too dark so I thought about piping.

Of course once you start with a little bit of piping you can’t just leave it at that I think that I am going to have to add cuffs to the sleeves with a bit of piping around the top of the cuff.

As you can see above I am going to use white buttons and probably make a white belt for it. when I put it on to show Simon (without the buttons he thought it looked like a Habit.
The problem I had with the sleeve head was that there was far too much fabric in it, considering that it was supposed to be a nice smooth sleeve insertion, there was about 2 inches too much fabric, so I shaved a sliver off the whole sleeve head. It seems to have almost fixed my problem and a good iron should sort it out.
The piping was a lot easier than I thought, I tried googling it to start off with and watched a lot of people make cushions on youtube, full disclosure it was ready made piping.
bye for now
Alexandra palace – knitting and stitching show
Hi, like many of my posts at the moment, this one is running a little late. This should have been written and posted nearly two weeks ago.
Usually I just go to the knitting and stitching show at Olympia earlier in the year, however this year my Mum was unable to go due to illness, so I thought we could go to Alexandra Palace.
I looked up travel by train or by car, I talked to some people who had done the trip and it was generally agreed that it was a bit of a pain, Mum had a Cooks Coaches brochure, which said they did a trip £25, fine I thought it was going to cost £22 going by train, at this point I thought I was paying for the entrance separately. I phoned them to book the coach and it was all inclusive, bargain!
We arrived early at the bus stop behind Sainsburys, the coach arrived exactly on time, 8:50, seats were assigned, we then took a trip through Westcliff, Leigh, Hadleigh and Pitsea, arriving at Ally Pally at the early time of 10:40.
The coach park is actually the other side of Ally Pally so you have to walk all the way round to get to the entrances, what was slightly worrying is that there were two separate sets of toilets on the way round, did this mean there were no toilets inside or that they were catering for the small bladdered? the toilets inside were fine, I can only assume that because so many people arrived by public transport they were worried about them lasting the whole way round the building.

It had a lot more exhibitions than Olympia and I got the impression that maybe it was affiliated with a local college/university there were some beautiful stuff there but there was also a lot of ‘oh my god what did you think you were doing.’


The show was set out with the wool first, and as usual there were a lot of merino, lama and Alpaca all lovely wools but lost on me, Mum was very happy looking at it though.
we stopped at 12:00 for tea and cake, little bit early for lunch……I don’t know how expensive it was Mum paid, but there was a very nice and energetic man seating people.
The second half was the dressmaking stuff, unlike Olympia quite a lot of sewing machine people were there, what I would call the more expensive, there was also quilting machined and one that was set to embroider by its self.
We stopped for lunch about 2:00 by that time we were quite happy to sit down and take a load of our feet.
I bought two more storage boxes, one for cotton for my overlocker and one for the normal cotton as I had already filled one up. I bought 6 lengths of fabric one is a definite blouse, I wanted something slightly out of my comfort range but not too bad, I think I did pretty well.


 Mum bought a length of fabric for a skirt, some wool for a jumper and some other wool for a shawl, she also bought a dress, top and scarf combo.
I will admit by the time it got to 4:30, which was when the driver was opening up the coach we were ready to go home, though just as we were about to leave we found a third bit to look at, luckily it was mainly exhibits and a few stalls so we quickly walked around them.
we arrived back at the coach at about 4:40 and all of us were back by 4:50 so we left a little bit earlier than expected, it took about 2hrs 30 to get home, not much longer that the train at that time from Olympia, Simon met the coach and carried all our stuff home.
All in all I thoroughly recommend getting the coach and wouldn’t hesitate to use it again.
Haslam Spring and summer 21 fig 13
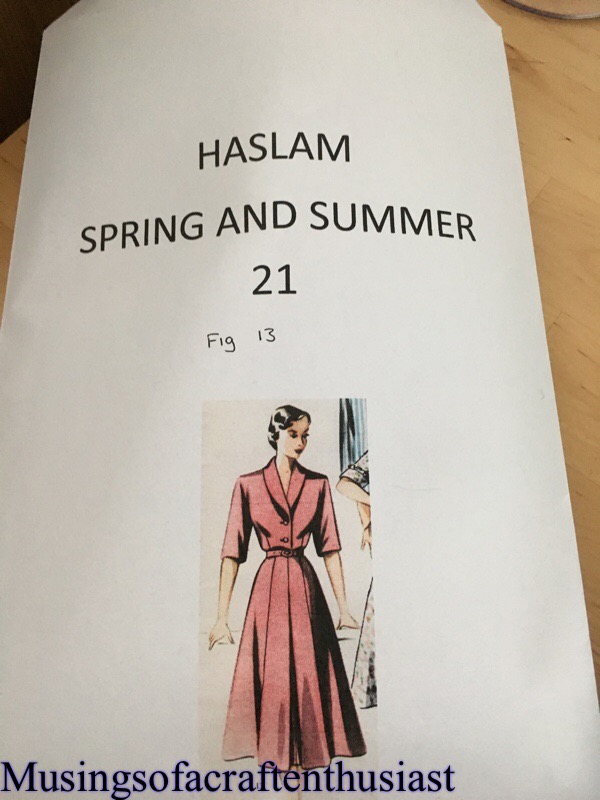
How do you like my pattern envelope? I know lots of imagination there !!
I decided that it would be easier to keep these patterns in an envelope and if I had a picture on the front it would be easier for me to keep track of what is what.
Now I have tried this dress before and it was a slight disaster, partly fabric, mainly I think I got the sizing wrong, unless the fabric stretched very badly.
I redid the foundation drafting and made a mock-up of the bodice, I then took an inch out of the under arm length.
once I was happy with the fit, I had another go at drafting the pattern
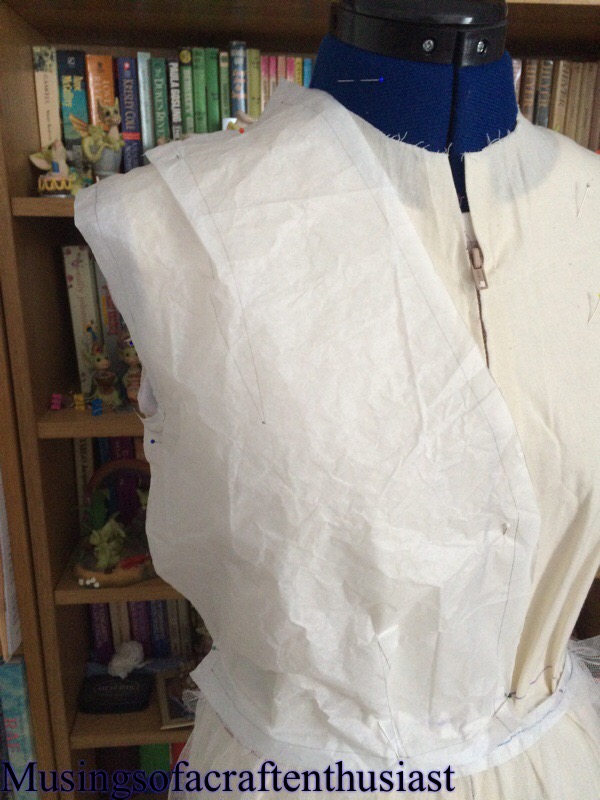
 As you can see below there is a funny curved dart in the shoulder seam
 I have never used so many pins for a dart before, usually I don’t bother.
 an here is the beautiful dart….
 photo of the back
 Photo of the front
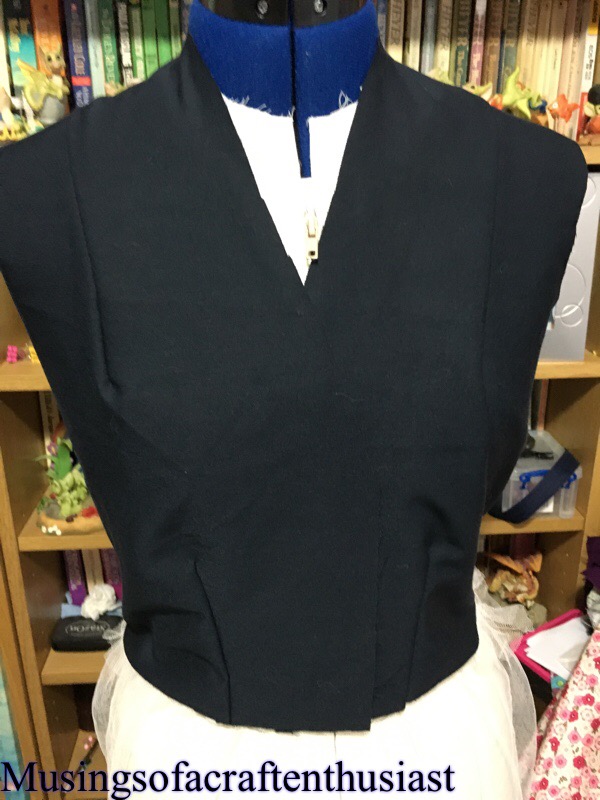 It is actually coming together really nicely, it has a skirt on but I don’t have a picture yet, there has been some complications with the sleeve and and collar but I’ll tell you about that another time….
Butterick 5920 pt2
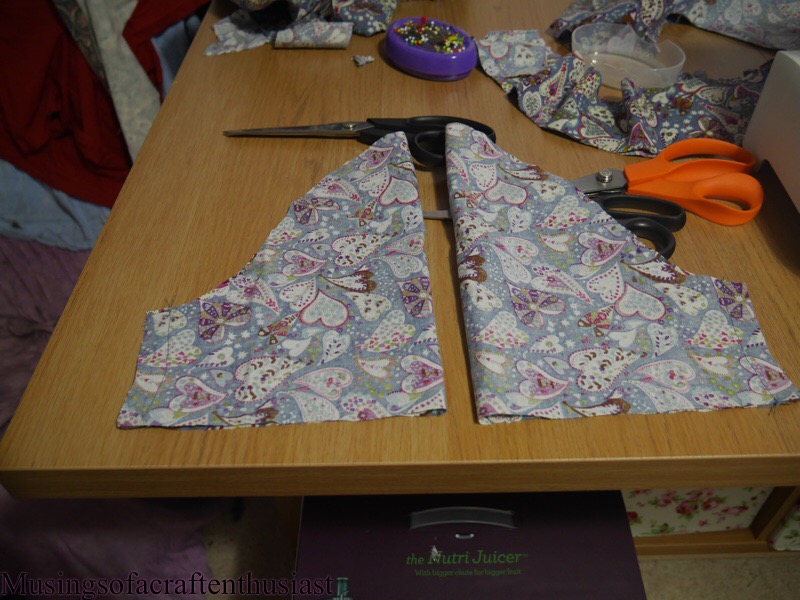
by the time we started sewing this week, we had sewn all the bodice darts and were ready for the side and shoulder seams.


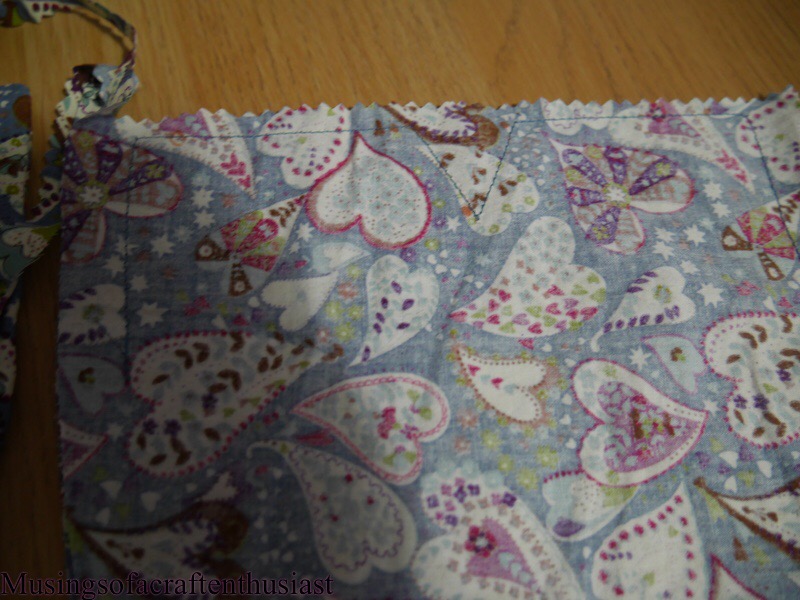
If you look closely at the blue top it has an extra dart, it has a side bust dart, when we did the full bust adjustment for Denise’s top it was easier to add an extra dart rather than move it to the bottom as the bottom dart was already quite big.
Although we aren’t going to have the pockets on the top and put them on the skirt I thought that it might be a good idea to get some practice in for the knotches before putting on the front facing.


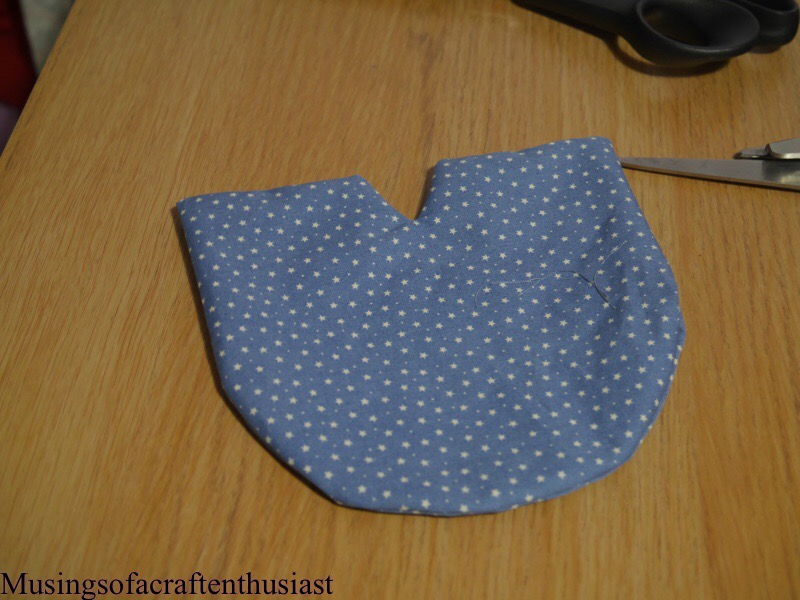
the last bit of the evening was the underarm seam.
the next week is going to be spent putting in the sleeves and starting on the skirt.
updates next week
Butterick 5920
Denise and I have decided on our next sewing project, Butterick 5920, it is a Retro Butterick pattern apparently from 1951.

we have spent the last couple of weeks on fitting the top half of Denise’s dress, which we have managed to do quite satisfactorily (well we hope anyway)

we have had a look round on the web at other peoples versions of the dress mainly because we weren’t convinced about the boob pockets, as Denise pointed out what would you keep in them and I’m not sure that you would be able to keep them as flat as shown on the front of the packet.
so we have decided to put them on the skirt instead as per this post
http://mode-de-lis.blogspot.co.uk/2014/07/1950s-bbq-dress.html
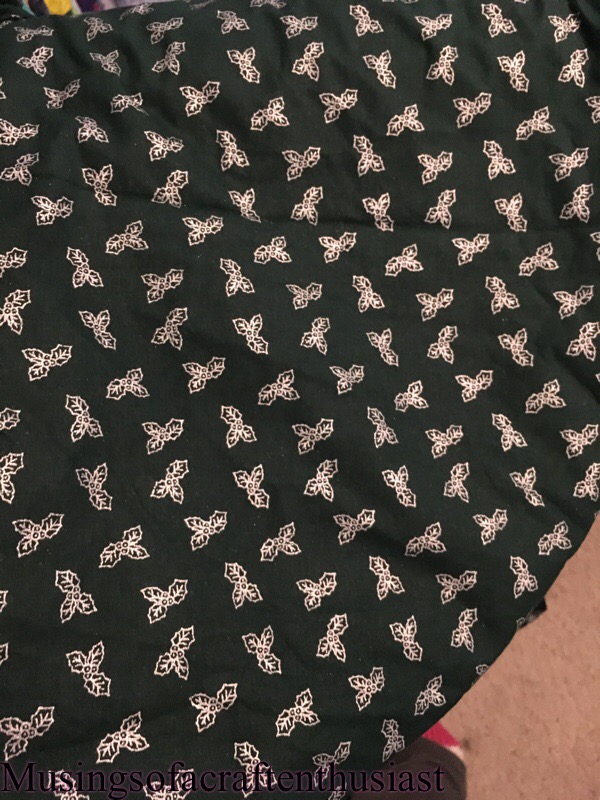
last week we go all the pattern pieces cut out, Denise is using a lovely Blue Cotton with white stars and dots, bought locally at Kayes Textiles.

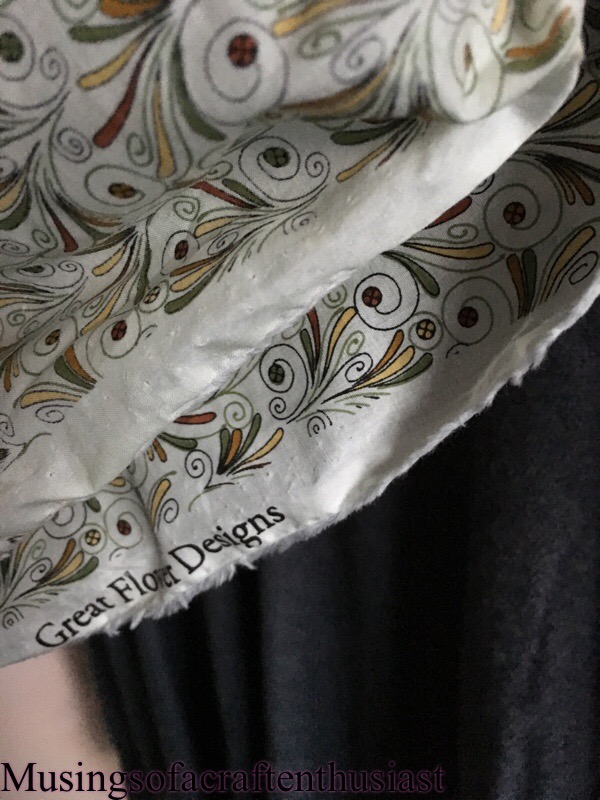
I am using a Paisley print bought at Olympia knitting and stitching show last year

should have an update on this later in the week.


