Category Archives: vintage dress making
2015 Part 1
I’m not big on new years resolutions, I find that if I say I am going to do something I usually end up not doing it, or vice versa if I say I’m not going to do something that immediately becomes the thing I want to do most.
This year I want it to be the year I get things done….I’ve made a start already.
I have a load of actual photos in Albums from Simons Mum which at some point I agreed to scan I think I have had them for a year or more. The beginning of this week I have started and hope to have at least one of the four Albums to take back by the end of this month.
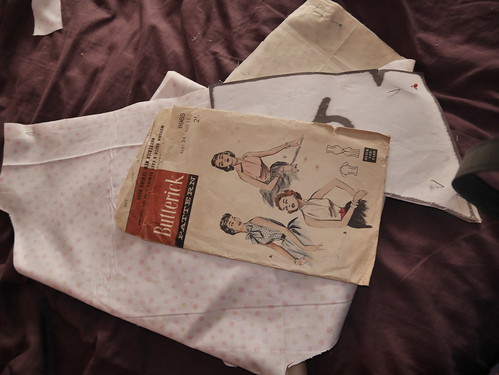
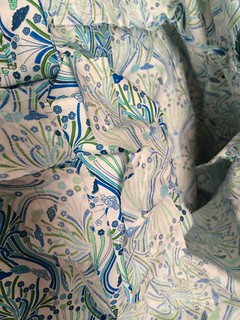
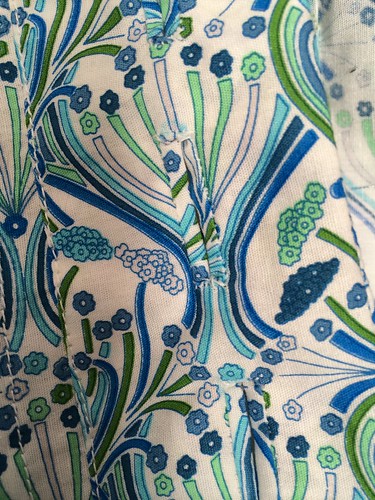
I have had Gertie’s book for Better Sewing since it came out and I and a friend are going to sew something from it, The Shirtwaist Dress, we both have our patterns traced and cut out, I’m hoping to use this fabric….
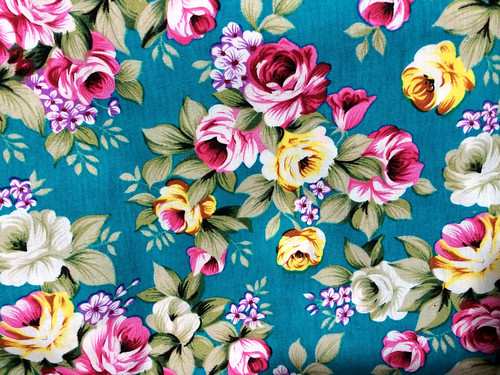
Sewing starts next week….
I also want to go through my started but unfinished projects, I am going to be ruthless if I can’t muster up the enthusiasm to finish them by the end of June then in the bin they go, in general we have too much stuff laying about and I want to get rid of it.
Which moves me onto my final thing, I want to be more discerning with what I spend my money on, I know I get carried away and I’ll buy something, I like it and buy a whole load of other stuff along the same lines, which is why I have cupboards full of jigsaw puzzles (damn you eBay) and vintage patterns (eBay and etsy)
I also want to continue with my blog and try to post more.
Oops where did December go?
Sorry, December seemed to have come and gone without a peep out of me, I’d like to say I was busy, but I can’t think of a single thing I did in December.
Wait a minute, I did make three skirts for my friend one straight one and two Maxi skirts, I don’t have any pictures so there isn’t a lot I can say about them,
The Maxi skirts I used a Lutterloh pattern in the end, I was going to make them from the Gabriola skirt pattern (sewaholic) but with the amount of alteration needed for the waist/ hip ratio I chickened out, so I used a pattern from my 1970s Lutterloh book and the equivalent of a FBA for the waist.


My friend is very happy with them and I can make as many as I want, I did have a problem finishing off the last one as my sewing machine decided it didn’t need correct tension or anything so I did the waist band by hand (it probably gave it a nicer finish anyway)
I did make a skirt for myself in a very nice multi coloured boucle this pattern


here is a photo of the detail on the waist band, which I am particularly proud of.
I hope to continue to do more consistent blogging this year, but we will have to wait and see
Lutterloh the verdict
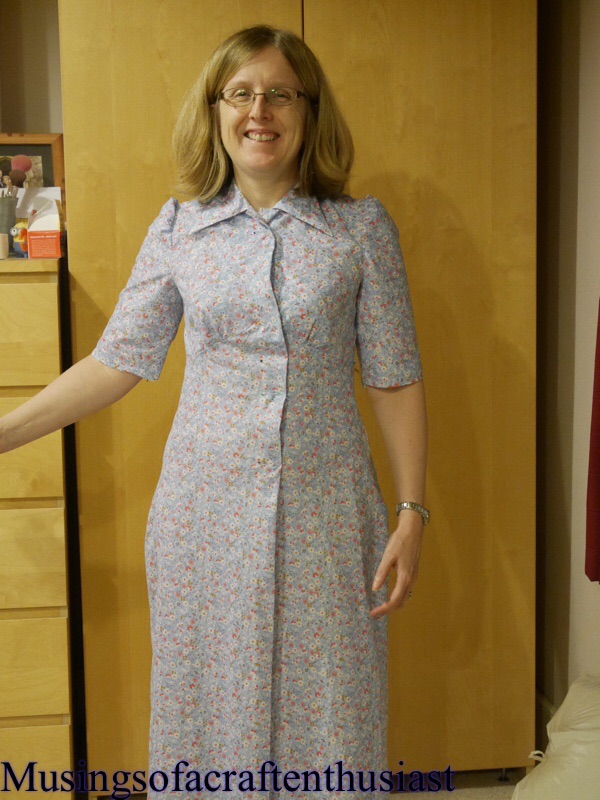
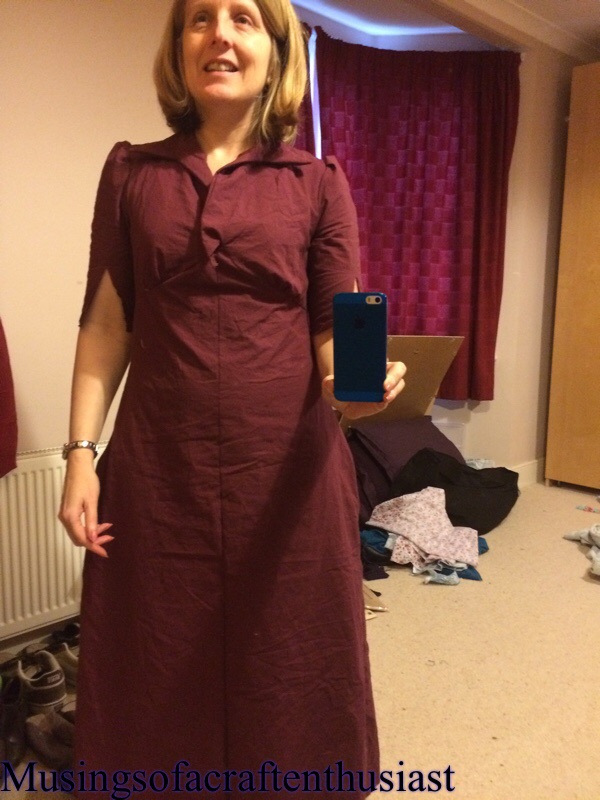
Now this hasn’t been a complete success, but it also hasn’t been a complete failure. The fit was good, unfortunately the choice of pattern was a bit ambitious.
I managed to get the front lying better in the second version than the first version, probably if I made the dress a few more times I would get the stitching right.

I can’t get the front to line up properly, the two fronts curve up under the bust, one side following back down the other, just in case you think it’s because, it’s too small across the chest, it didn’t matter what I did even just laying it on the bed with nothing in it it wouldn’t lay properly.

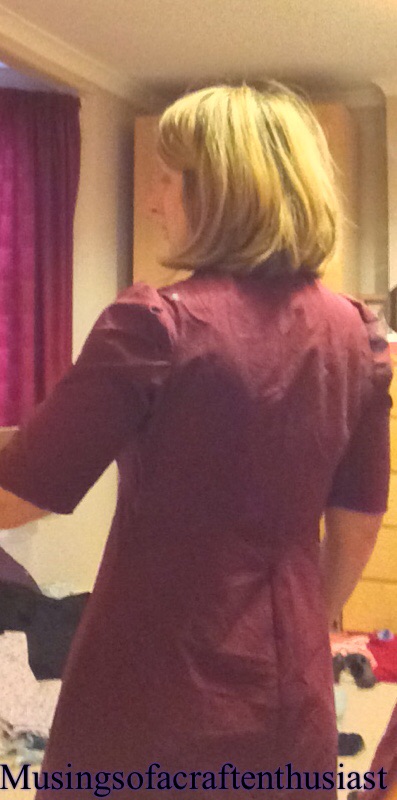
As you can see the back looks good, I think I probably should have taken an inch out of the skirt length as it is laying a bit low across the hips.

I might fiddle with the bodice size as I didn’t have much movement in the shoulder area, but for once I wasn’t swimming in fabric under the arms and across the bust.
This picture shows the hip problem quite well.
The verdict is that I will make more dresses from the system, but will be more careful in my pattern choices. I was very impressed at how easily it was to create the pattern, practice will make the curves (sleeve head) better and I have noticed that the later the pattern the more information you are given for making up the garments.
Lutterloh part 2
I’ve put the test dress together, one thing I have discovered is 1940s/50s women have stick arms I don’t know how they managed to lift anything

The fit isn’t too bad, it’s a bit large around the hips but that, it turns out is user error, I measured my hips wrong so I’m about 6mm out size wise I don’t know how that equates over the whole pattern yet.


the sleeve head is a bit puffy, but I’ve redrawn that using the curve tool that came with my pattern book, its now an inch and a half smaller.
I’ve measured out the new skirt pieces and it equates to about 5 inches over the whole skirt
Lutterloh
since getting back into sewing last year, I have been hearing whispers about Lutterloh pattern books, what I read was quite interesting, I found a couple of books to download, which i found quite fascinating, how you take this iddy bitty patterns and make full sized clothes from them,

then a couple of weeks ago I was lucky enough to win on ebay my very own pattern book, I’m not sure which year it is, late 1940s early 1950s completed with measuring tape and pattern ruler, it looked untouched.

now a lot of the things I read about the system suggests you should work on a vest (waistcoat) pattern until you get the fit right then you will be ready to try a proper pattern, where is the fun in that?
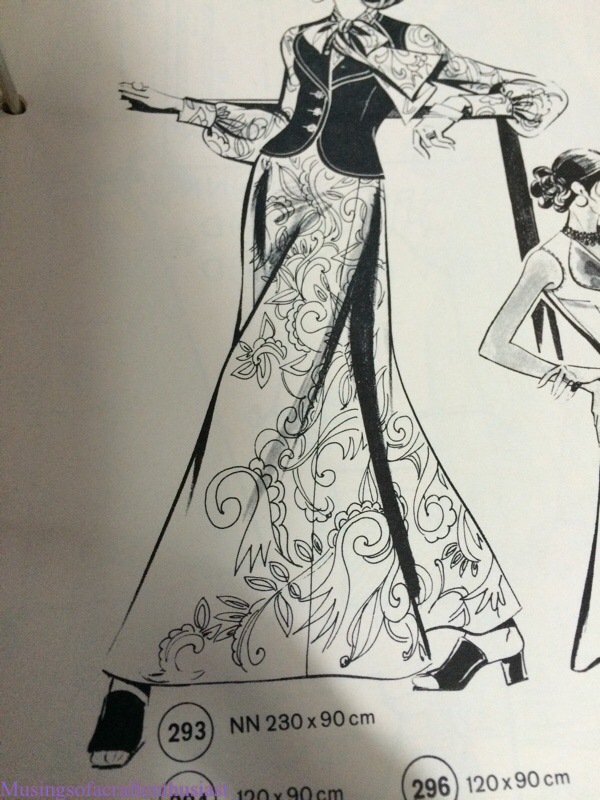
I picked a dress, from my scanned book, no particular reason it just caught my eye. looked sort of easy two skirt pieces two bodice pieces and a sleeve.

To be fair it was easy, I created my pattern pieces I cut them out on an old sheet, then there was the hard bit. the bodice comes to a point on the center front, the center back point was easy, but at the moment I have a weird I’m not laying down properly lump where the bodice is attached to the skirt. Then there is the sleeves, I was under the impression that they marked the back of the sleeve with an ‘A’ shape I have this symbol on the the other pieces just not the sleeve, it shouldn’t be too hard to work out but even so….
This is what my dress looks like so far
With the best will in the world I don’t think anything will make the skirt look like the pattern, cutting it on the bias might help but there just isn’t the material to get that kind of drape. I am quite happy with it so far though.
stripes and no instruction pockets
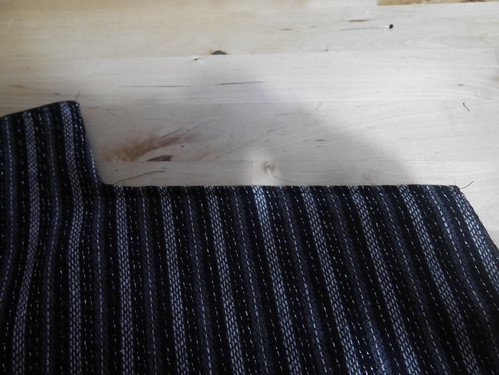
Remind me to stay away from stripes, I can’t match them and they irritate me. don’t get me wrong I like stripes as long as I don’t have to work out how to make them look right on the front of, say a skirt. exhibit one
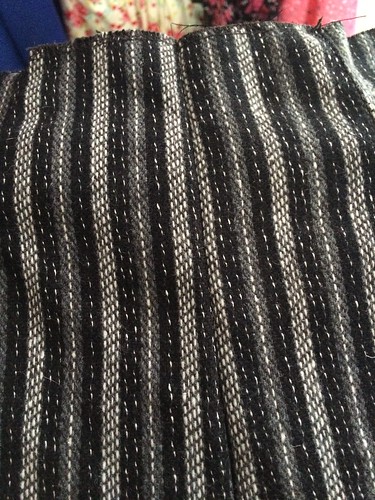
to be honest now I’ve looked at it again, I think that the problem might not be my pattern matching so much as my stitching accuracy.
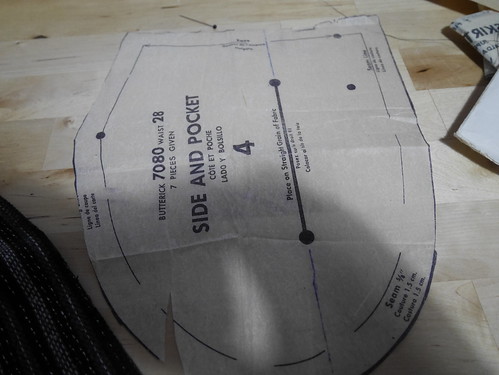
I cut out this pattern earlier in the week just before I discovered it had no instructions for how to put the pocked together, how hard can it be I asked my self you have a front skirt, pocket facing and a back.
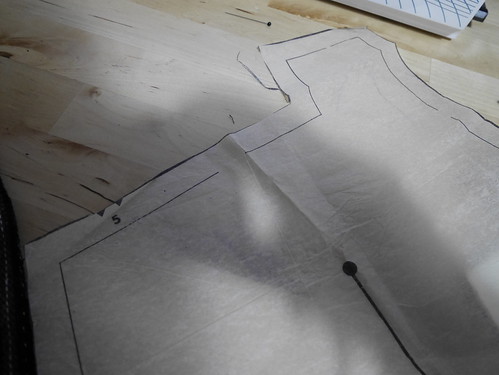
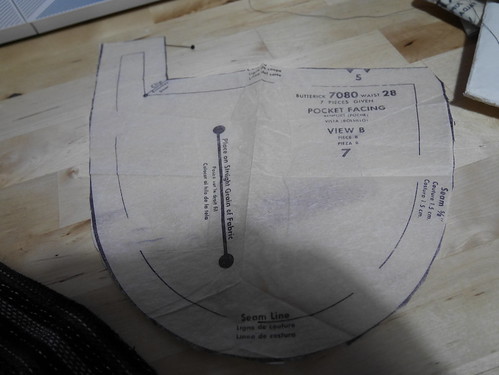
so started with attaching the pocket facing to the skirt front.
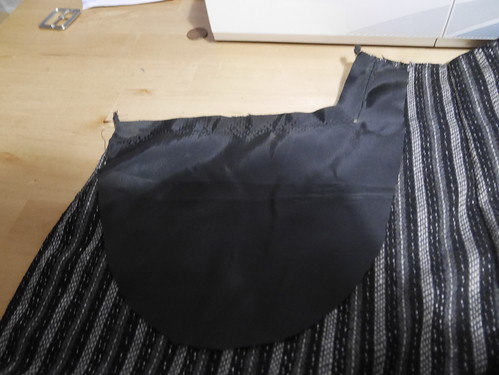
then snipping clipping and overstitching
at which point I was in a bit of a quandary not realising that the pocket was supposed to gape slightly, (if I had realised this I definitely would not have gone for stripes) that was when I understood what these makes were for…

they were the pocket opening marks

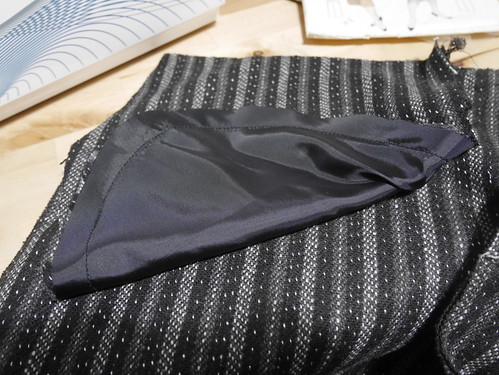
you can just see one marked in yellow in the photo. once this was pinned in place it was quite easy to stitch round the pocket.
You would have got this post last week but the photos wouldn’t play the game
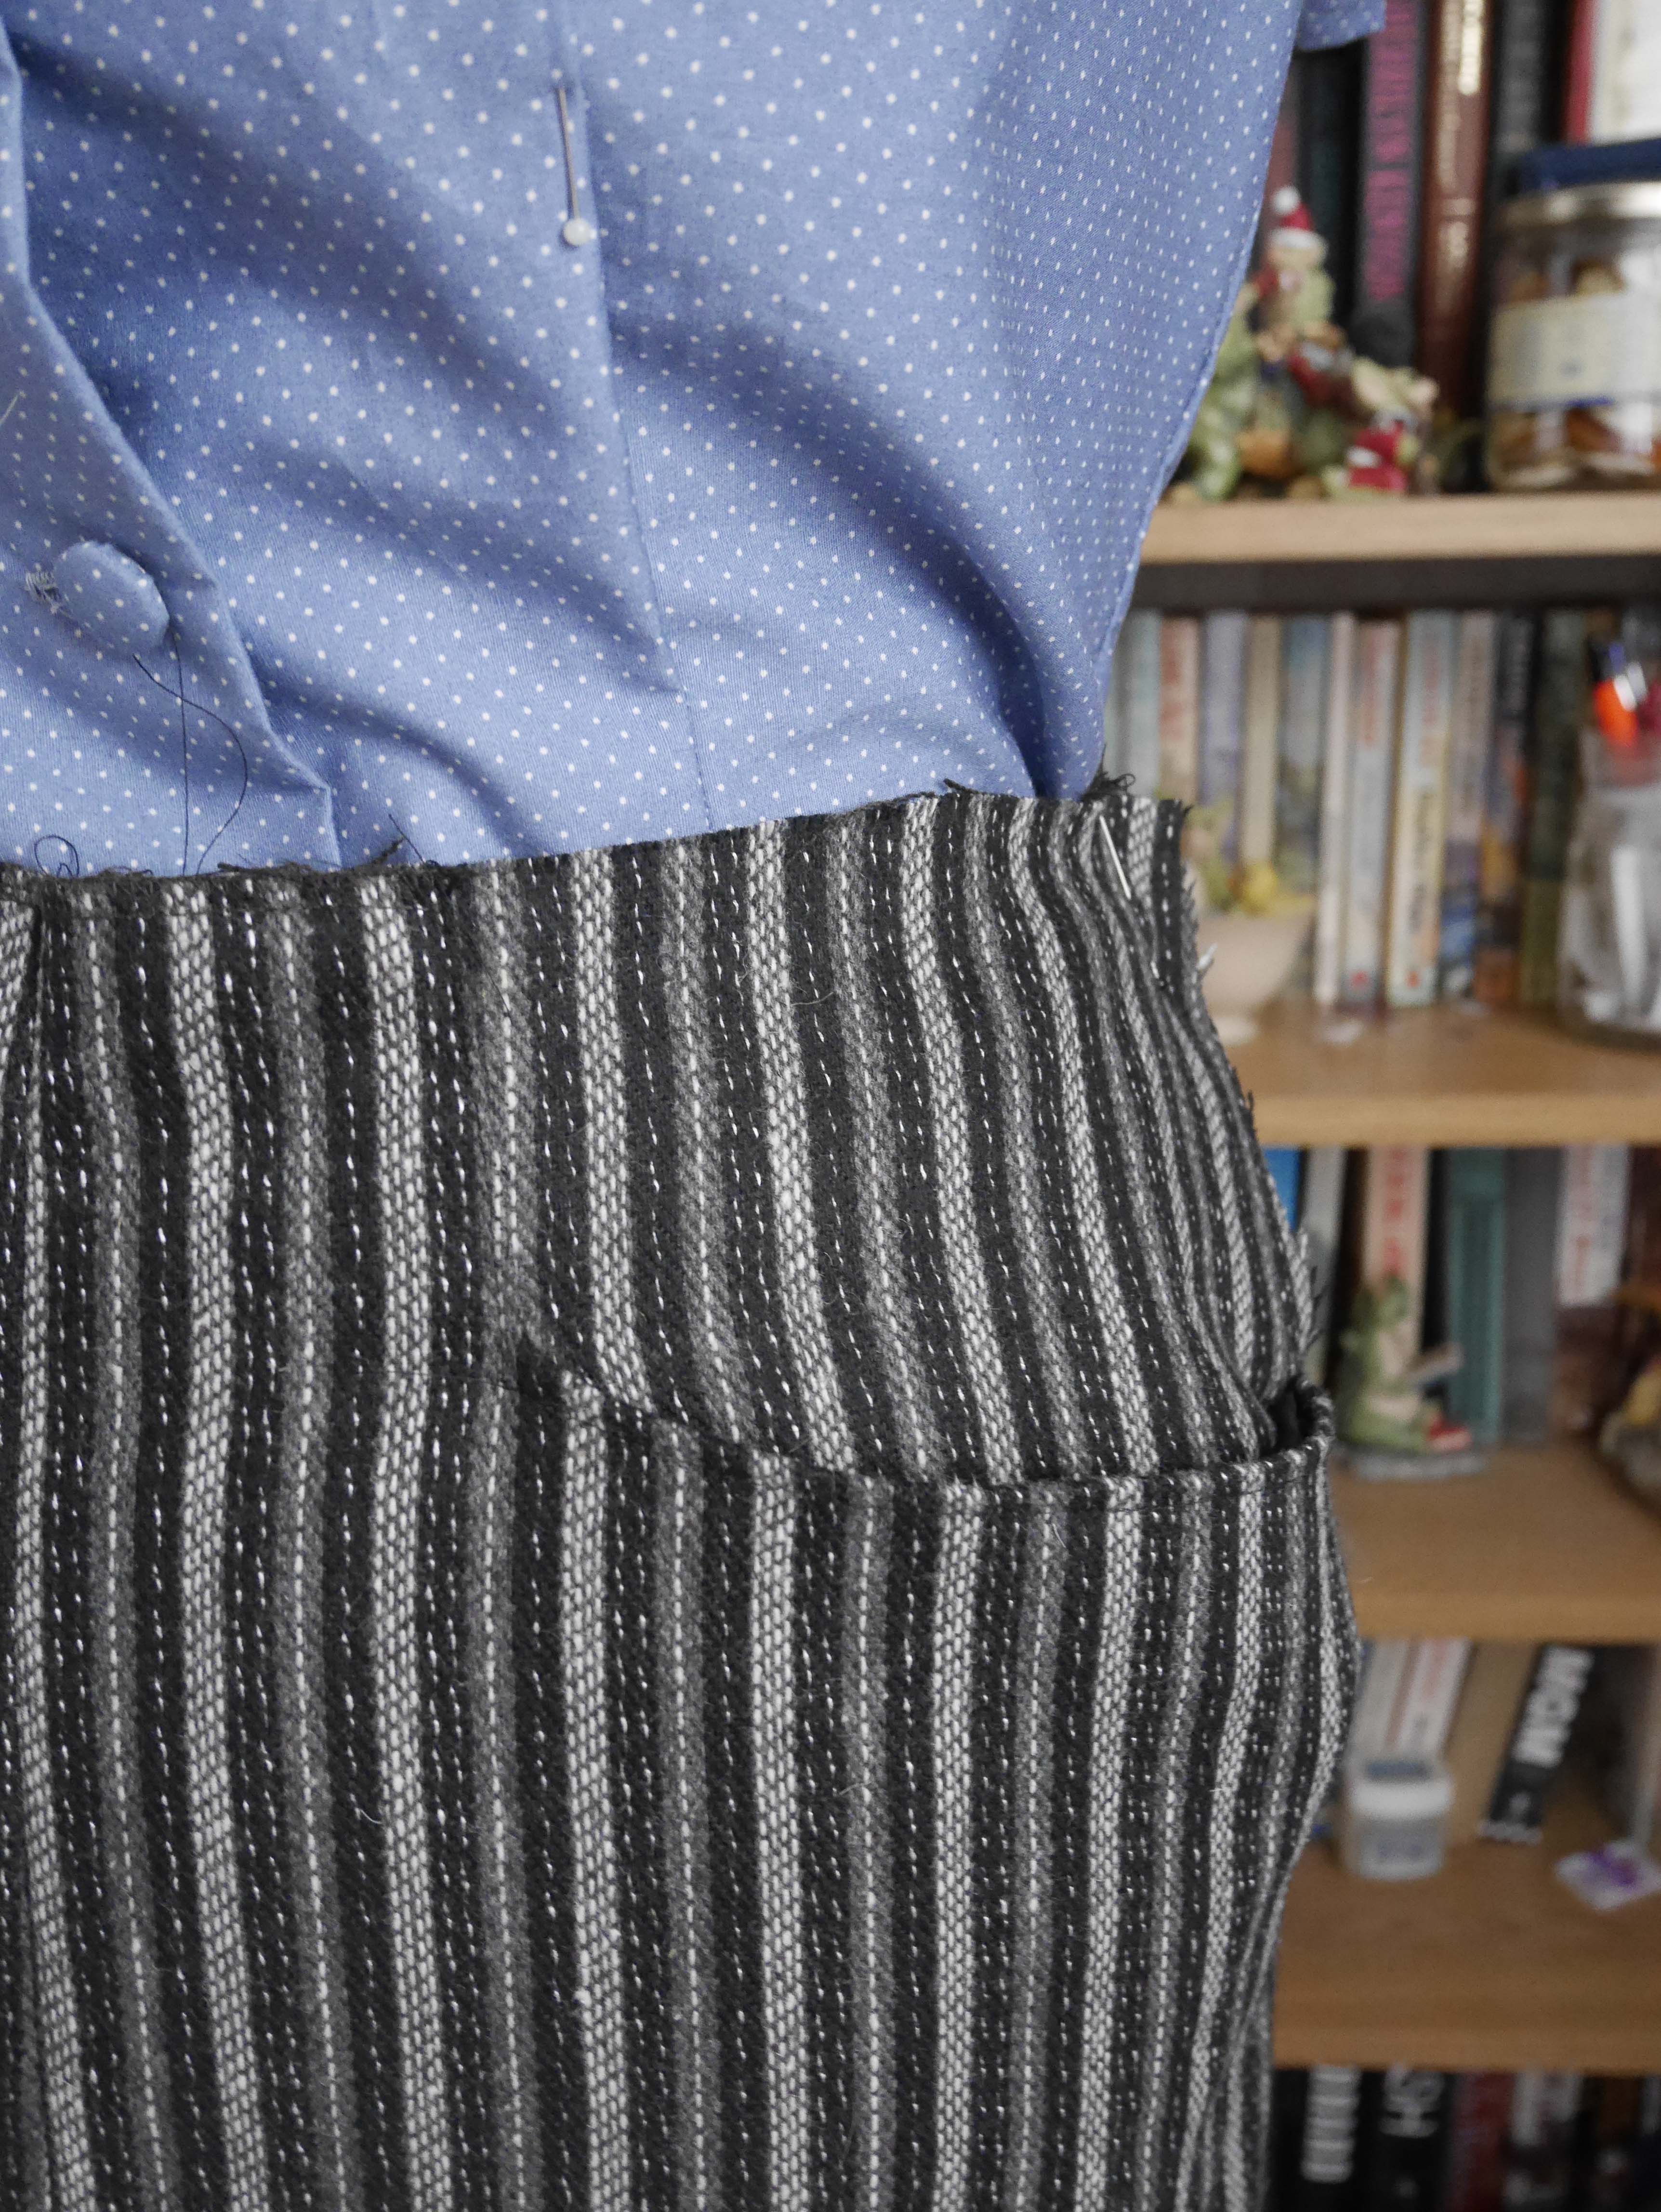 But you have a bonus close up of pocket and a sneak preview of the hideous blouse without the collar and neck gathering (which already makes it look better), the sleeves are pinned behind.

future projects
To get me in the mood for winter I have decided to make some skirts, but of course to go with the skirts I need to make some more blouses, so I have cut some out.
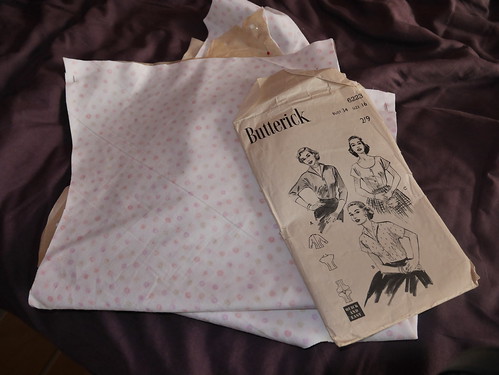
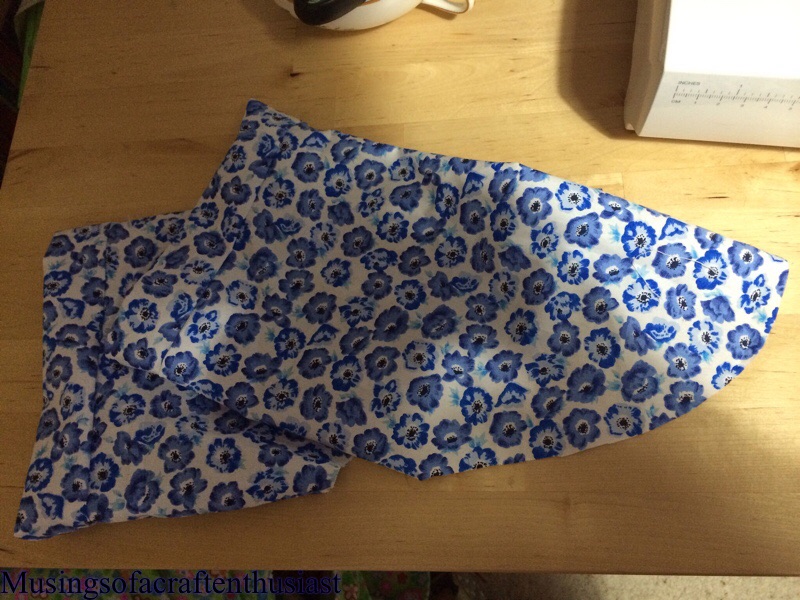
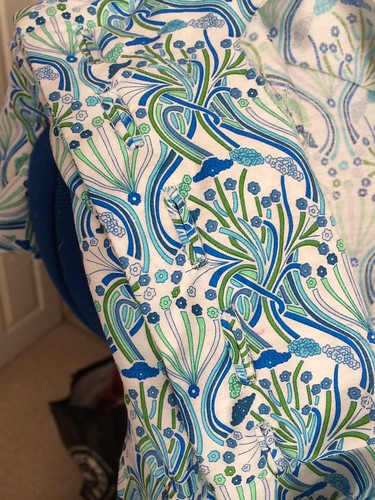
I thought I would use this fabric
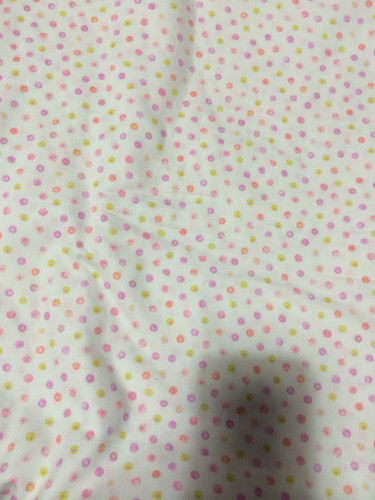
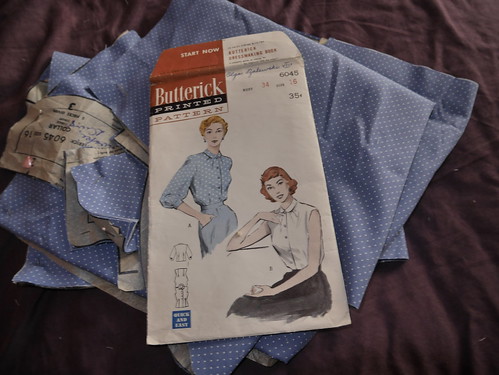
I just couldn’t resist this pattern with this fabric 🙂
there was just enough fabric to do this top, the only problem was that I have do the collar pieces in two bits.
I have two skirts cut out:-
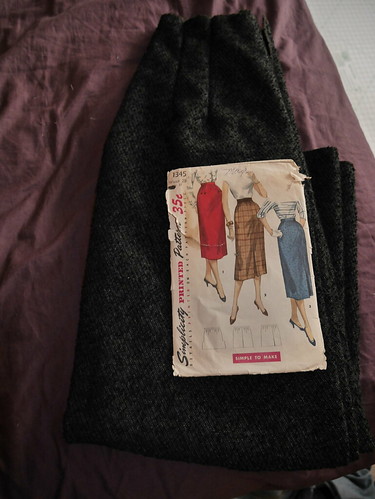 this fabric is going to be nice and warm.
I love this skirt pattern it is easy to make and versatile, this will be the third one of these skirts I made.
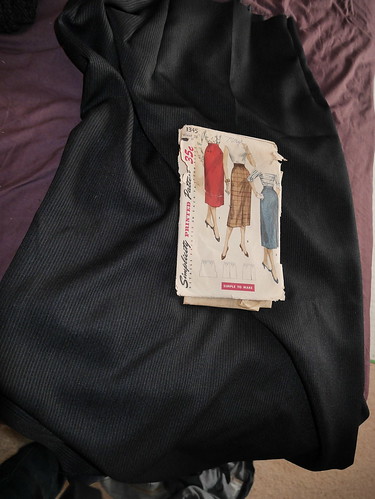
this fabric has a slight stretch to it so I’m not sure how it will sit.
on a roll
I’m on a roll this weekend, after having the surgery on my shoulder and sorting the house out to be painted, I’ve been finding it difficult to get back into my dress making, but this weekend:-
I have finished a 70s dress apart from the hem, and managed to do some more on two other dresses.
here is the 70s dress
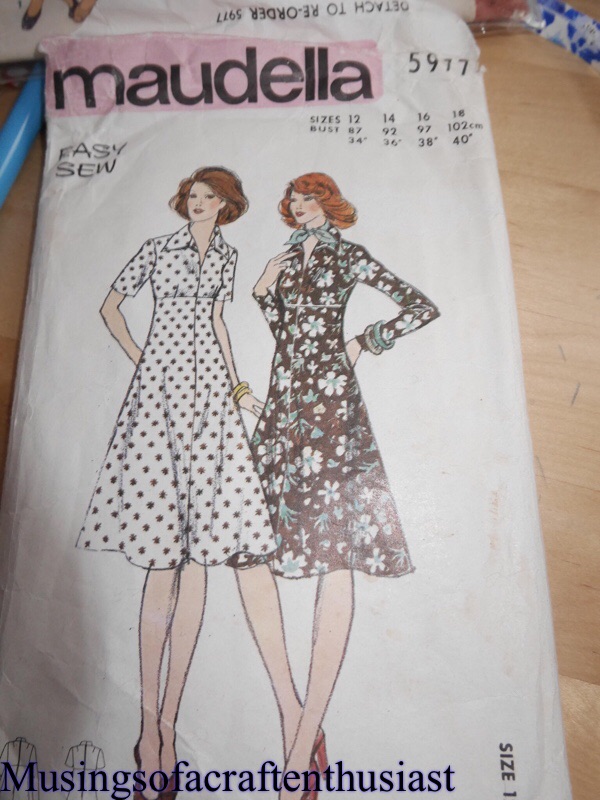
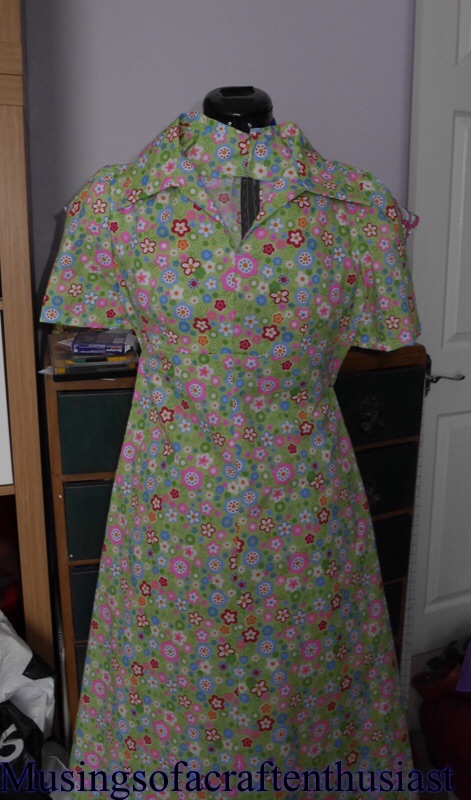
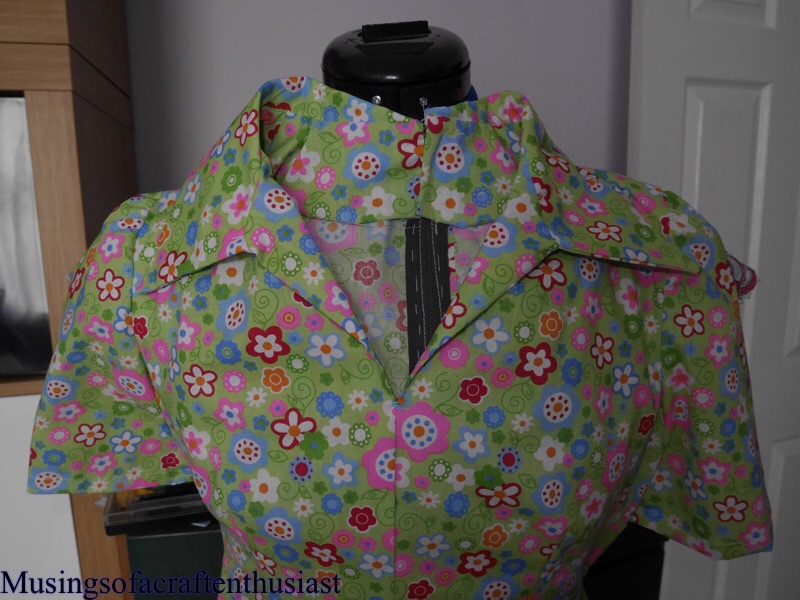
here is a close up of the collar, I bought the fabric at Kayes Textiles during the week, it is a £2.50 poly/cotton, it is a bit stiff but it gives the dress some body, hopefully if it is sunny during the week I’ll take some photos of me wearing it.
I also finished the bound button holes on this dress and restitched the bodice to the skirt

This dress I put the collar on the dress ironed on the interfacing and attached the cuffs to the sleeves

Craftsy
I’ve just discovered Craftsy, yes I hear you say you’re a bit late to the party, may be I am, I’ve done CBTs( computer based training) for work and although James was very amusing, the person who did XP workstation had very grating voice and I wanted to kill myself. (probably a slight exageration)
But Craftsy, maybe that won’t be too bad, so far I’ve signed up for five classes, I’ve watched one of them while my shoulder was too bad to do anything, it is pattern making basics the bodice sloper making course, it looks quite straight forward, obviously I haven’t tried anything yet but I now have the ruler and the paper, I keep forgetting to buy the sticky dots though 😦 I’m hoping mine comes out better than some of the photos.
I also have the sassy librarian blouse, the knit lab, the couture dress and the flirty day dress. I will confess I bought four of them half price, and I have targeted the ones that I think will help me with my dress making skills, apart from the knit lab which is going to help me with my knitting skills, all I have to do now is tidy up my craft room and make time to sit down and follow them.
I have my flirty day dress pattern but I feel that I might get more out of it once I have completed the bodice sloper course, I have just read on a blog that the flirty day dress is a B cup pattern so I assume that I will have to make some alterations there.
Bound Button holes: friend or foe?
Bound Button Holes: Friend or Foe ?
I have rather a Love hate relationship with Bound Button Holes, I love the look of them but I hate the execution of them.
Lets face it they are pretty, but does the amount of aggravation and extra time spent on them really justify putting them in over normal button holes, in the main they are going to be hidden by the button anyway.
I can understand putting them in when you are going to have to spend hours putting other types of button hole by hand but in the age of the machine button hole which takes seconds, meh.
I’m going to use a particular dress as an example, it has been sitting on my Dress Making Dummy for about two months (bad me) the skirt is together and the top is together the only thing standing between me and New Dress Heaven is bound button holes (that and the fact I’ve lost the two small facings for the skirt piece). On the dress top I have carefully stitched on both pieces of right hand facing the squares of fabric to create my button hole I’ve even cut the slot to push the pieces through to the back, but have I hand stitched them in place have I heck as like.
Saturday evening Simon was Gigging in Colchester, I thought lets sort these button holes out sitting in front of the TV watching Haven. It took me four hours to create five button holes, I did try and cut a couple of corners and do the first one in one go instead of making the ‘lips’ on the front first and then slip stitching the back facing piece to it. That didn’t go down too well so I abandoned this and did the last four properly. But Four Hours and I still have another three to do which are on the skirt piece, may be another two hours button hole work. Seven hours to make nine button holes when I could have them all done in less than twenty minutes.
I’m sure there are the purists out there who would say ‘hell yes, you must put in those Bound Button Holes and while you are about it make your other button holes by hand as well, that is why they give us the instructions for how to do it.’
At the end of the day a button hole is just something to stuff a button through to stop your clothes falling off.
The other thing you could say is that the more you do the quicker you become and next time it won’t take seven hours to create nine button holes. But do the button holes on this dress
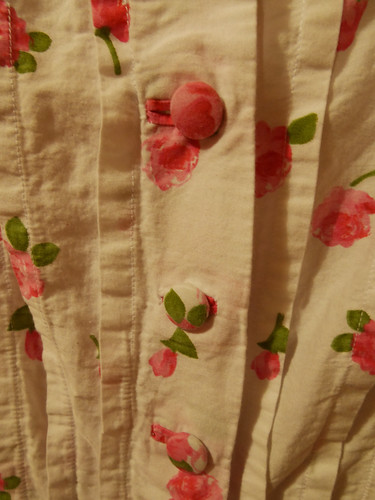
look fours hours worth better than the button holes on this dress?
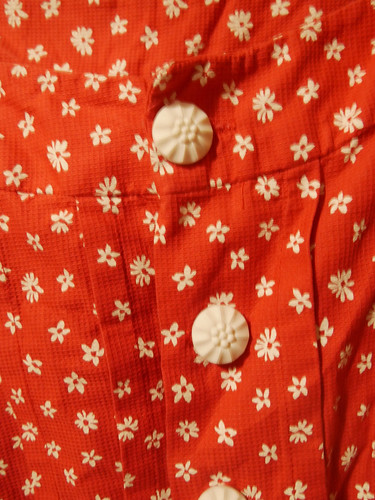
I don’t think so.


